I’ve been experimenting with different approaches to character design, from more abstract form to kit bashing and procedural modeling to create different poses, convert different emotions and make characters that are highly stylized but are still relatable.
I used Oculus’ Medium, a VR sculpting tool, to create different forms and play around with different aspects of character design. In particular, I wanted to see if the key parameters I identified in previous weeks, namely scale and posture, are enough to create a relatable figure even before any features are painted and textures are applied.
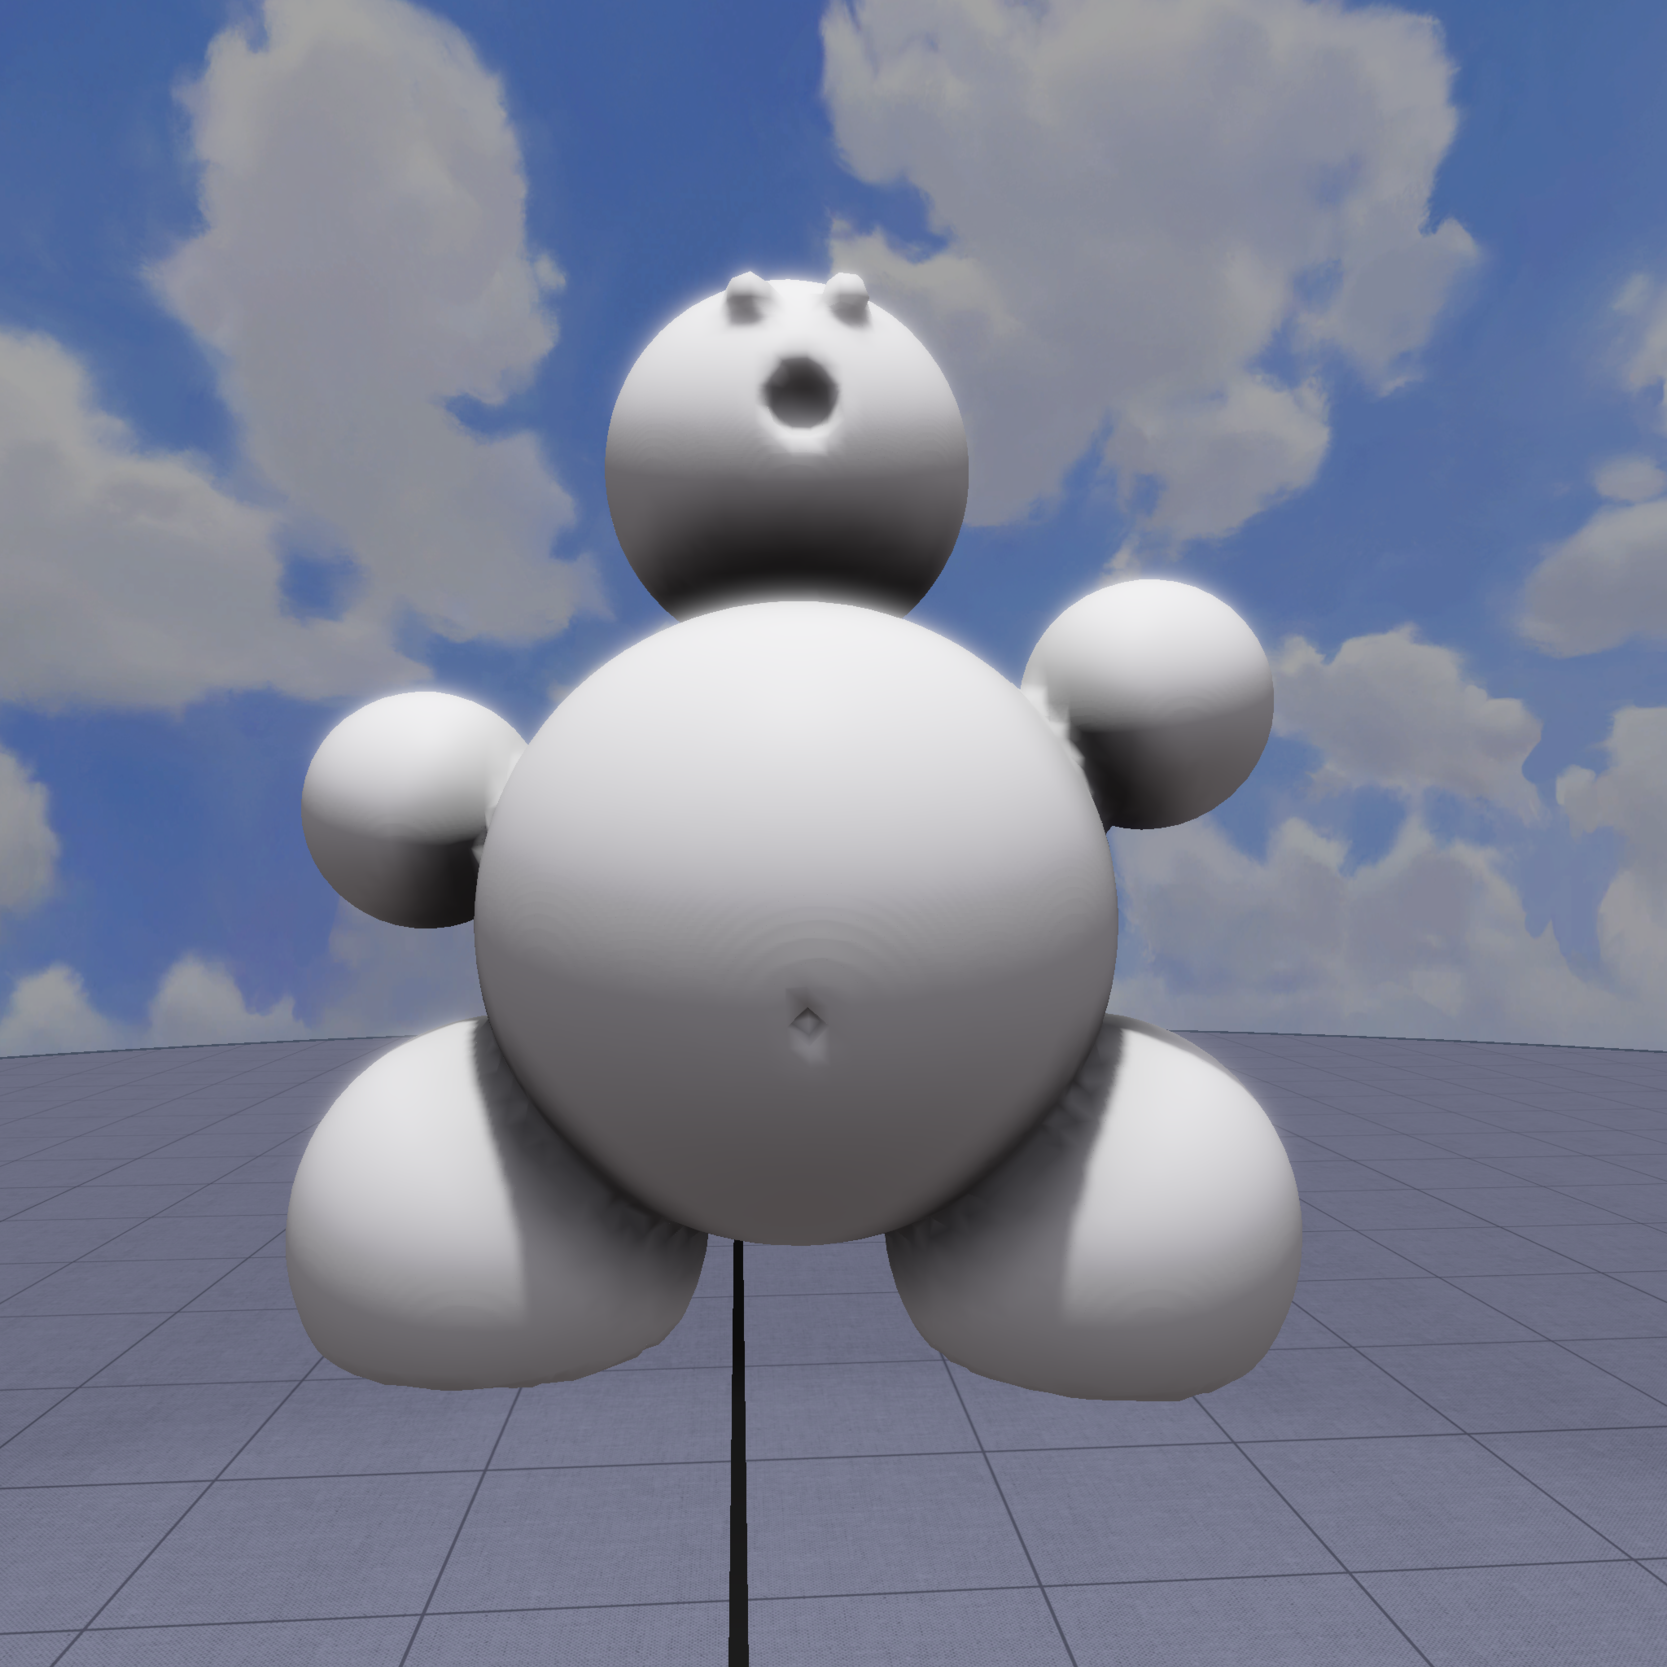
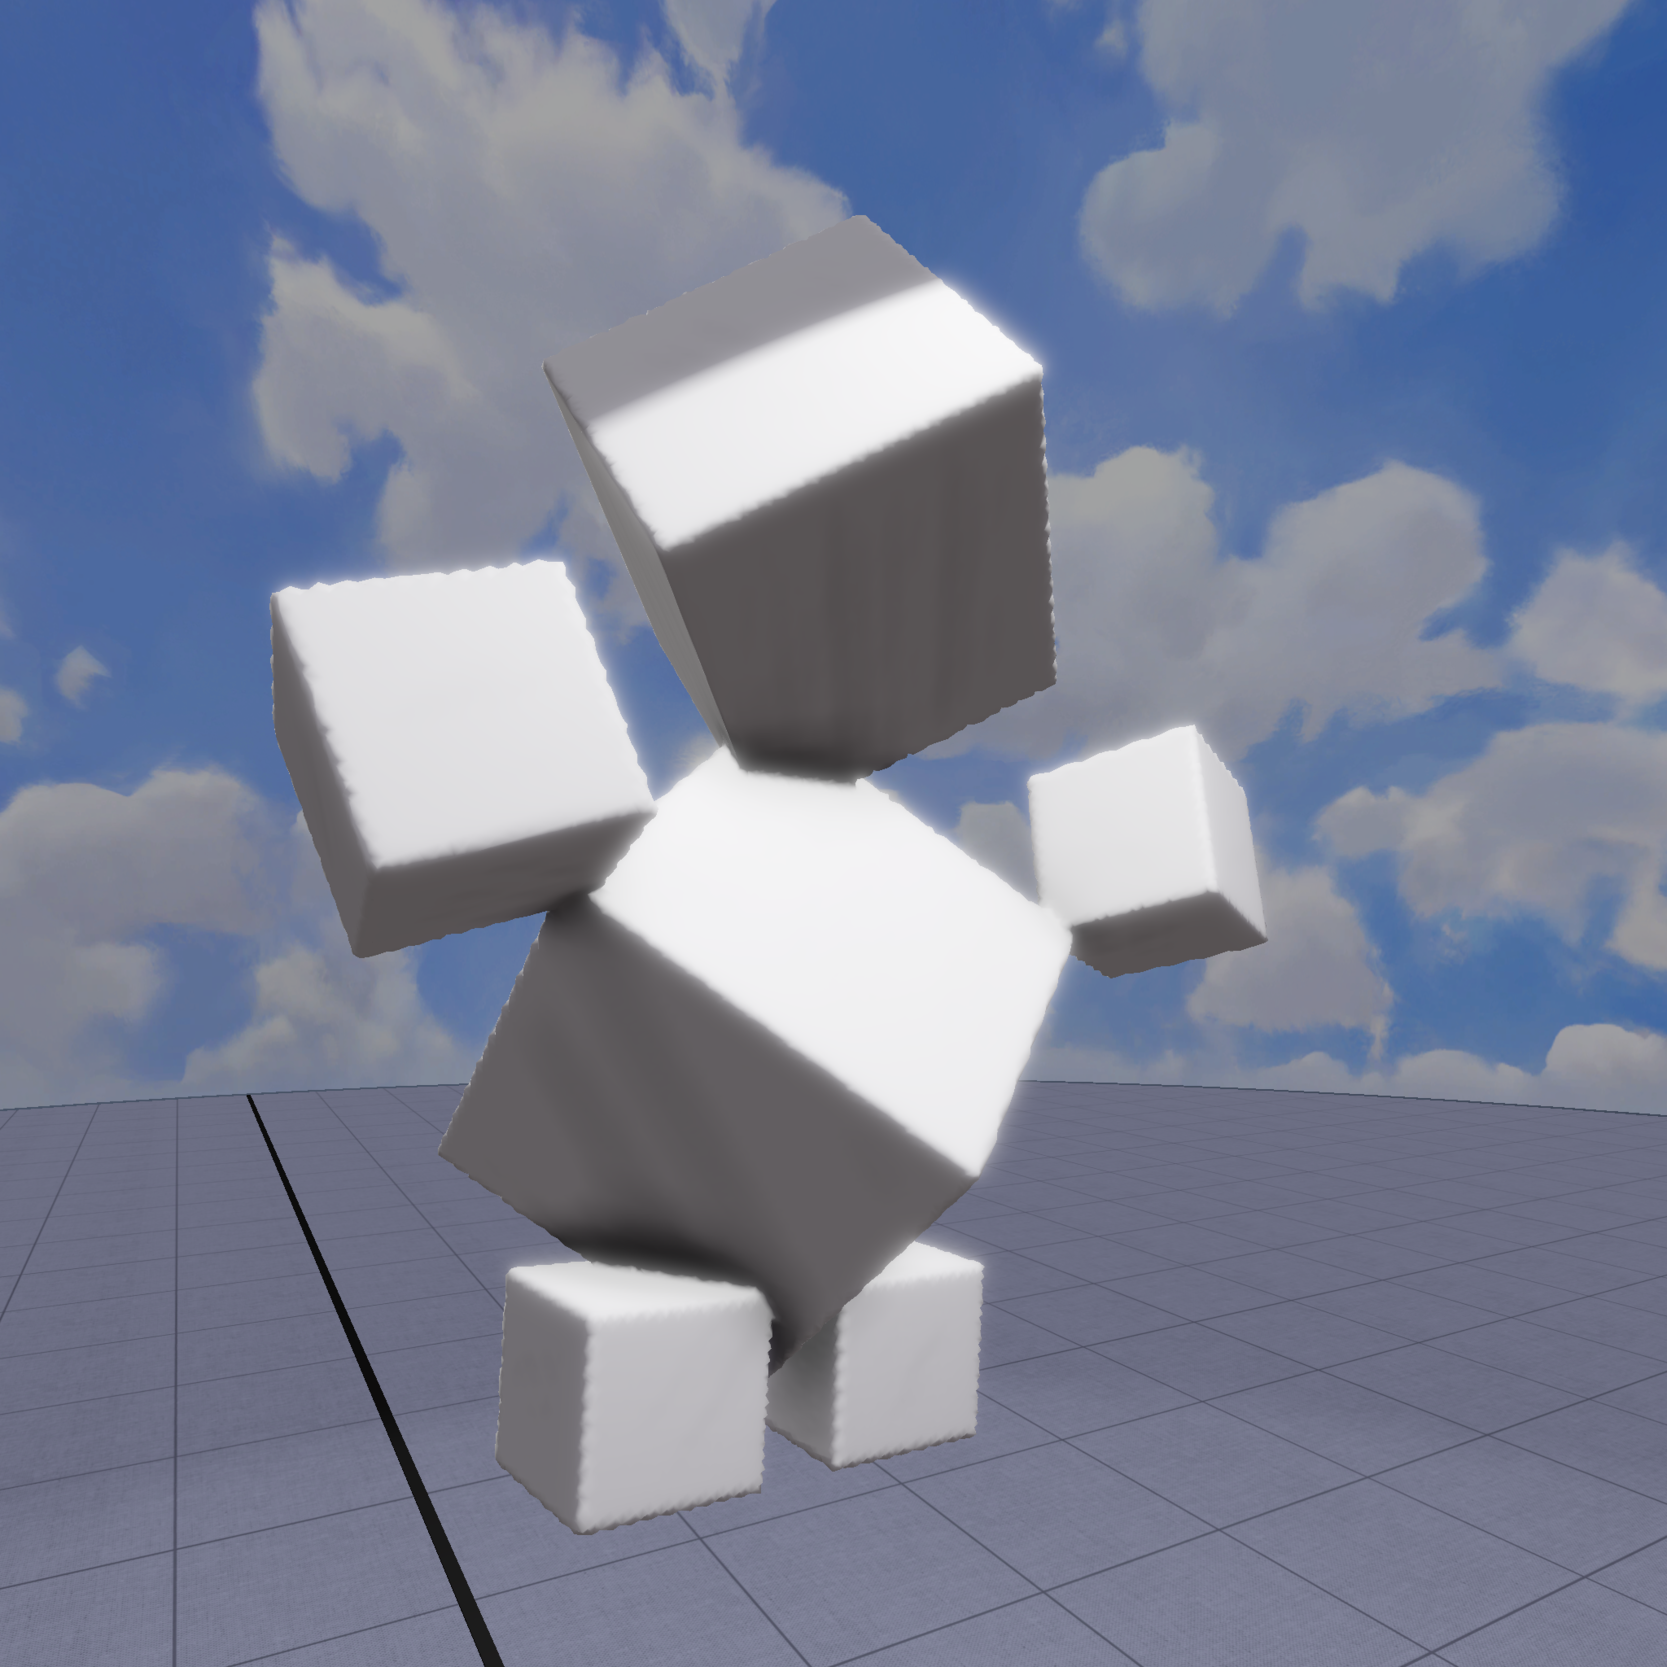
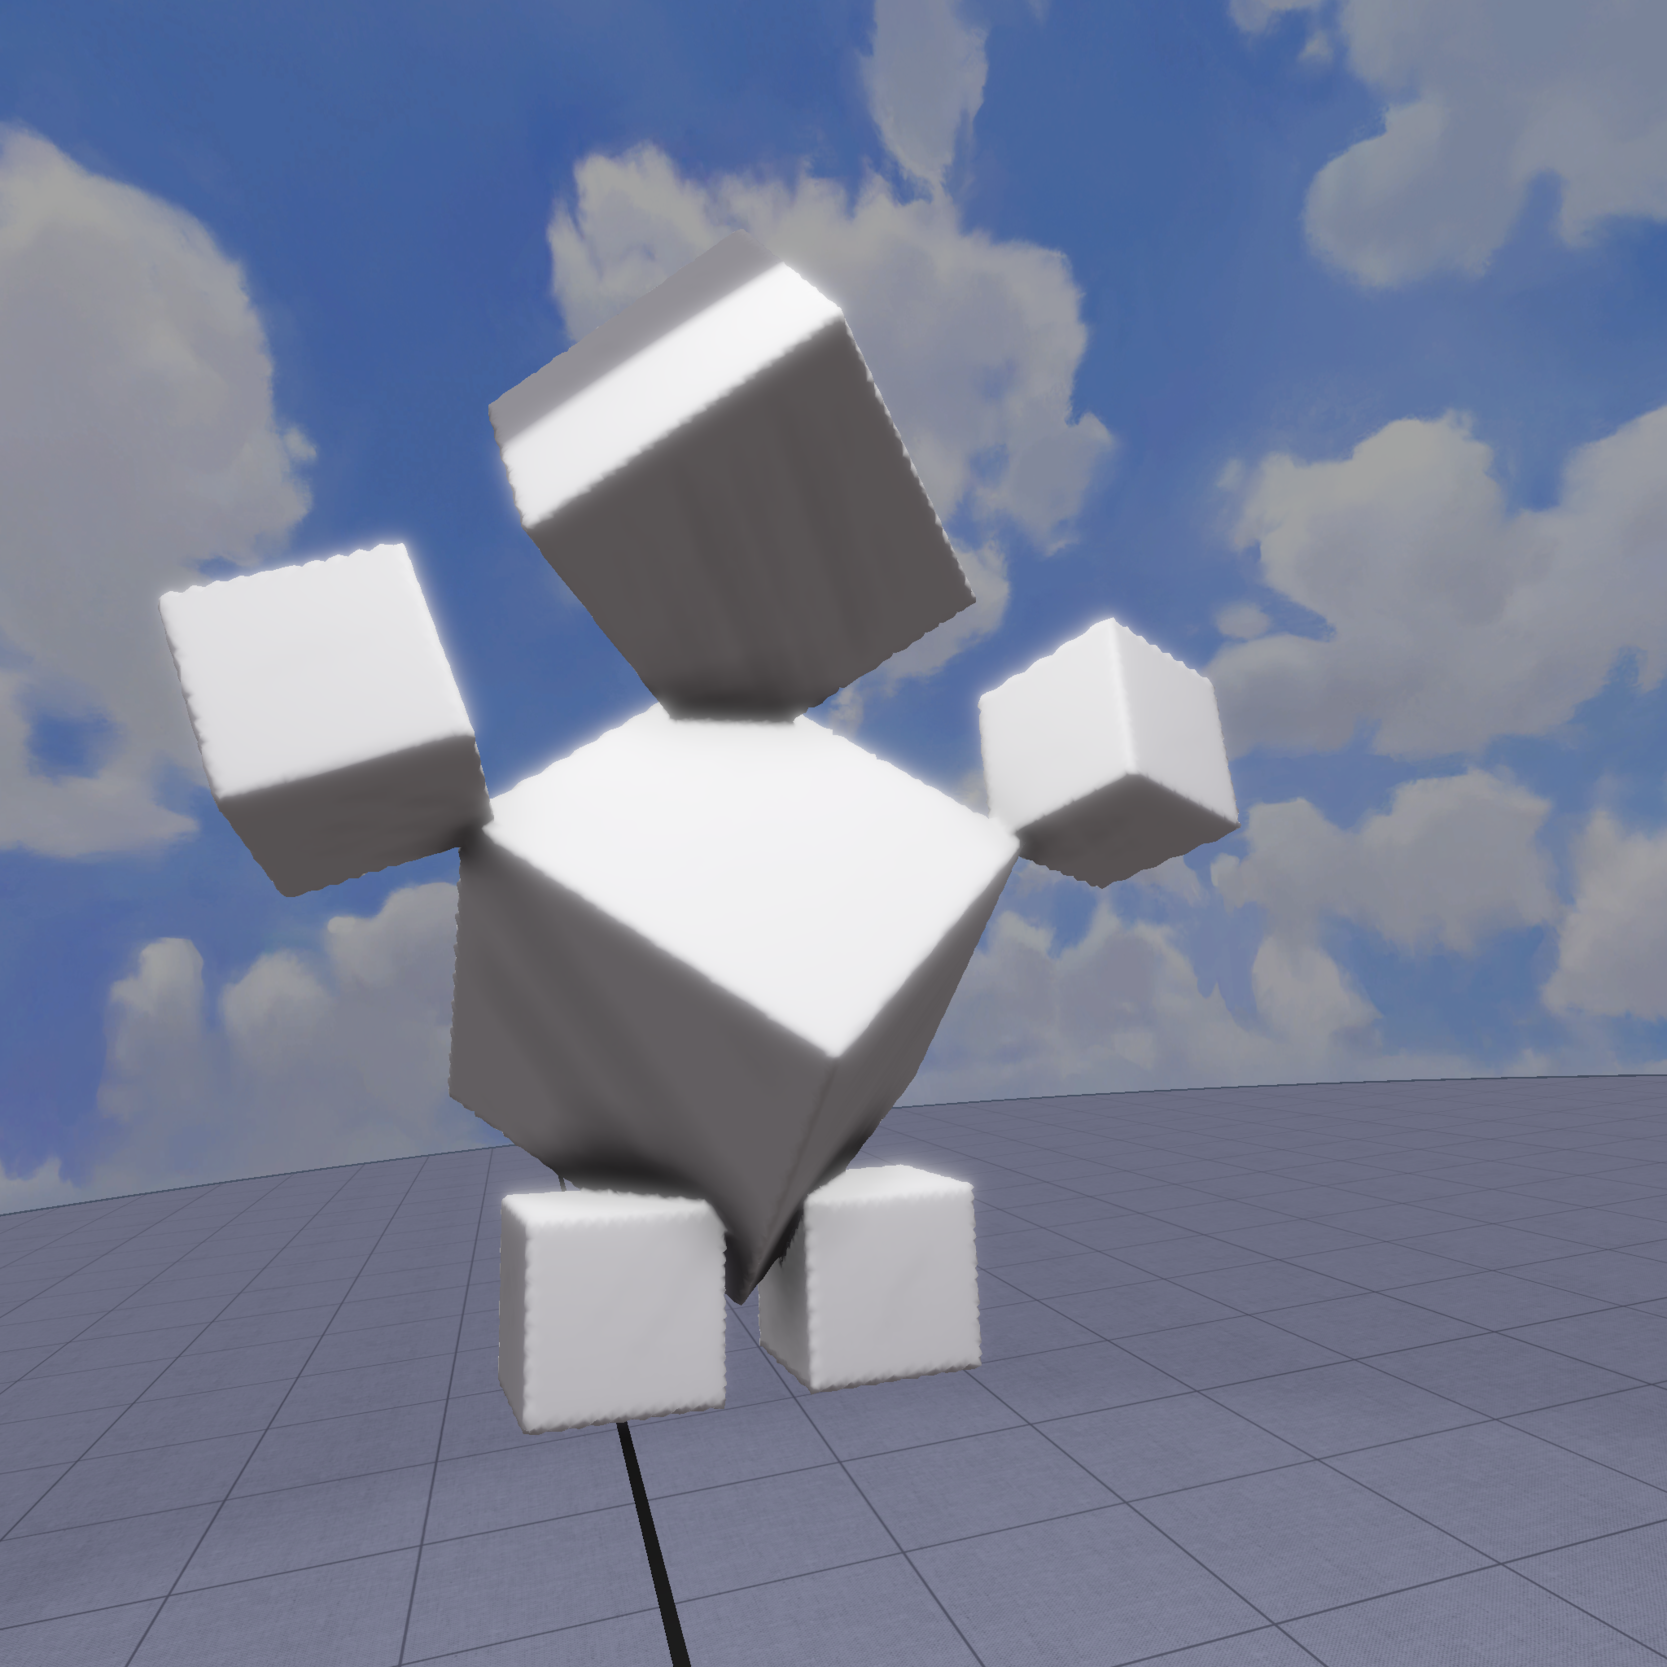
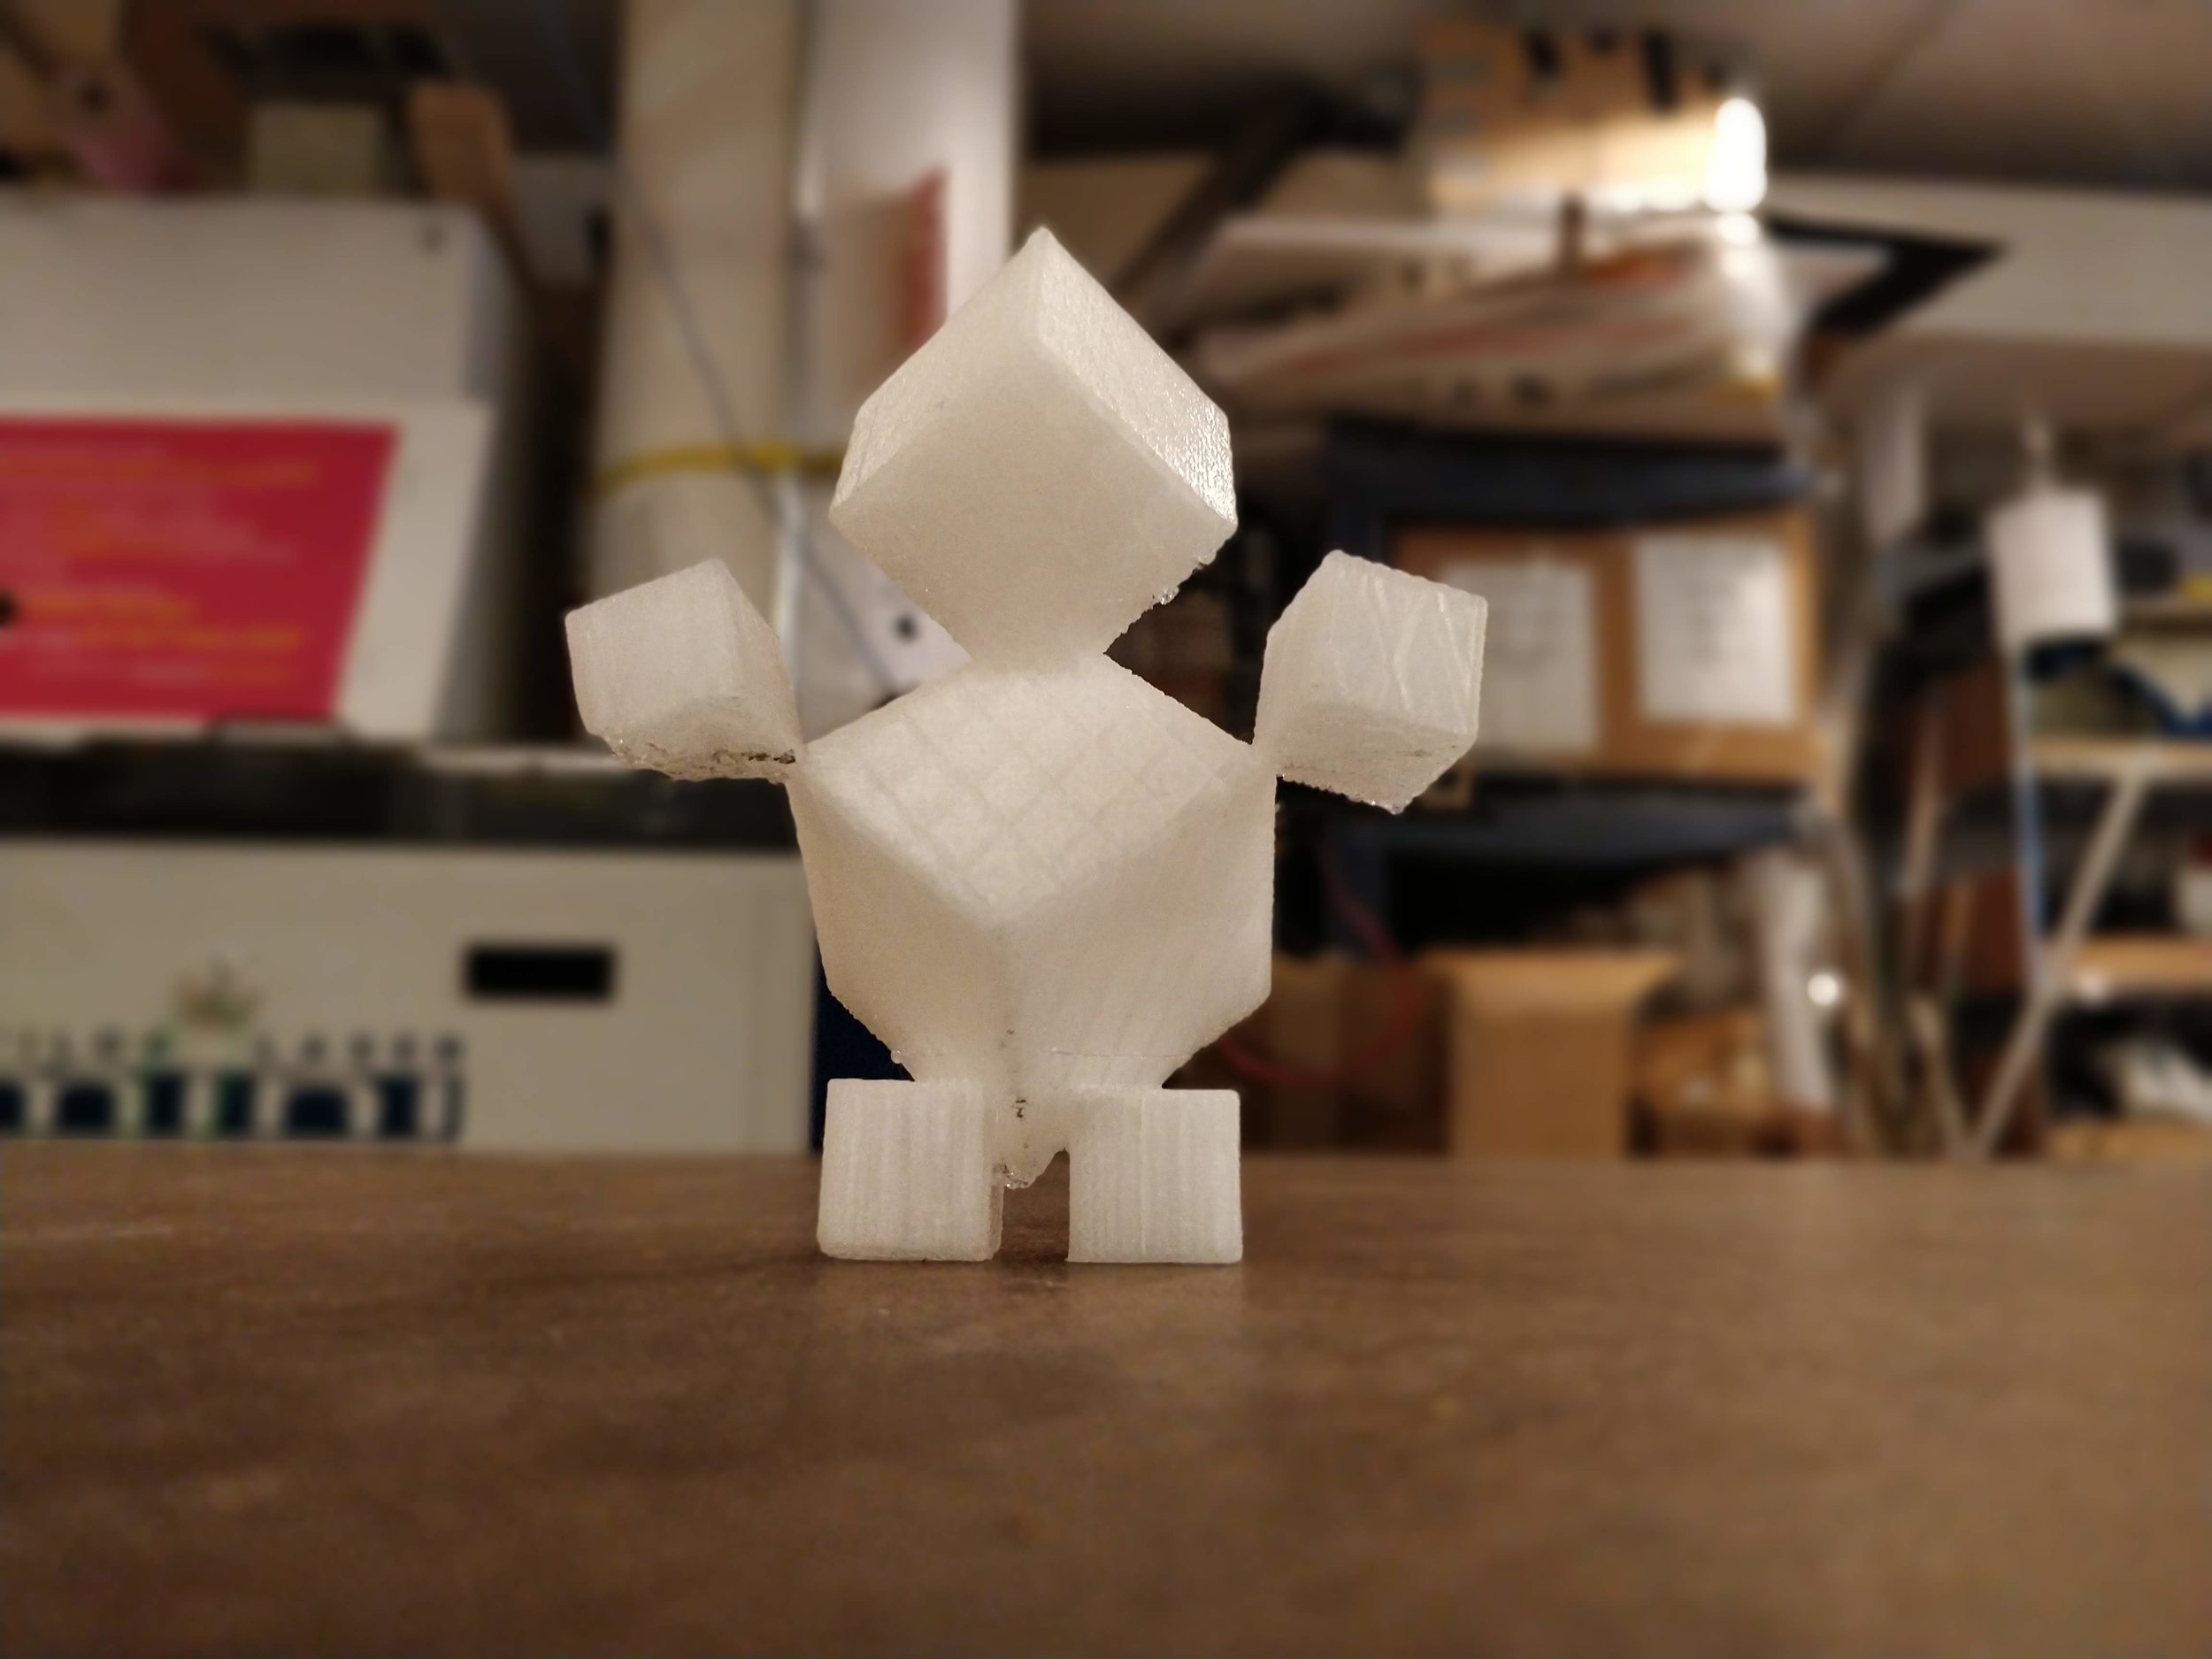
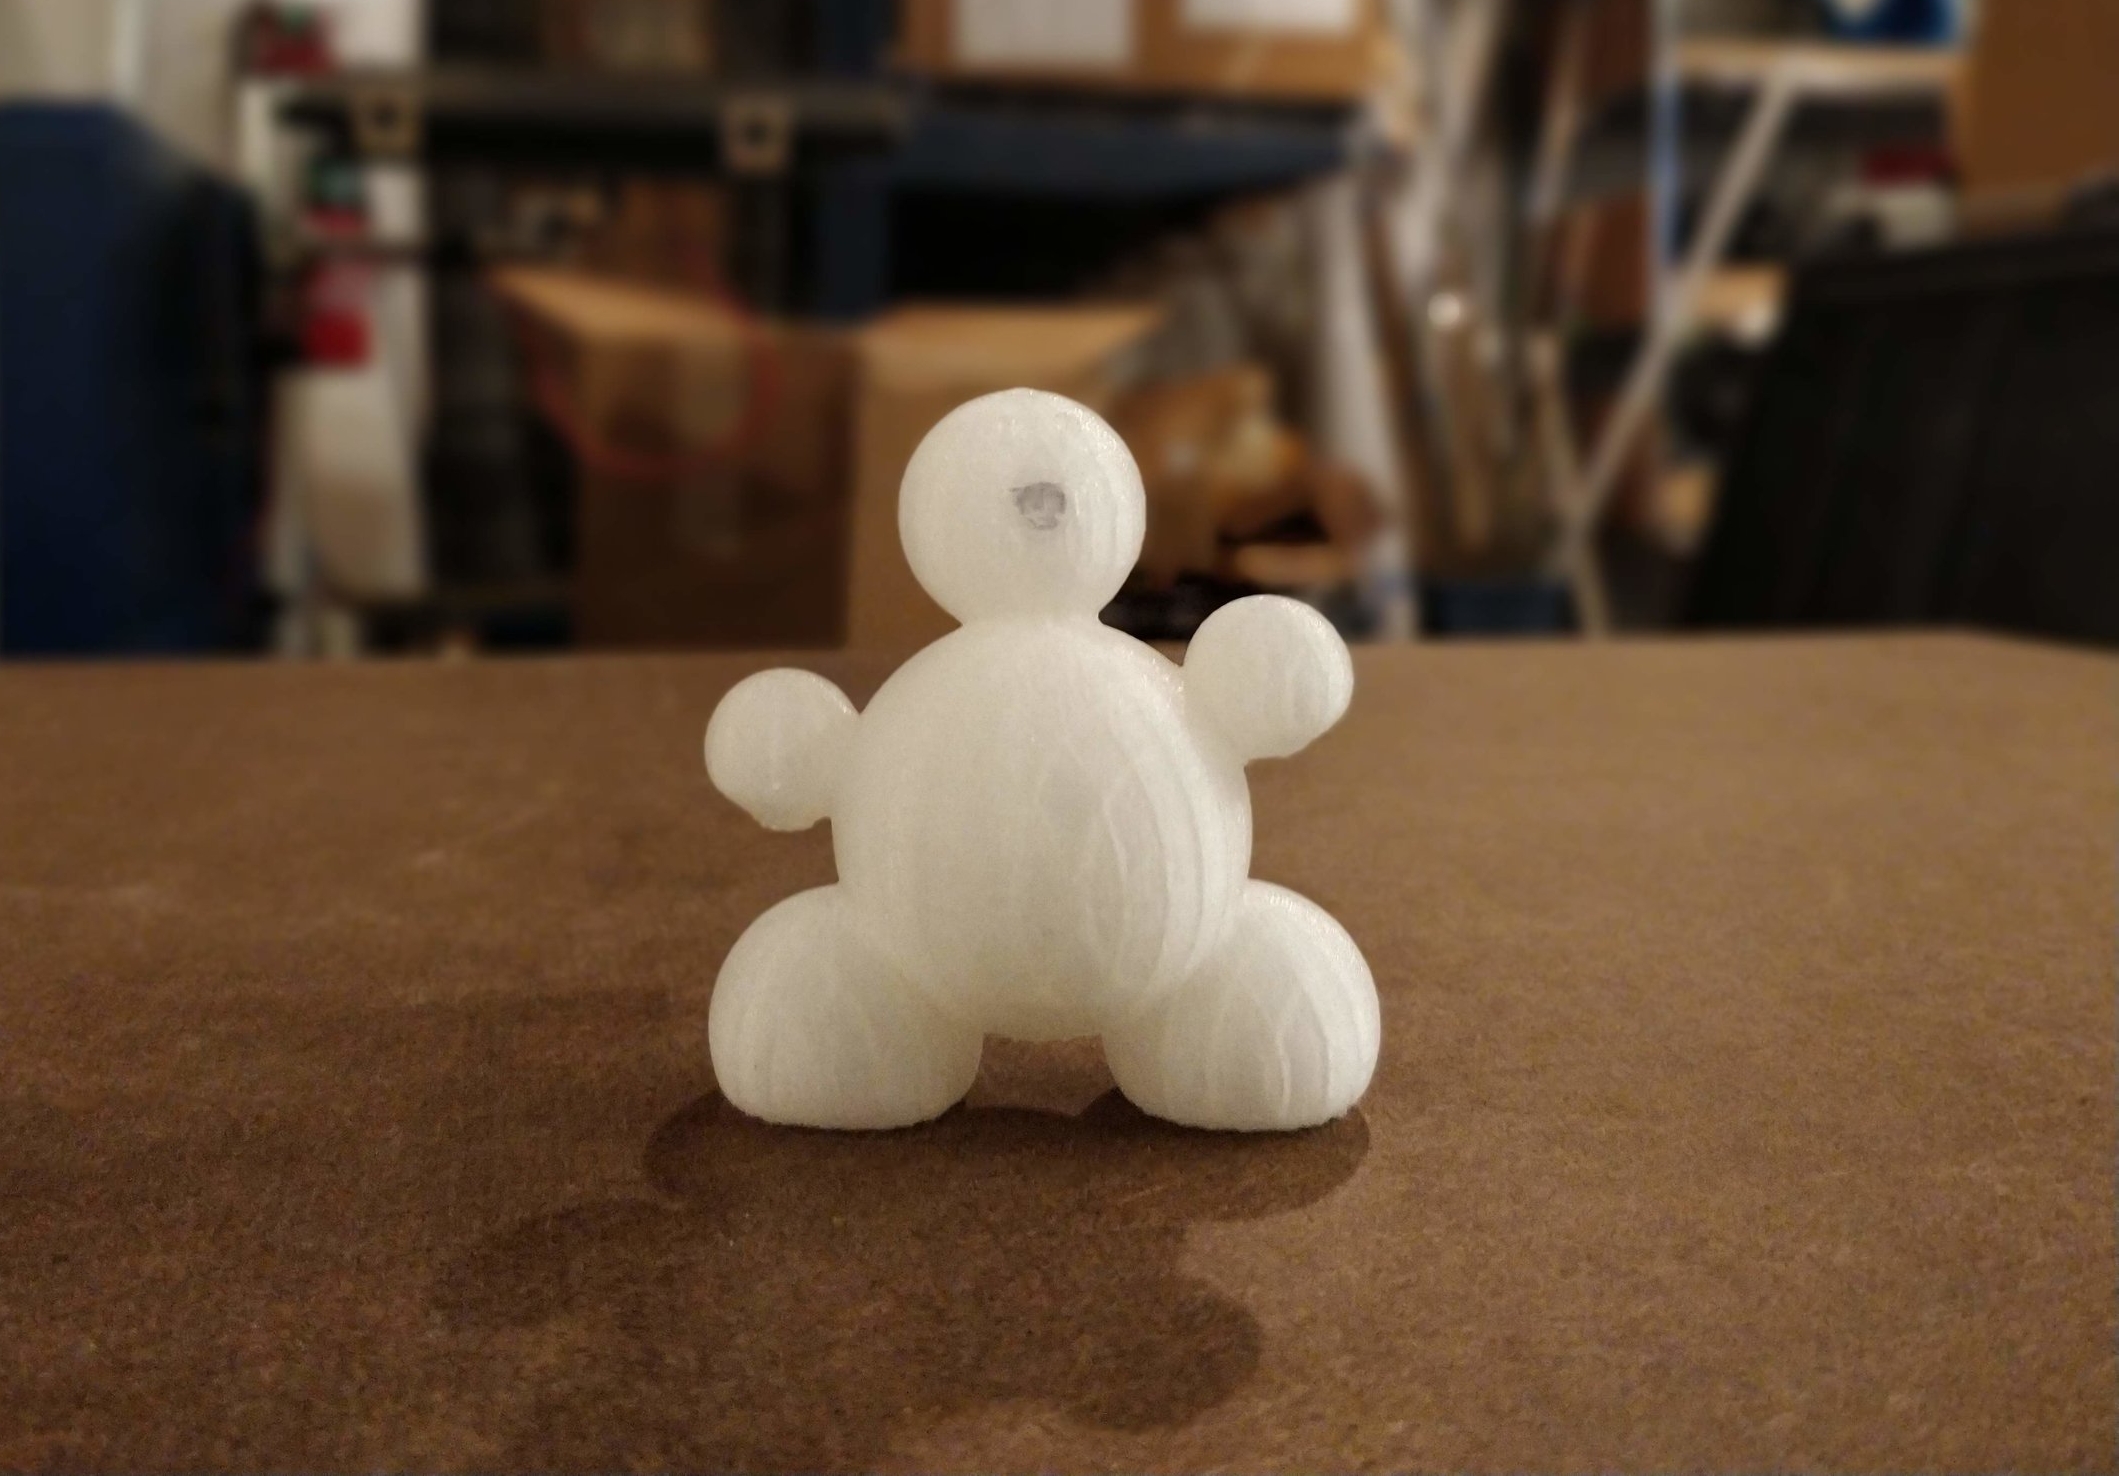
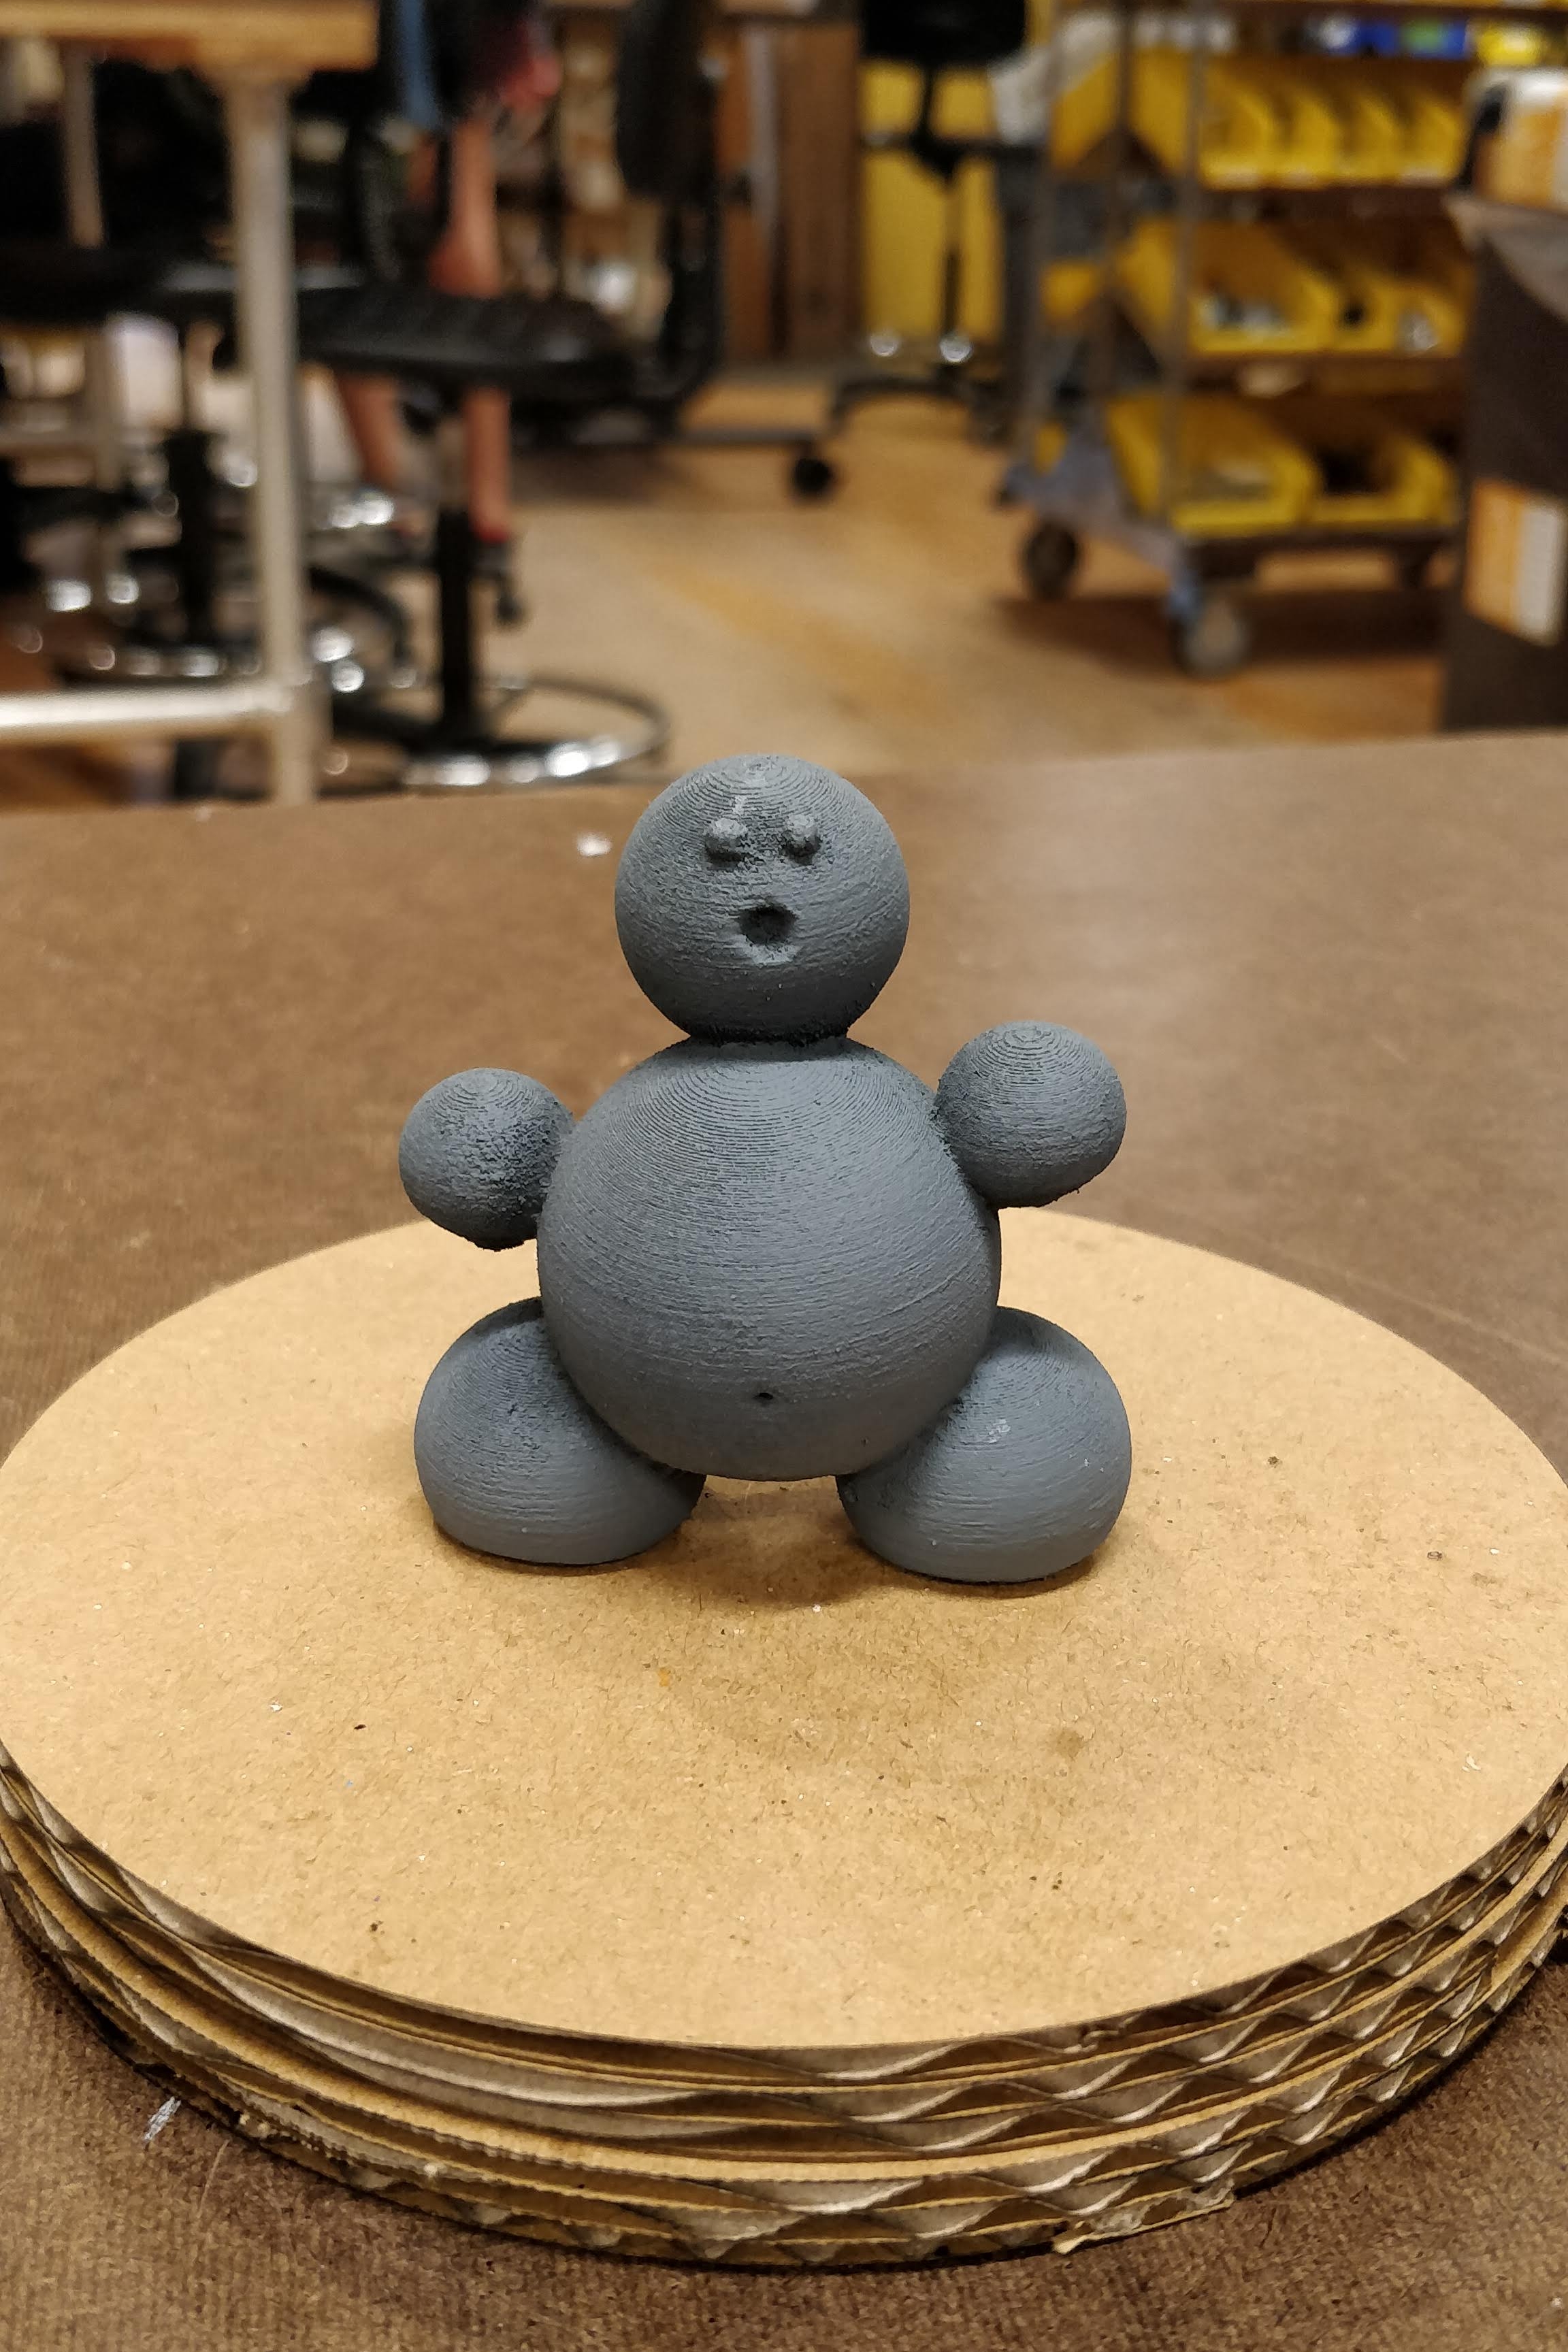
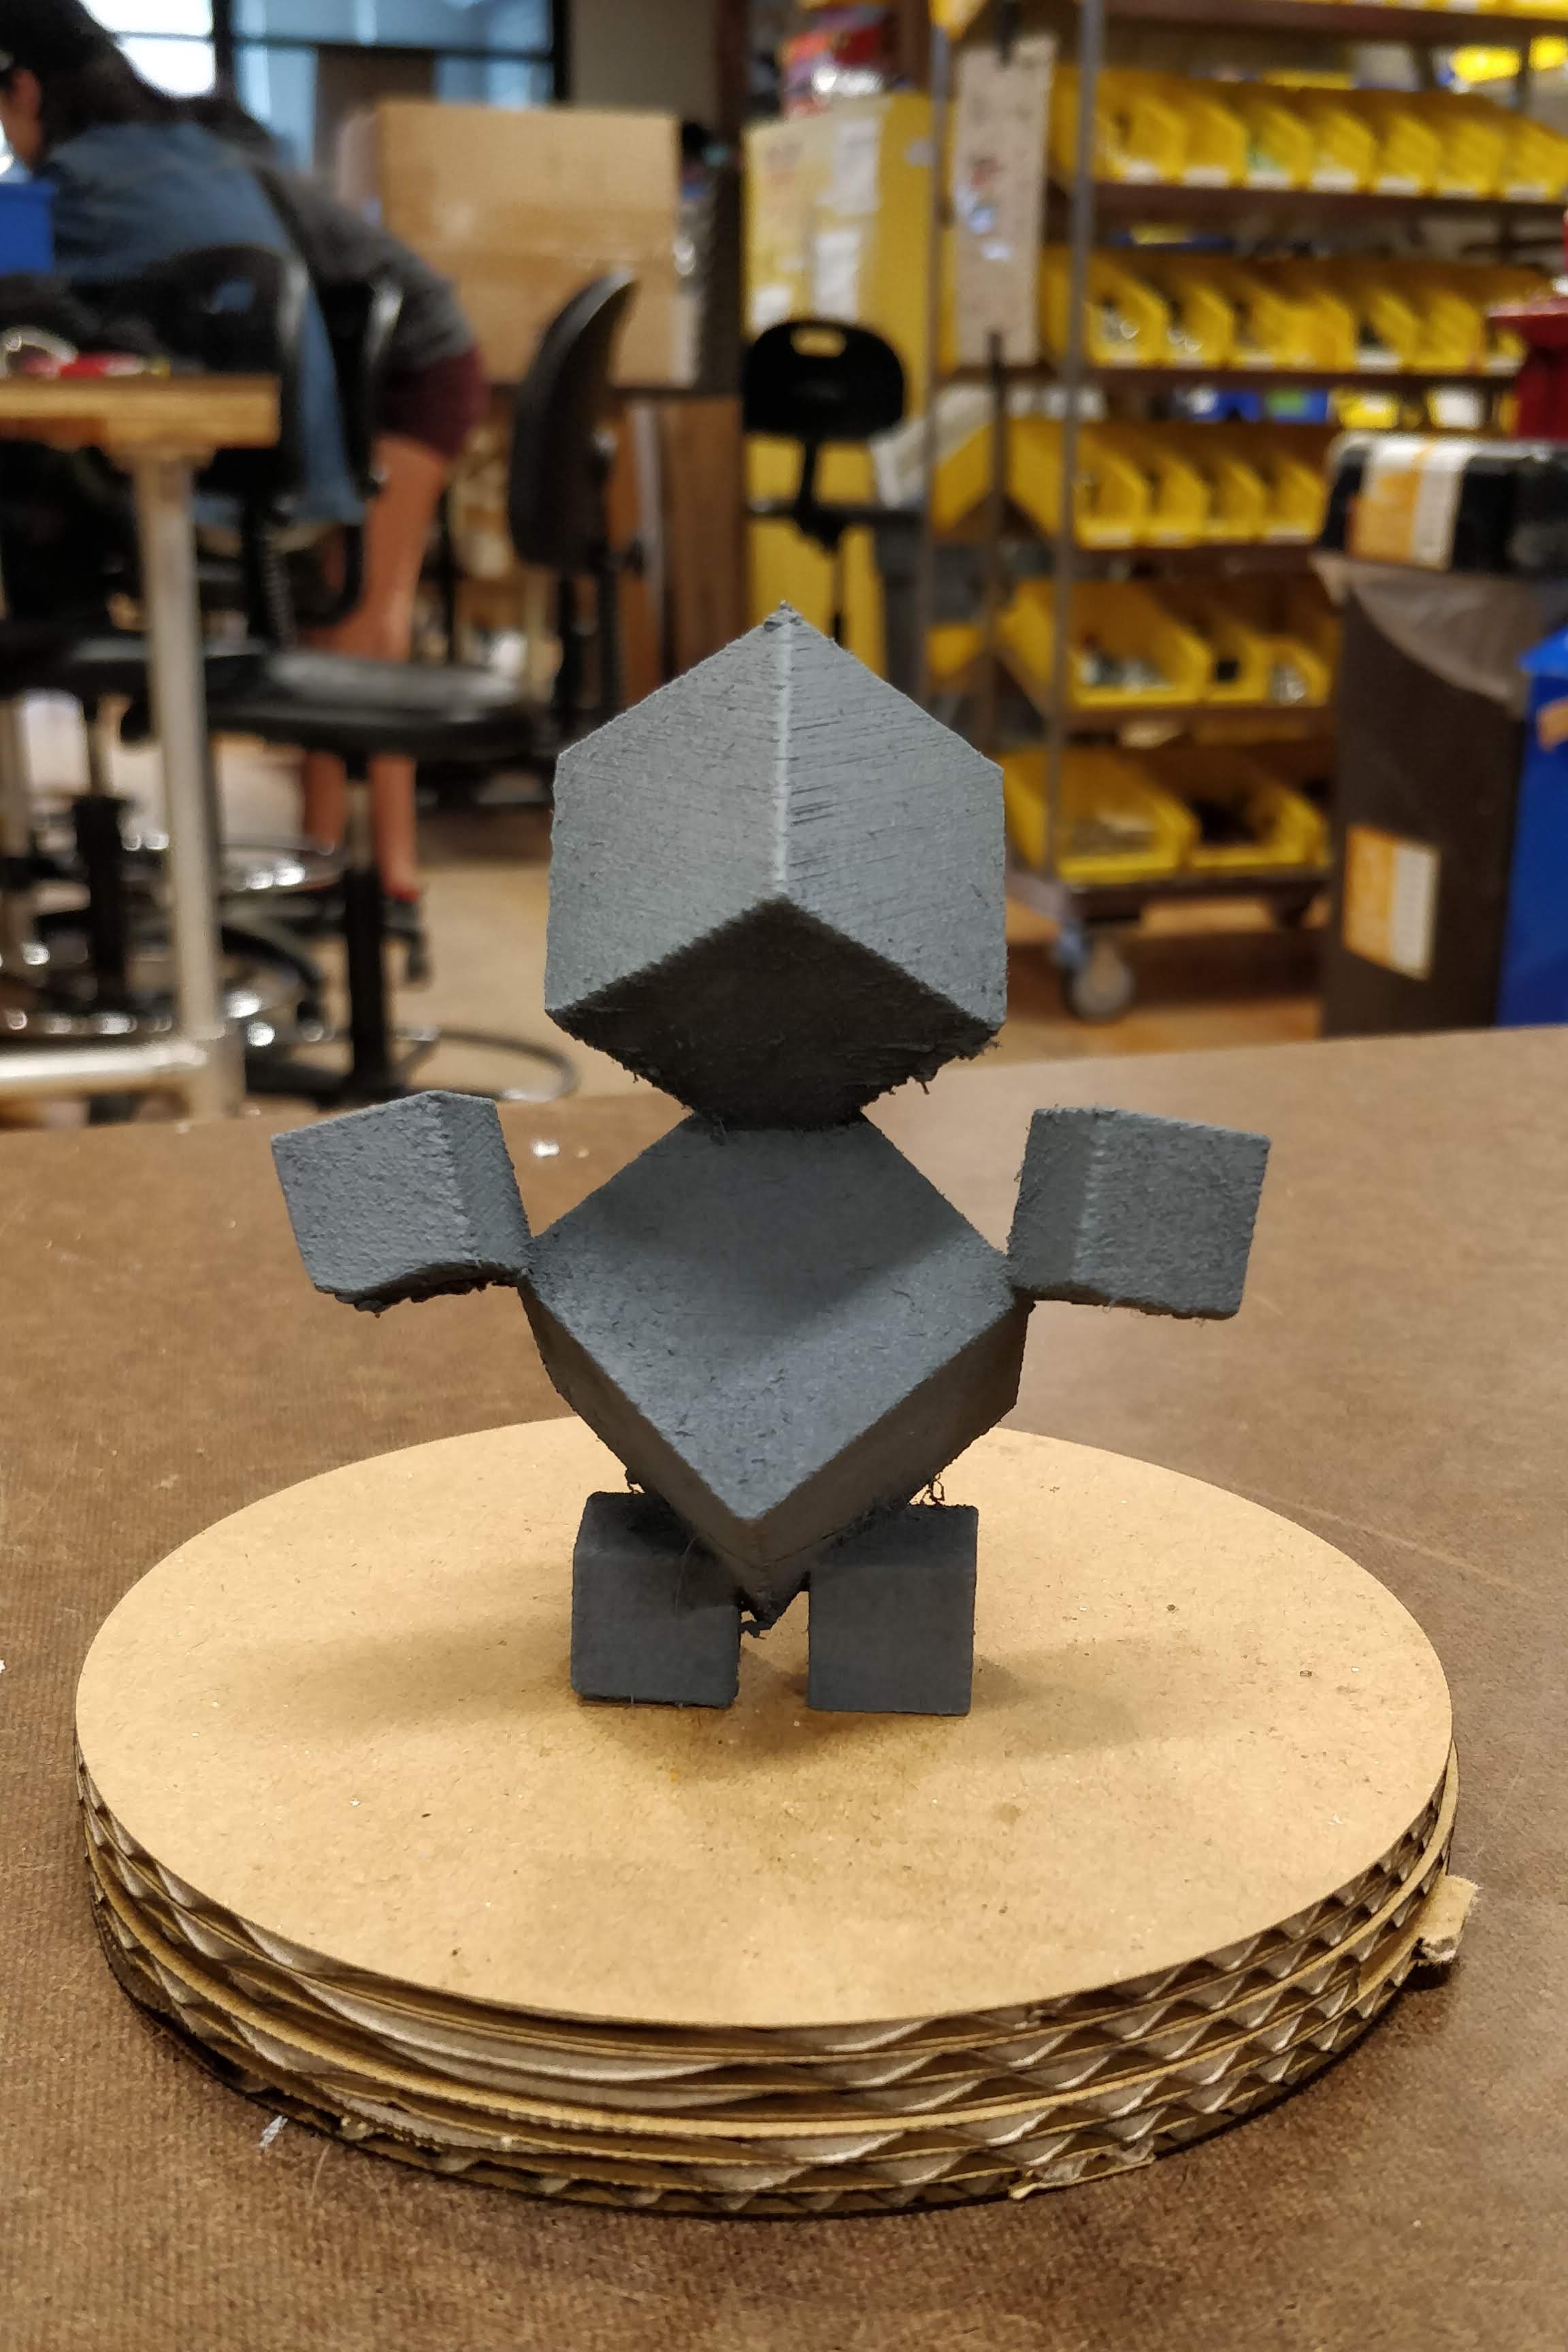
I started with simple cubes and spheres and attempted to make a “cute” character, the result was “Block” and “Blob”, two characters made of cubes and spheres. What was interesting to me was how, even though the different parts are fixed, the figures seemed to convey different emotions when observed from different angles. “Blob” seemed both shocked and asking for a hug and “Block” wanted a hug as well, but also looked a bit down, depending on where you thought the head is pointing.
This reminded me of something I red in “Understanding Comics”, on how the more a character is stylized and simplified, the more it relates to a broad audience as they can see themselves in it. The trick, I suppose, is in conveying particular emotions with a limited degree of motion in the design.
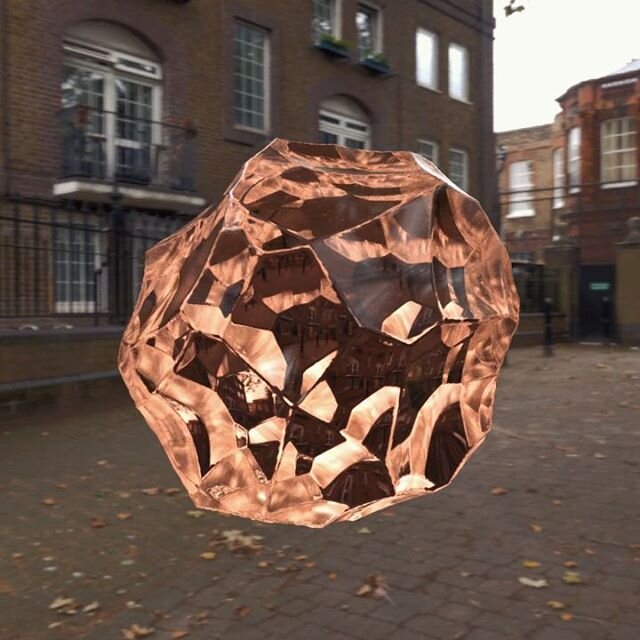
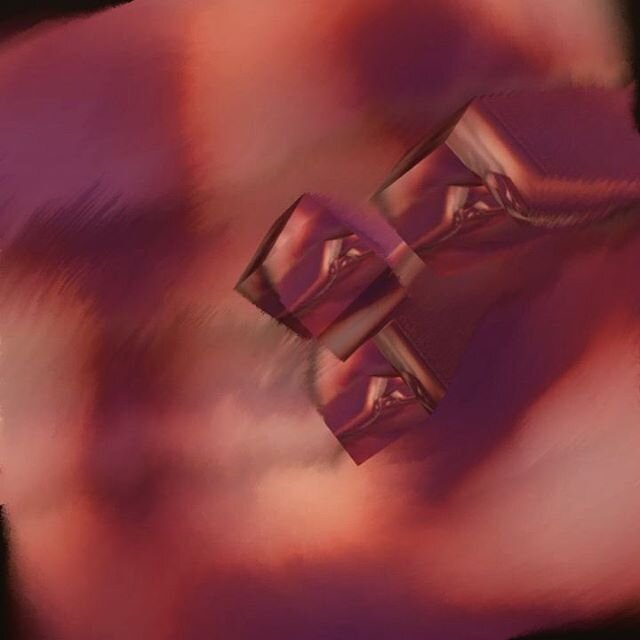
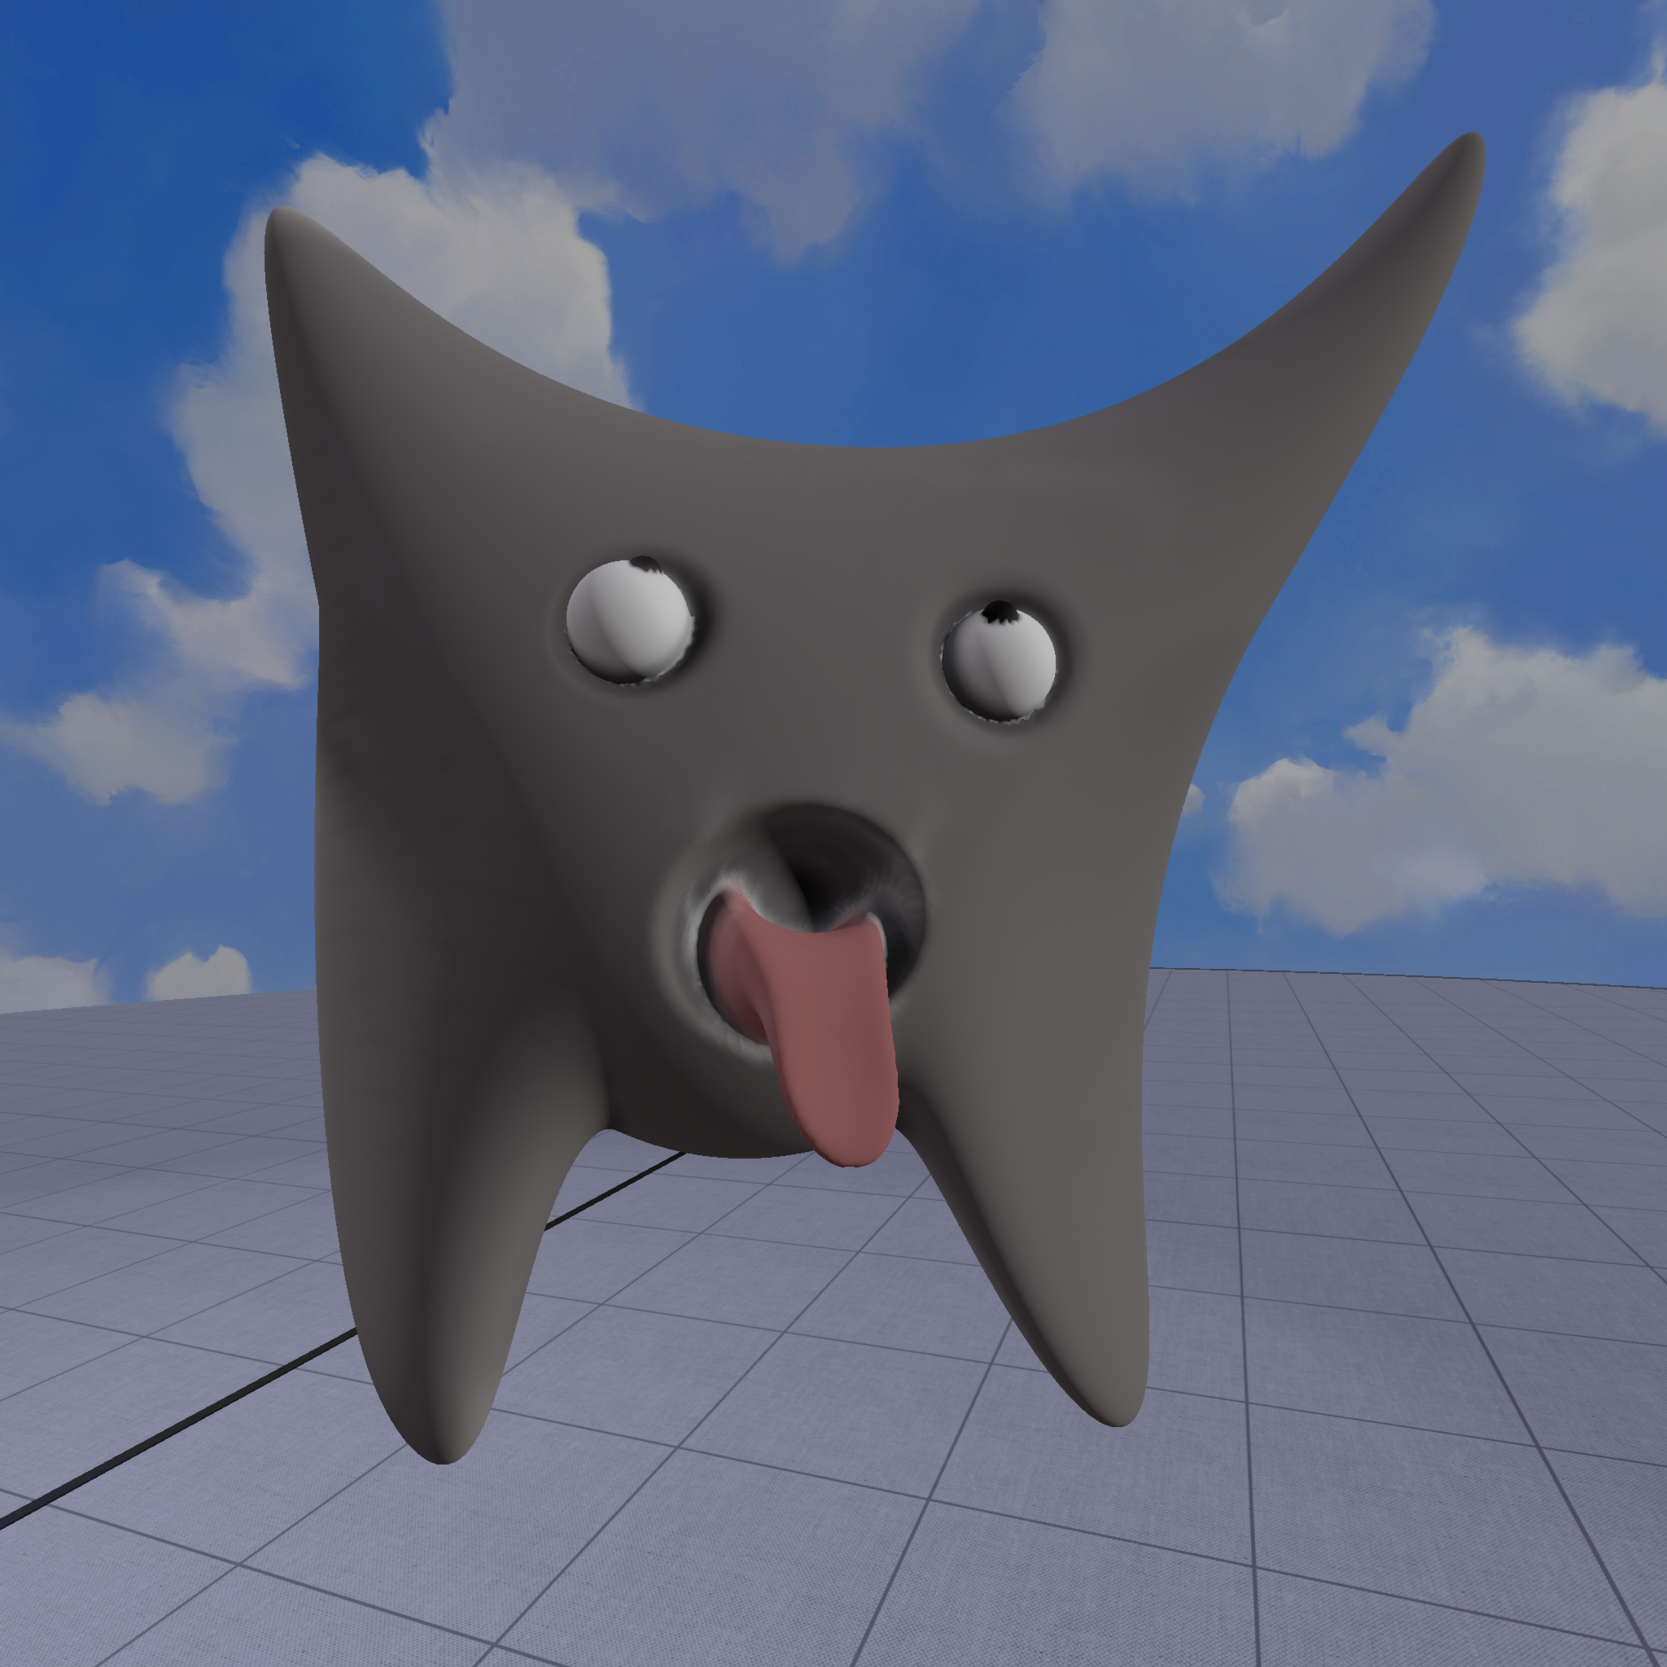
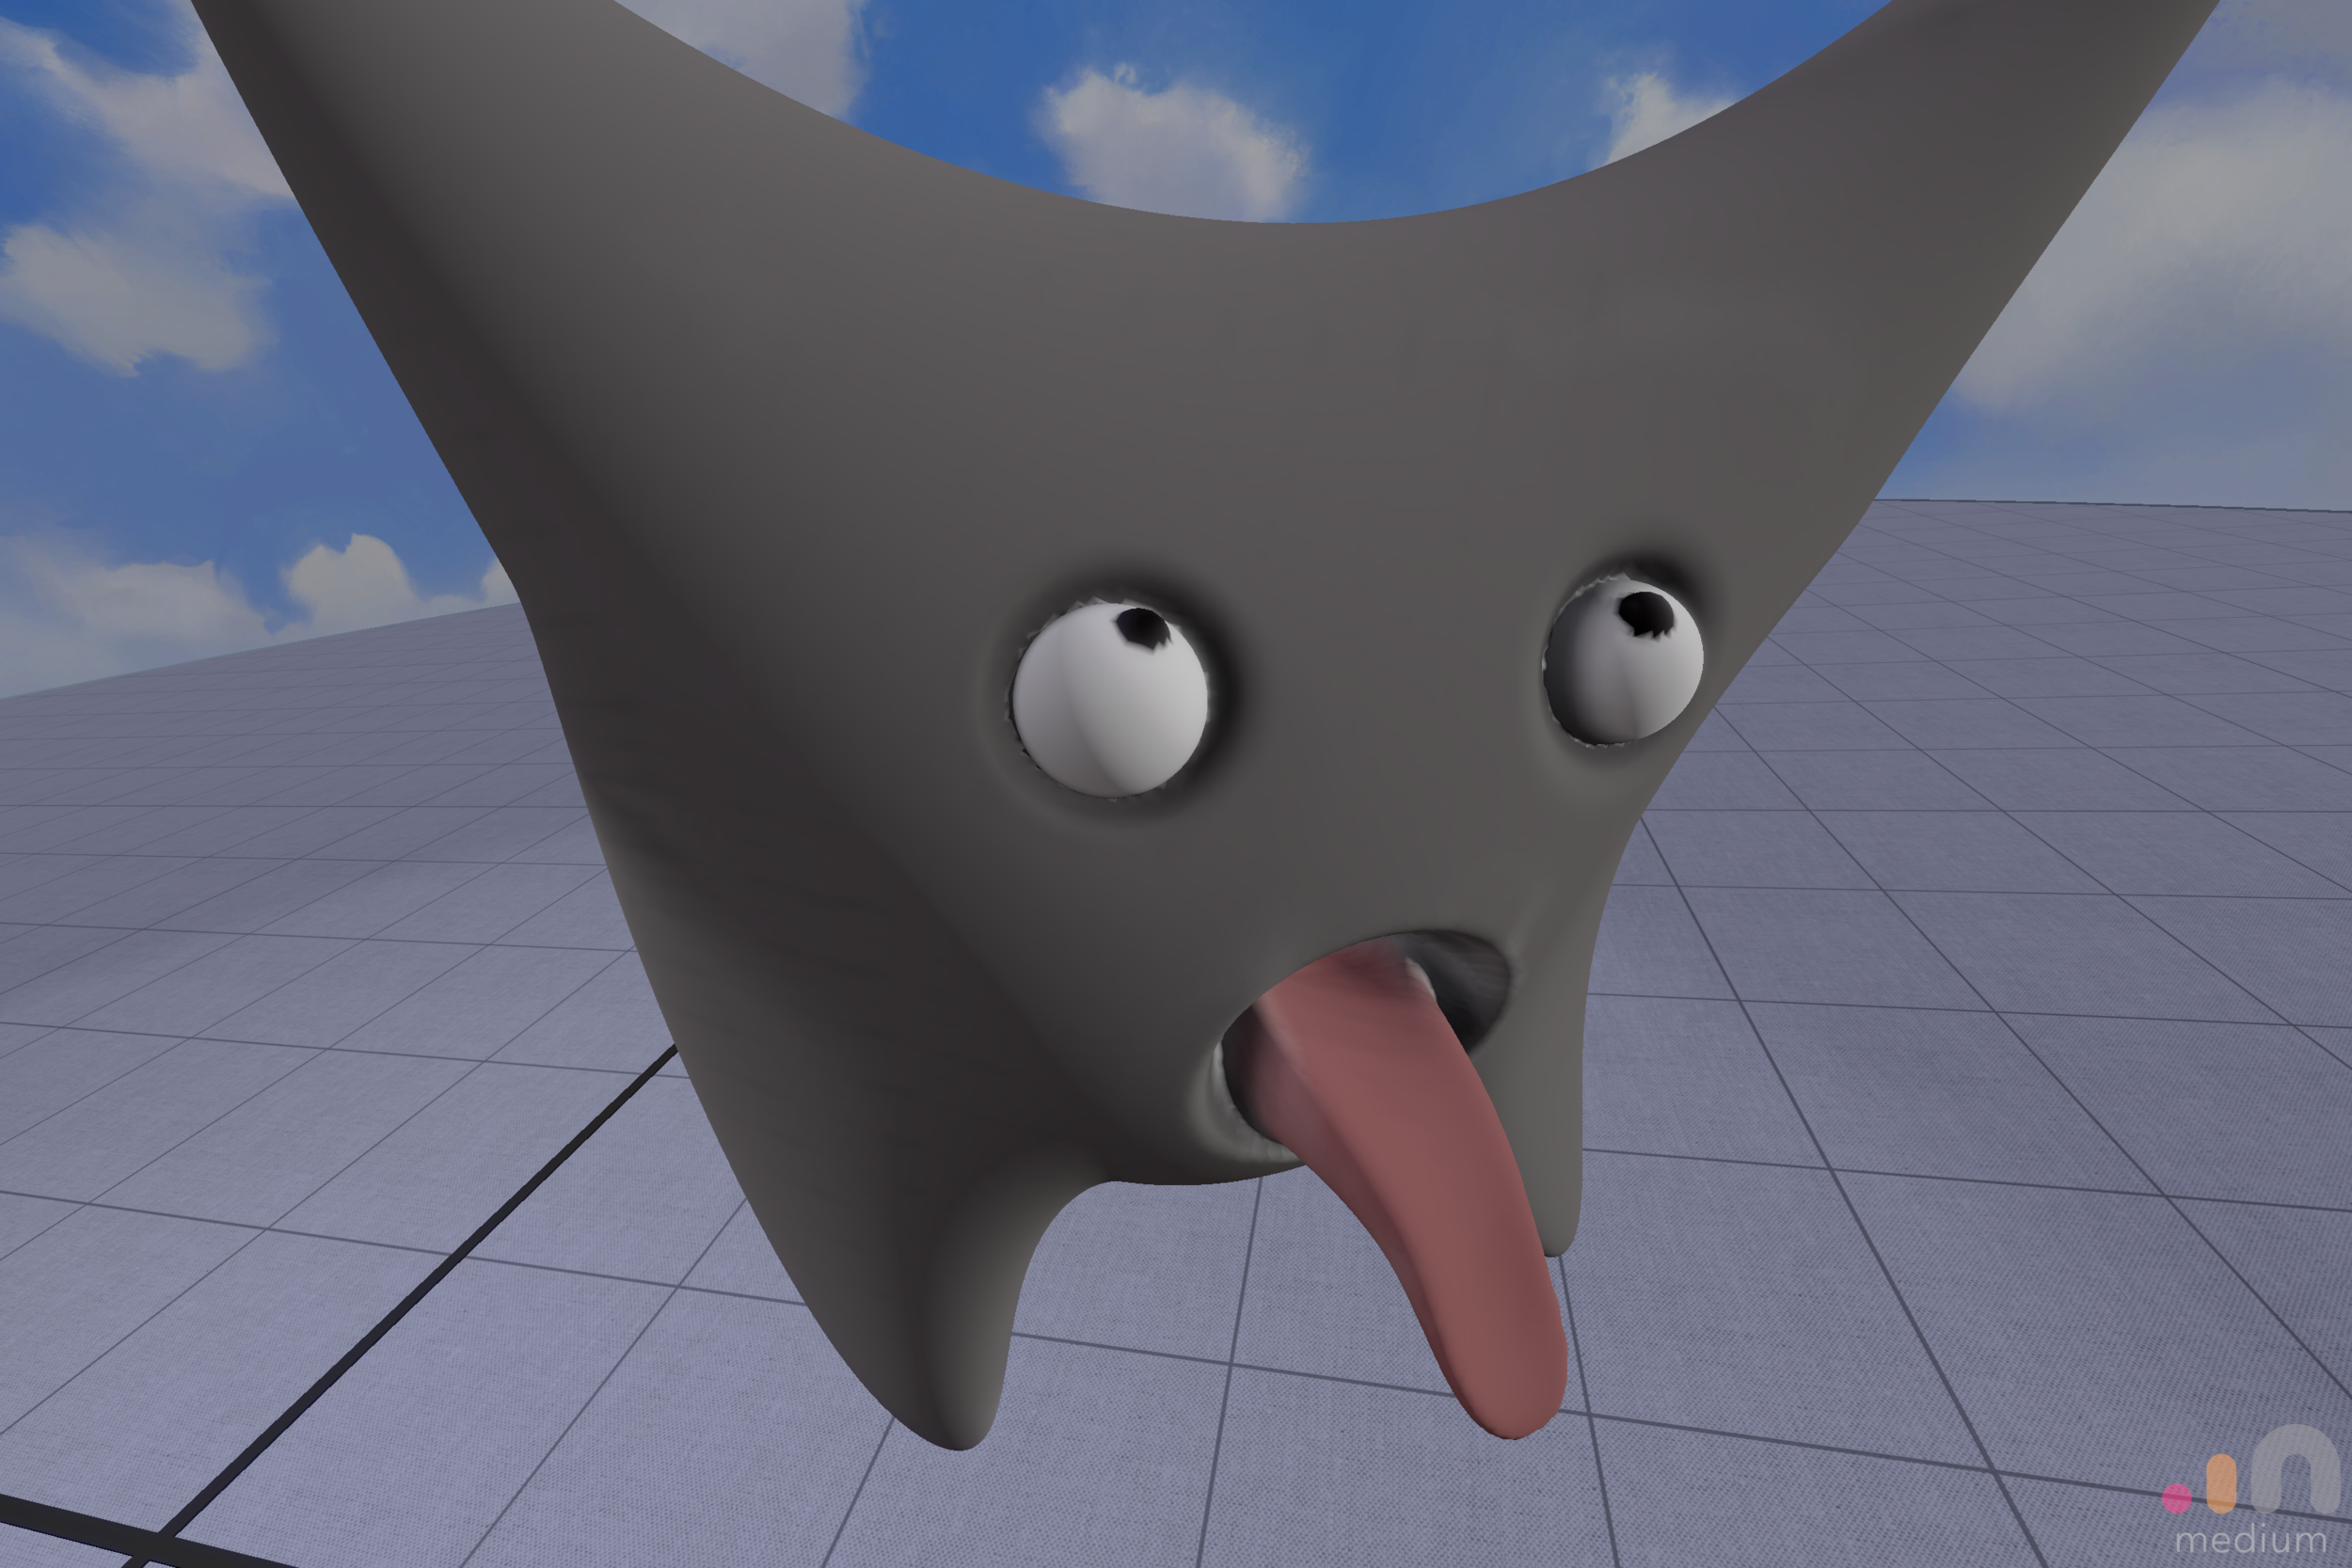
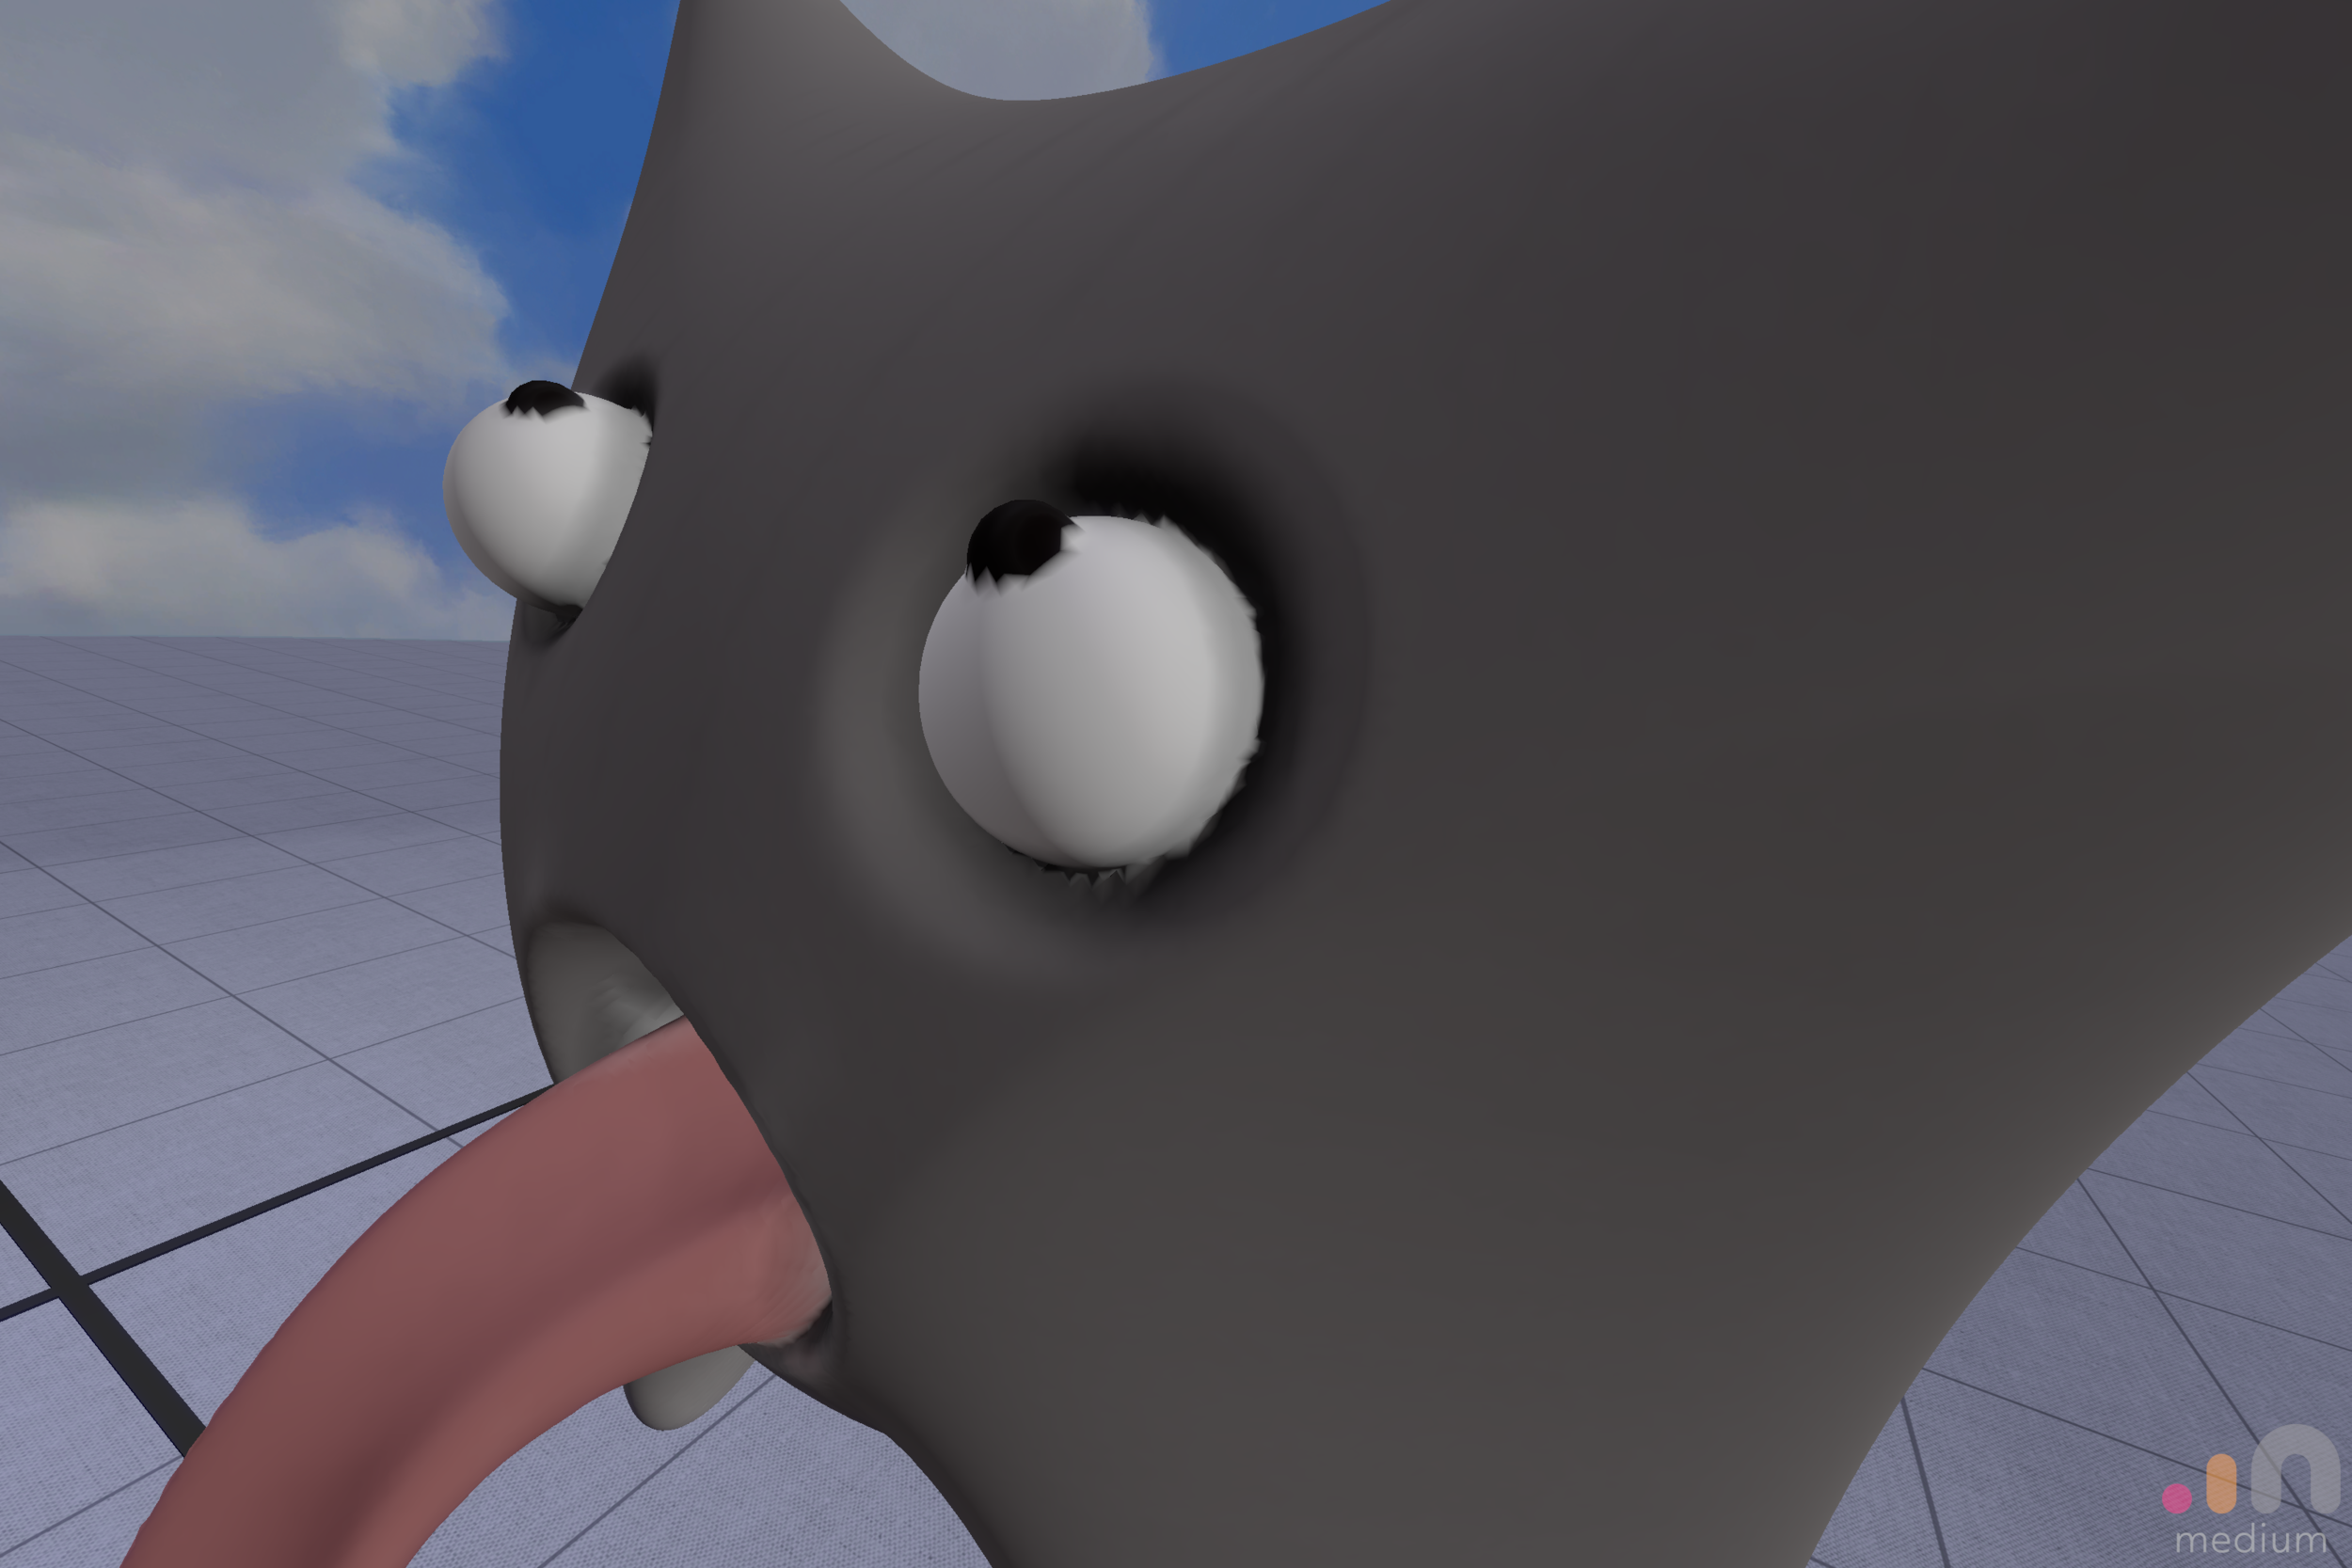
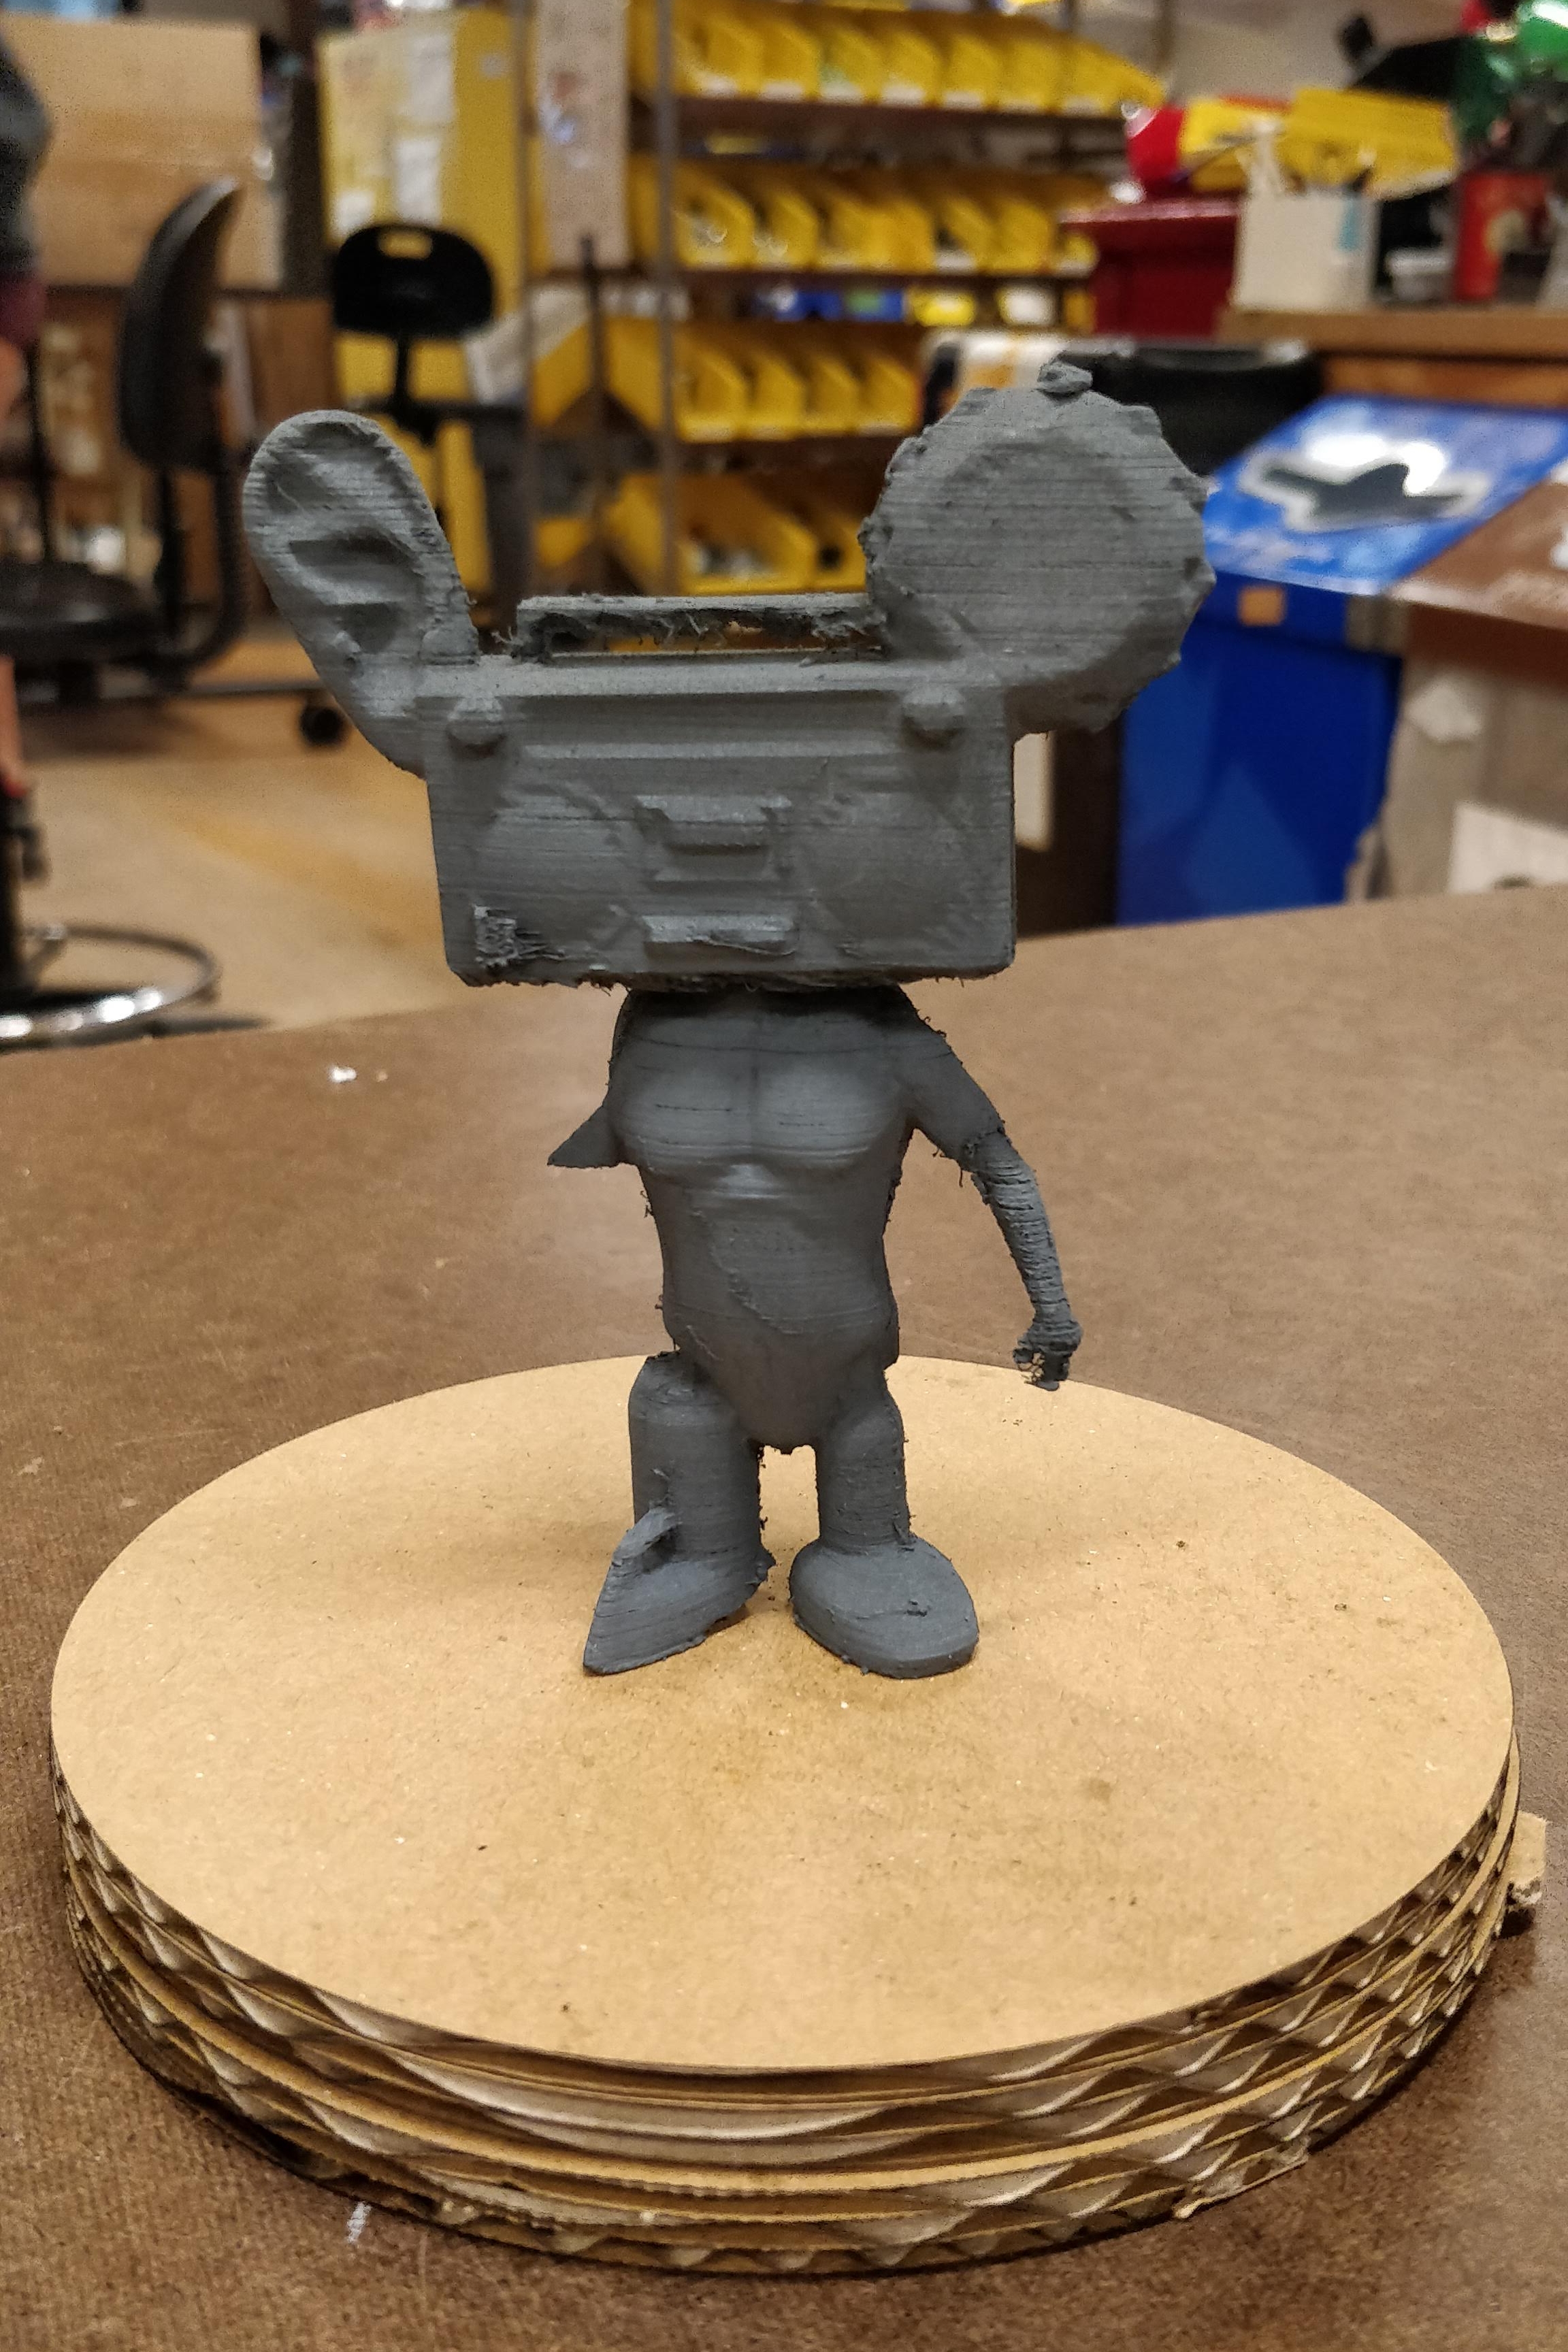
Next I tried a few more modeling tools Medium had to offer, like stamps and clay-like modeling. Using stamps I created a “kit-bashed” character that somewhat reminds me of the “Bike Mice from Mars”, one of my favorite shows as a kid, or just a mecha-steam-punk-mickey-mouse. The second character was a sort of devil figure with his tongue out and eyes rolling, I tried Medium’s painting tools with this one too.

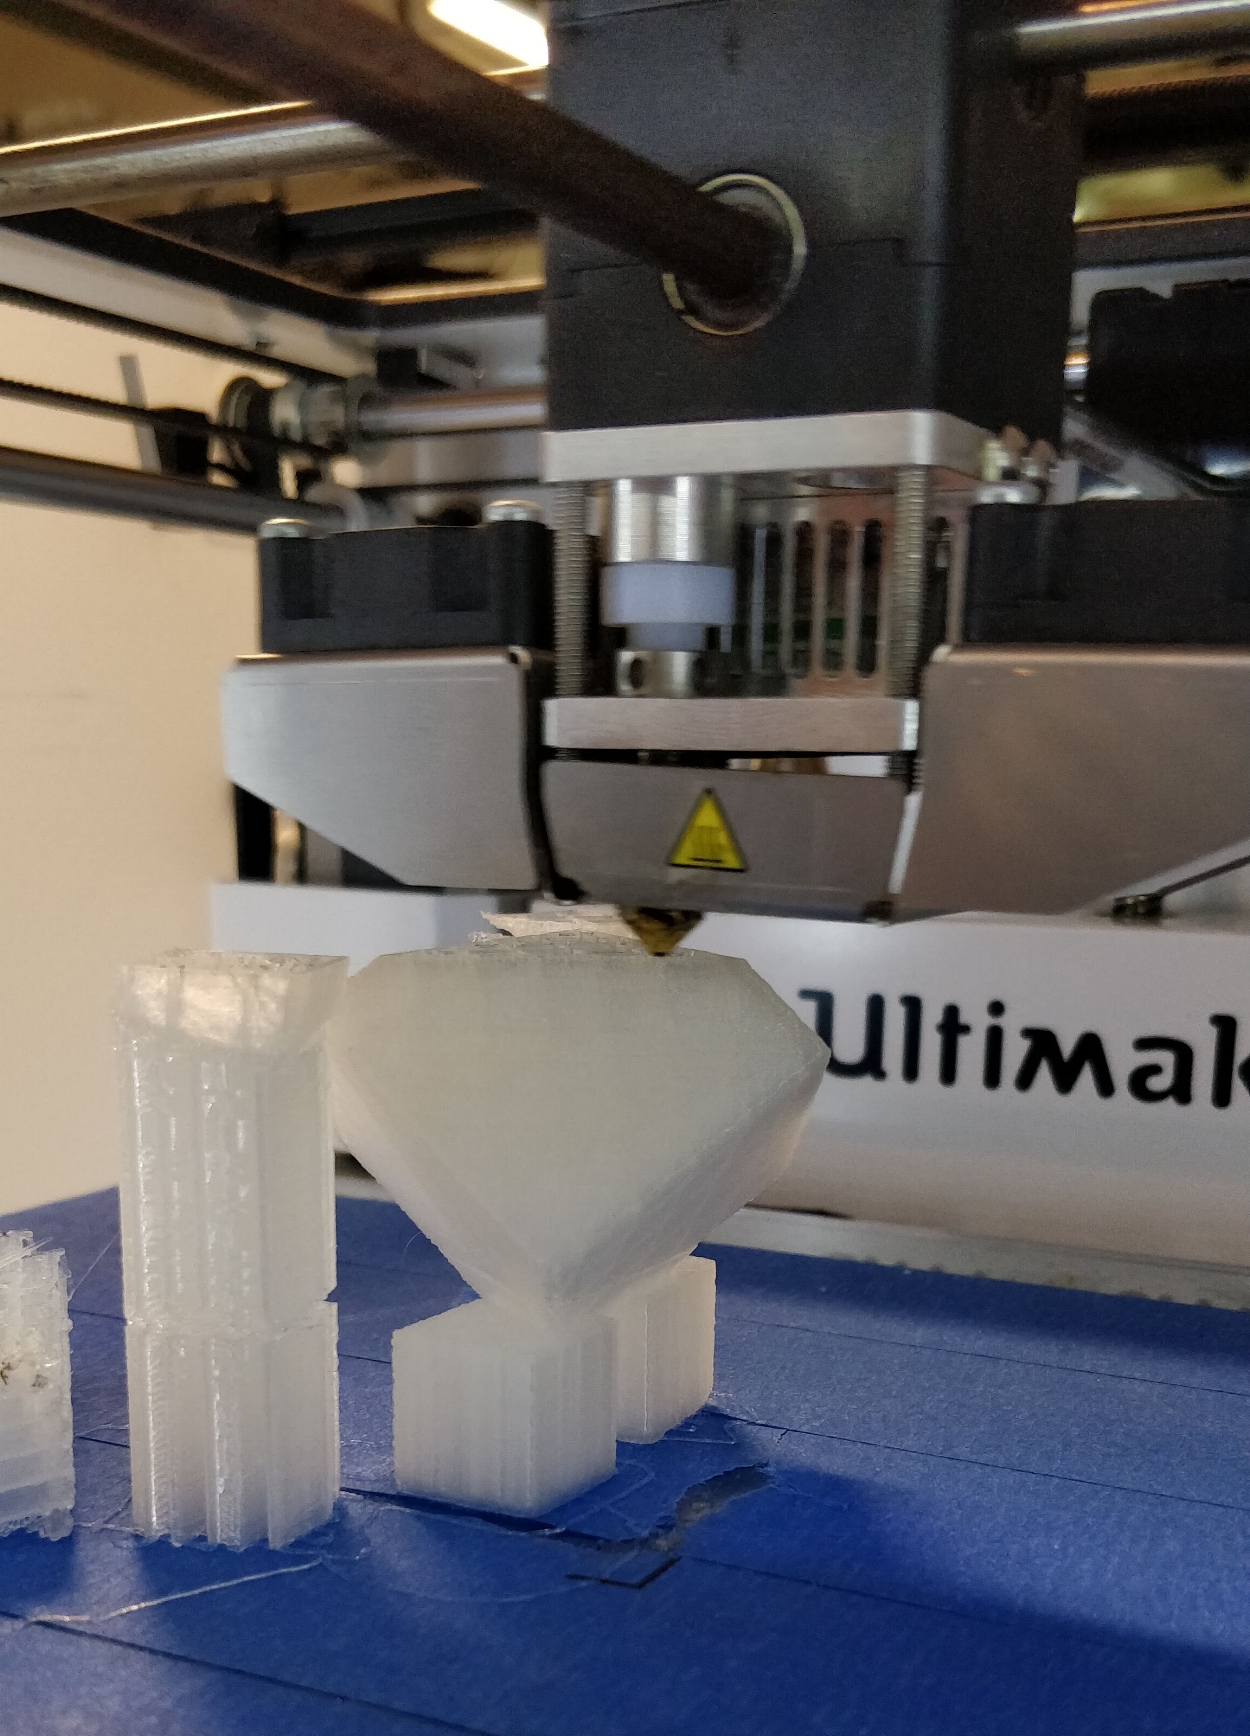
Medium has very handy export features so I was able to go from Medium to Cura and straight to the 3d printer in minutes. I tried different settings for printing and learned a lot about how to improve designs for a 3d-printing manufacturing pipeline. While Cura provides automated supports calculation for free-hanging parts, the filament still drips in places and the supports leave rough edges and require careful removal and cleaning. Still, pretty decent for a first attempt.
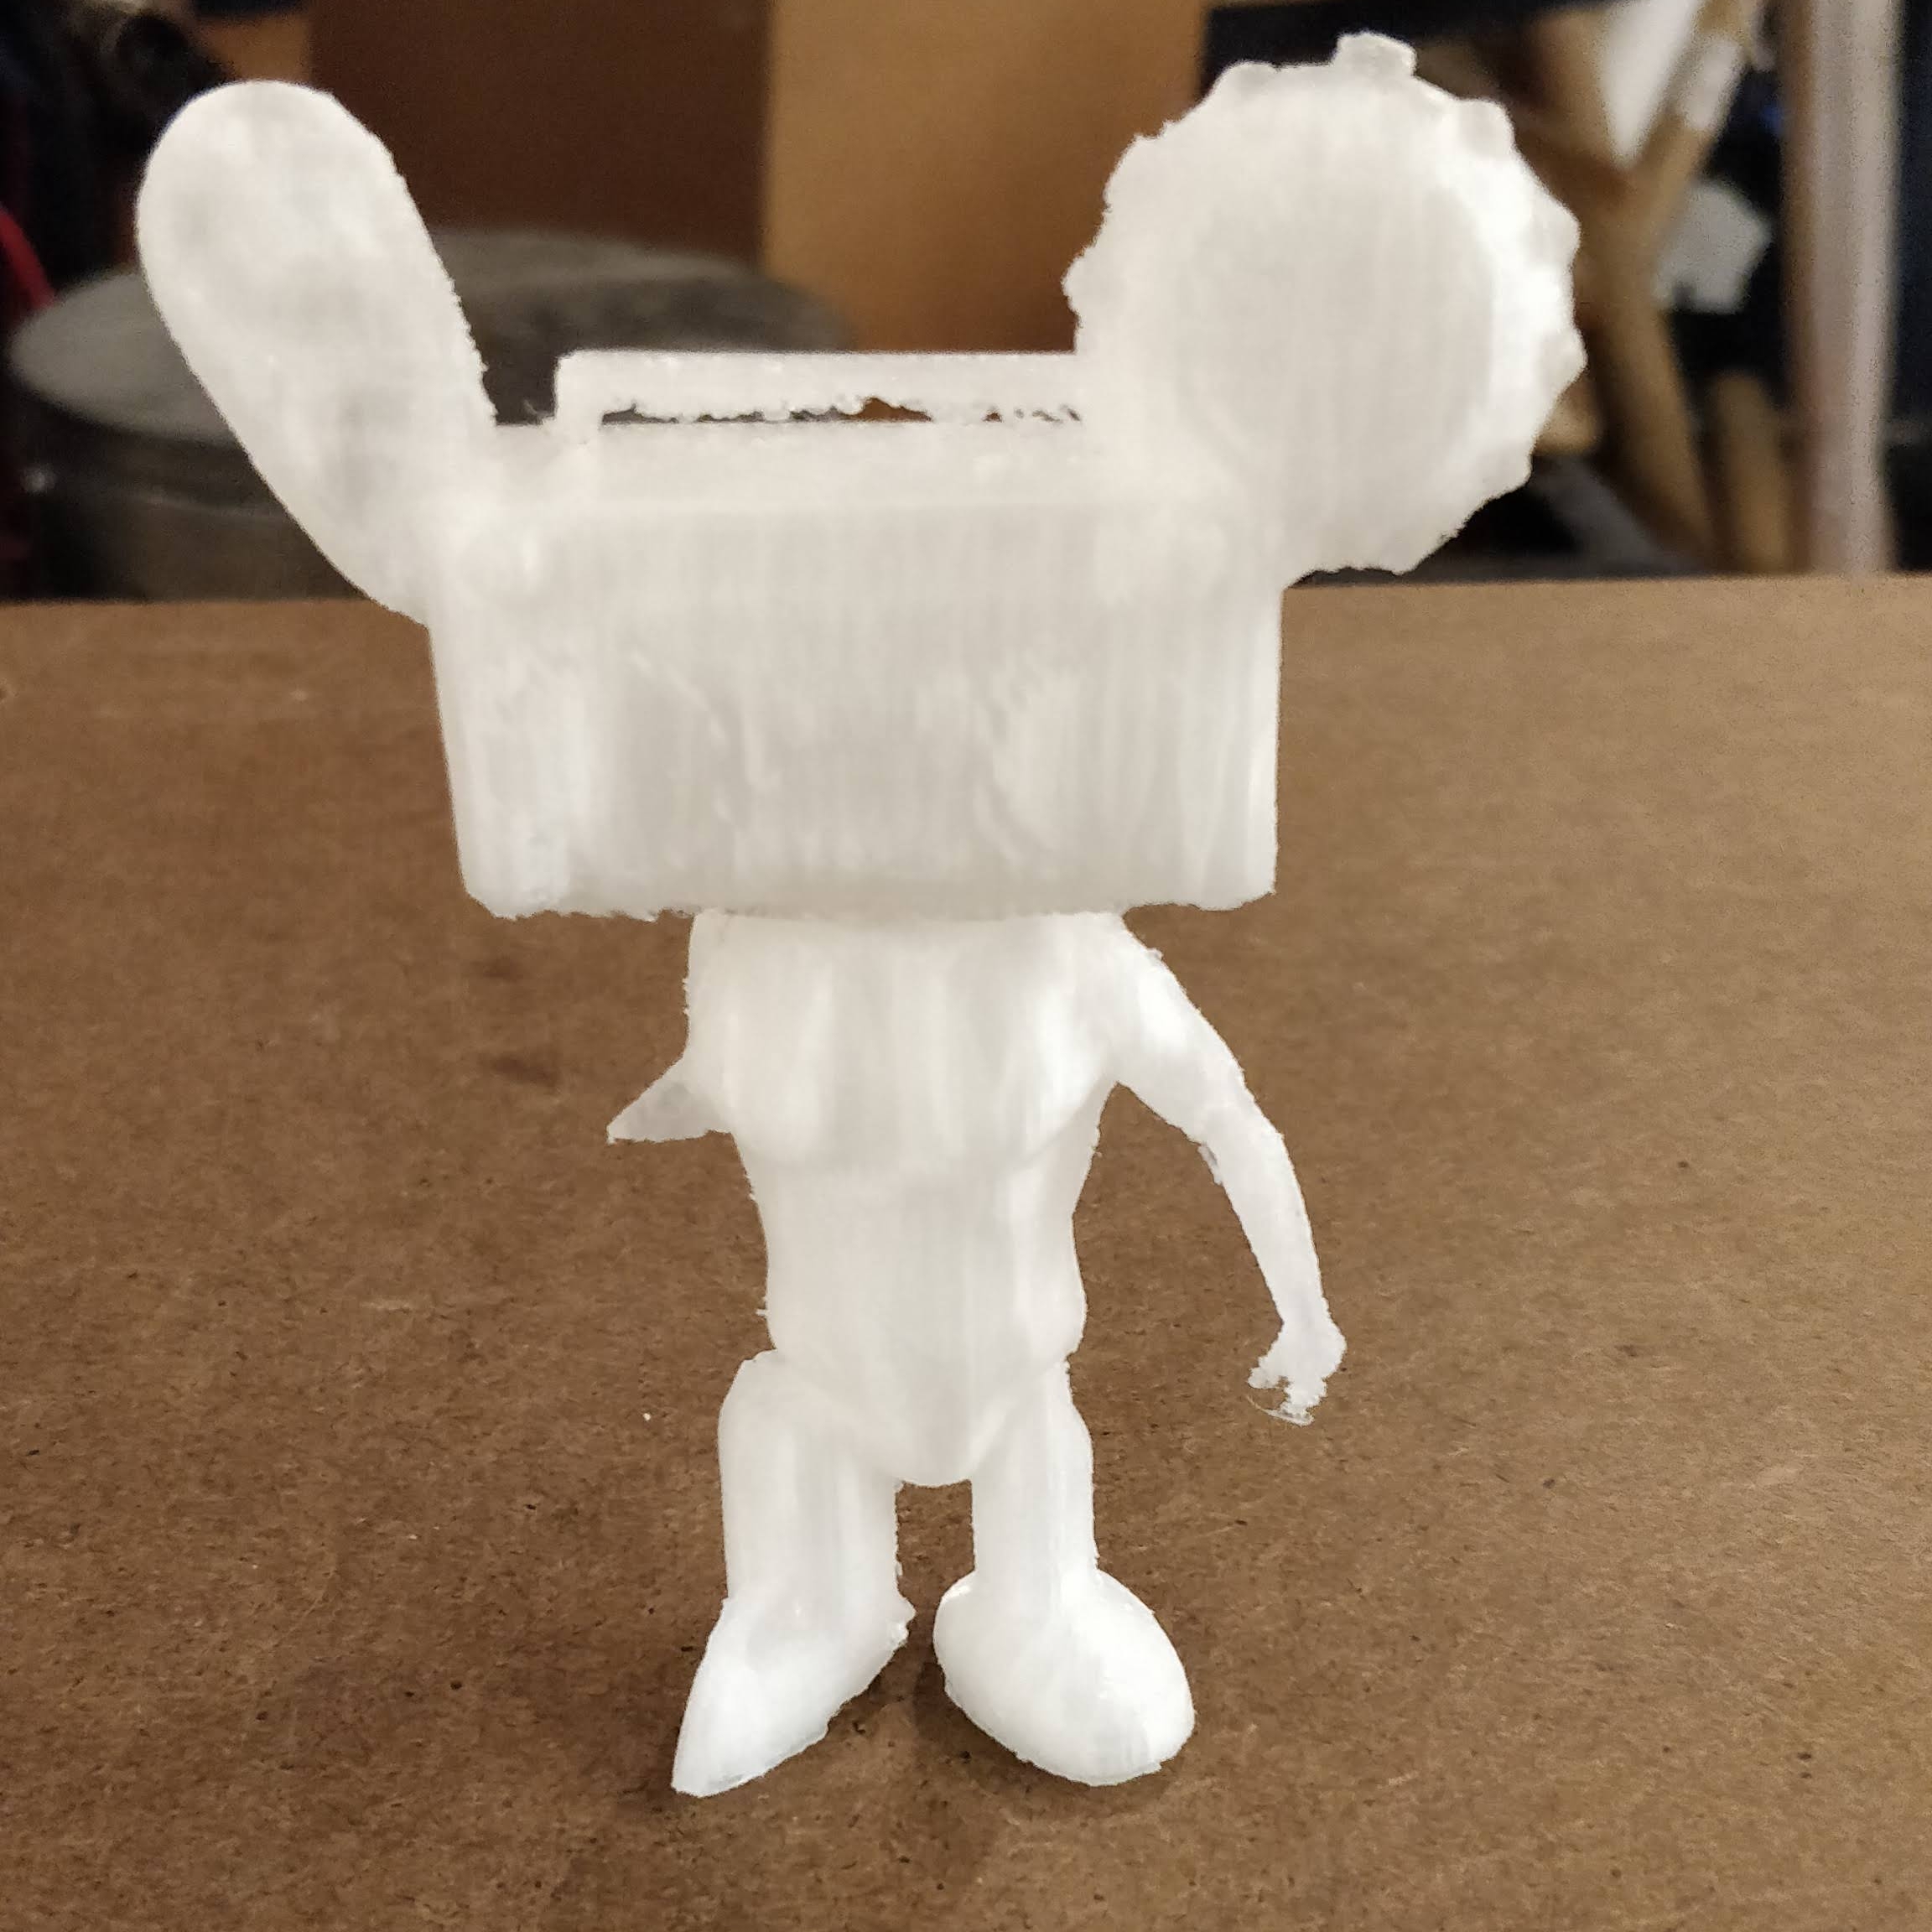
The final step was to give all the prints a coat of matte grey primer, this really brought out the features as lights and shadows became much more visible (I used clear filament which was very tricky to see through). Priming 3d-printed filament was tricky but with patience, a steady hand and several layers I think I managed a fairly clean coat. Unfortunately, the primer also brought out all the small imperfections of 3d printing.
All in all, I like this quick prototyping pipeline. I’m now working on refined designs in Houdini and Cinema4D and will try to print them on higher quality printers and give them some more finishing love.