Week 1 - Rigid Bodies
The first week in the studio lab was spent learning how to setup and calibrate the OptiTrack motion capture system from scratch and how to set up rigid body tracking and streaming to Unreal Engine.
Calibrating the system involves several steps, including masking the tracking area for noise from shiny objects, using the calibration wand to sample the space so that cameras align to each other and the ground plate to align all cameras to the room.

∂Once the room was tracked we used the readymade rigibbody trackers. These are small objects (either bought or made) that have unique configurations of trackers attached to them. When each group of points is selected in Motive it can be locked as a single rigid body object. We tracked a total of three objects and captured a quick motion scene.
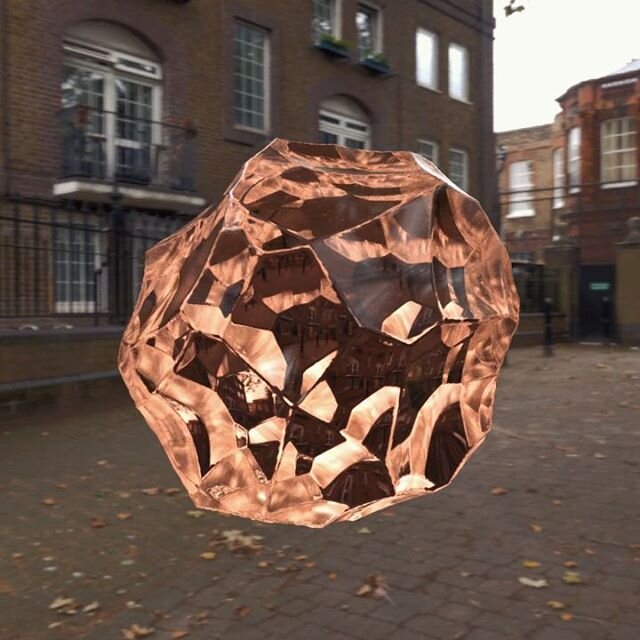
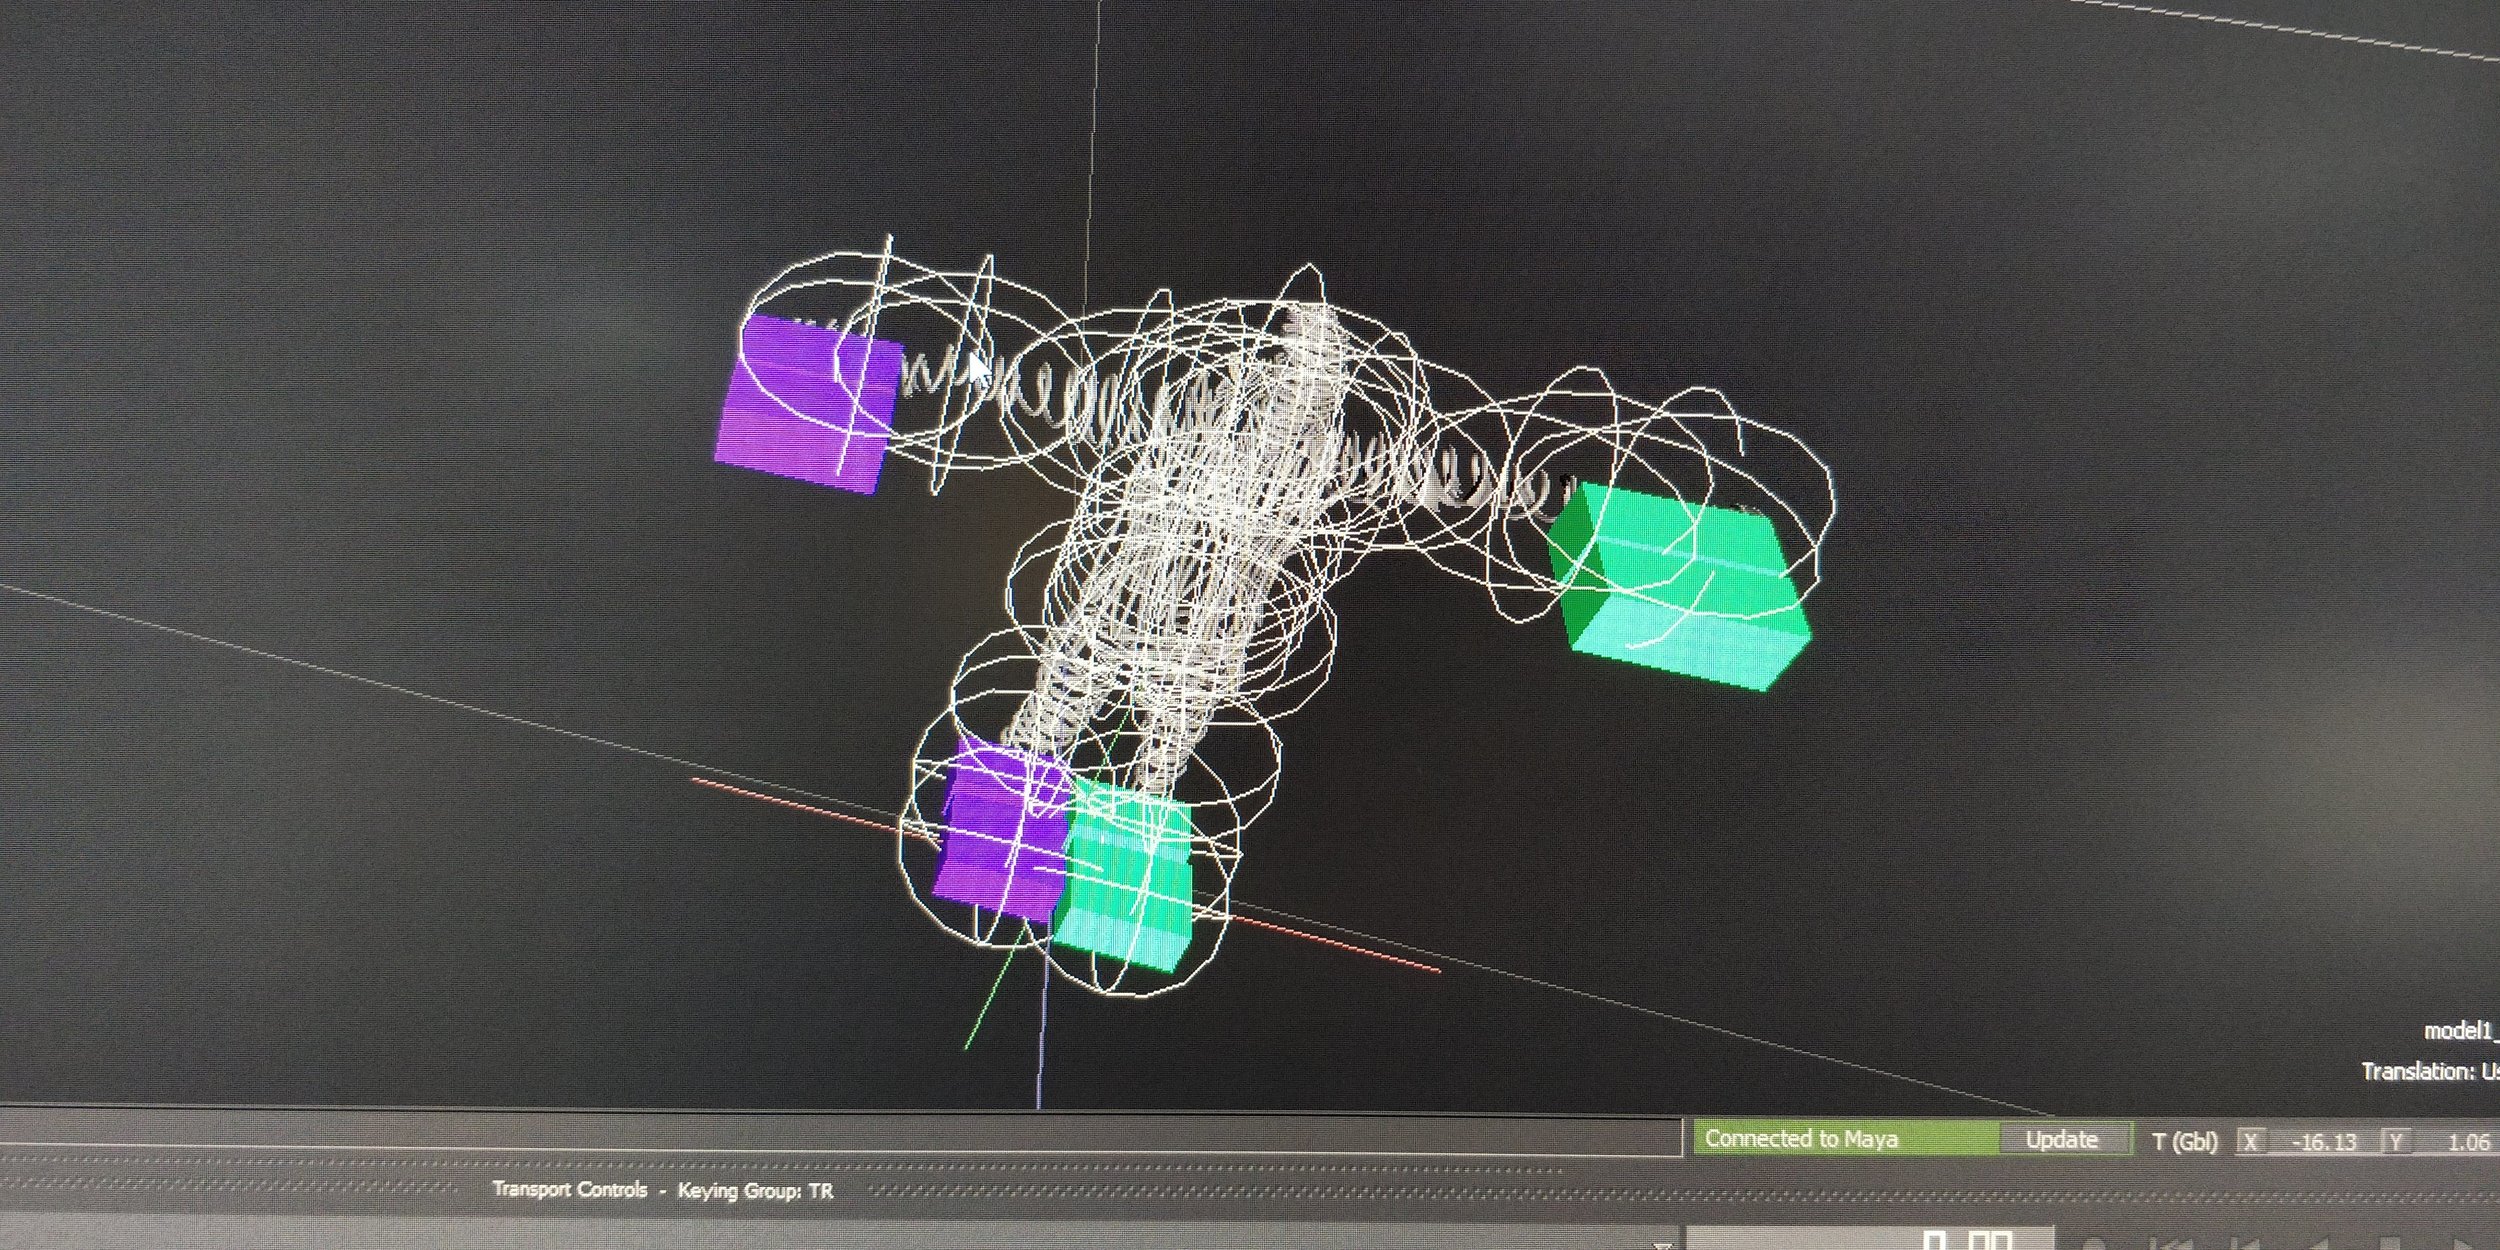
In Unreal Engine, we set up the OptiTrack plugin to receive streaming motion capture data and three rigid-body tracking target. There targets are empty actors that will move any movable objects placed inside them in the scene hierarchy, we tried parenting simple geometric objects as well as more dynamic ones such as motion-reactive particle systems.
to stream the tracking data from Motive all we had to do was play back the scene, and we realized that if we go back to capture mode and press the aptly named “Live” button, live tracking data is sent through to Unreal Engine, allowing realtime performance and simulation feedback.
Week 1 afterthoughts
It was surprising to see how easy it is to set up a tracking system using Motive and streaming to Unreal Engine. It got me thinking of the possibilities for performance with live motion capture data and how to reverse the tracking to not place a person in the scene, but map the scene to a person, a-la “Inori”. I hope the semester will provide an opportunity for more physical-interaction based projects using MoCap data and using it to augment a physical space using projection and lights.
Week 2 - Skeletal Tracking
The second week of the lab was focused on capturing skeletal data and mapping human figures in Unreal Engine. This is a more involved process than dealing with rigid bodies on both the Motive side and Unreal Engine side.
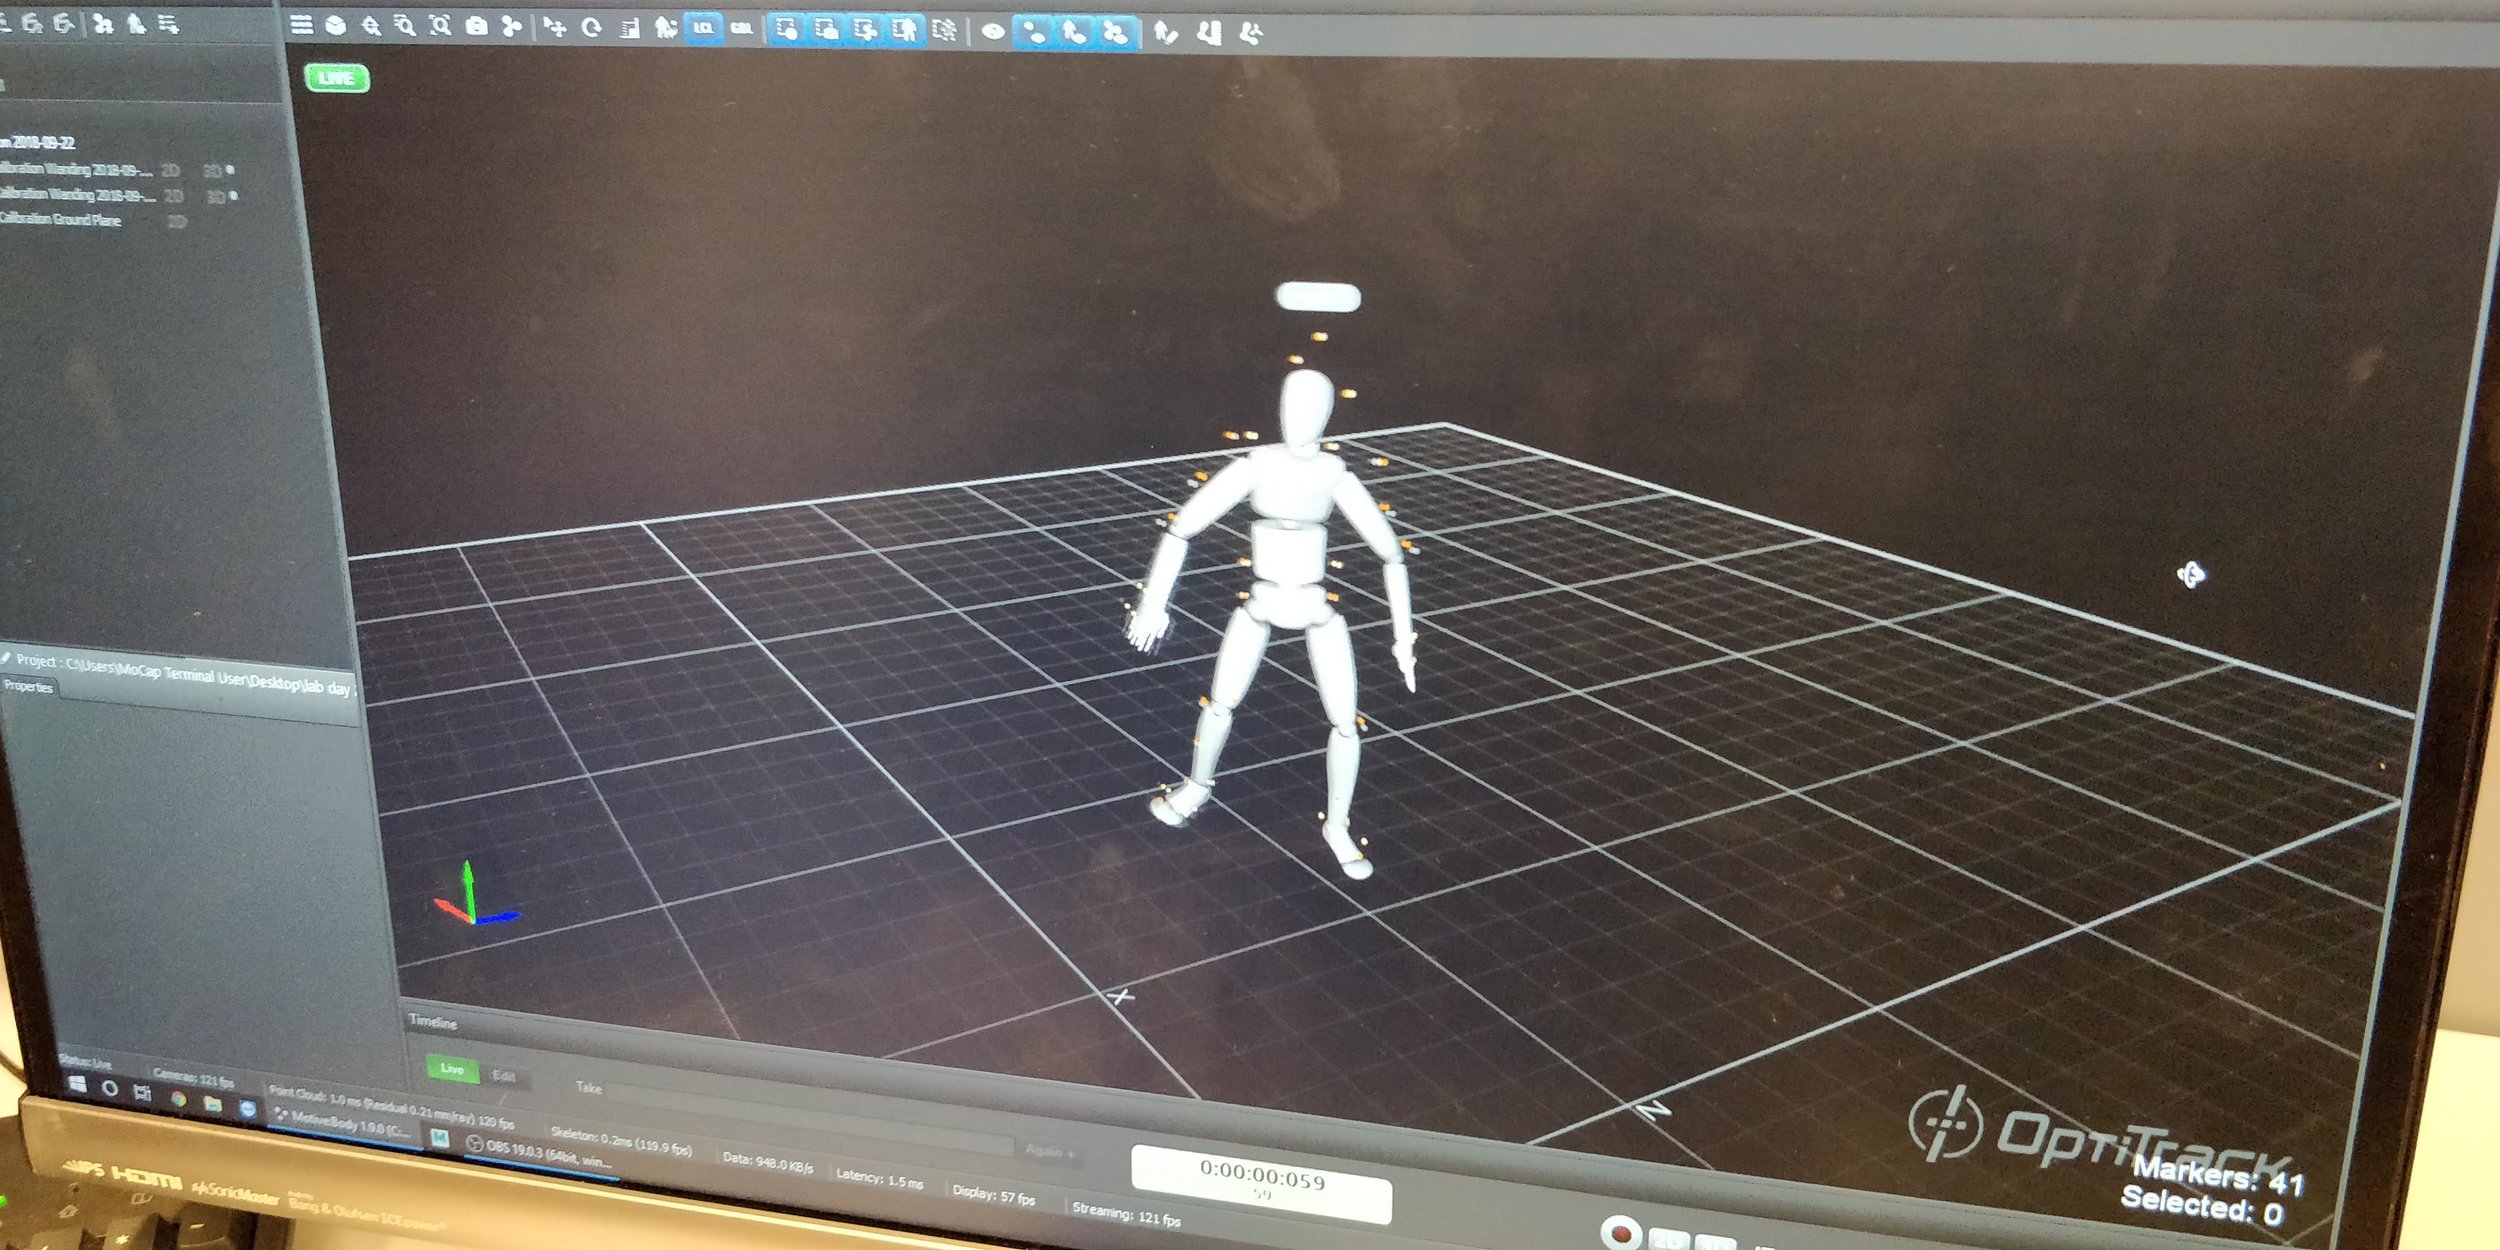
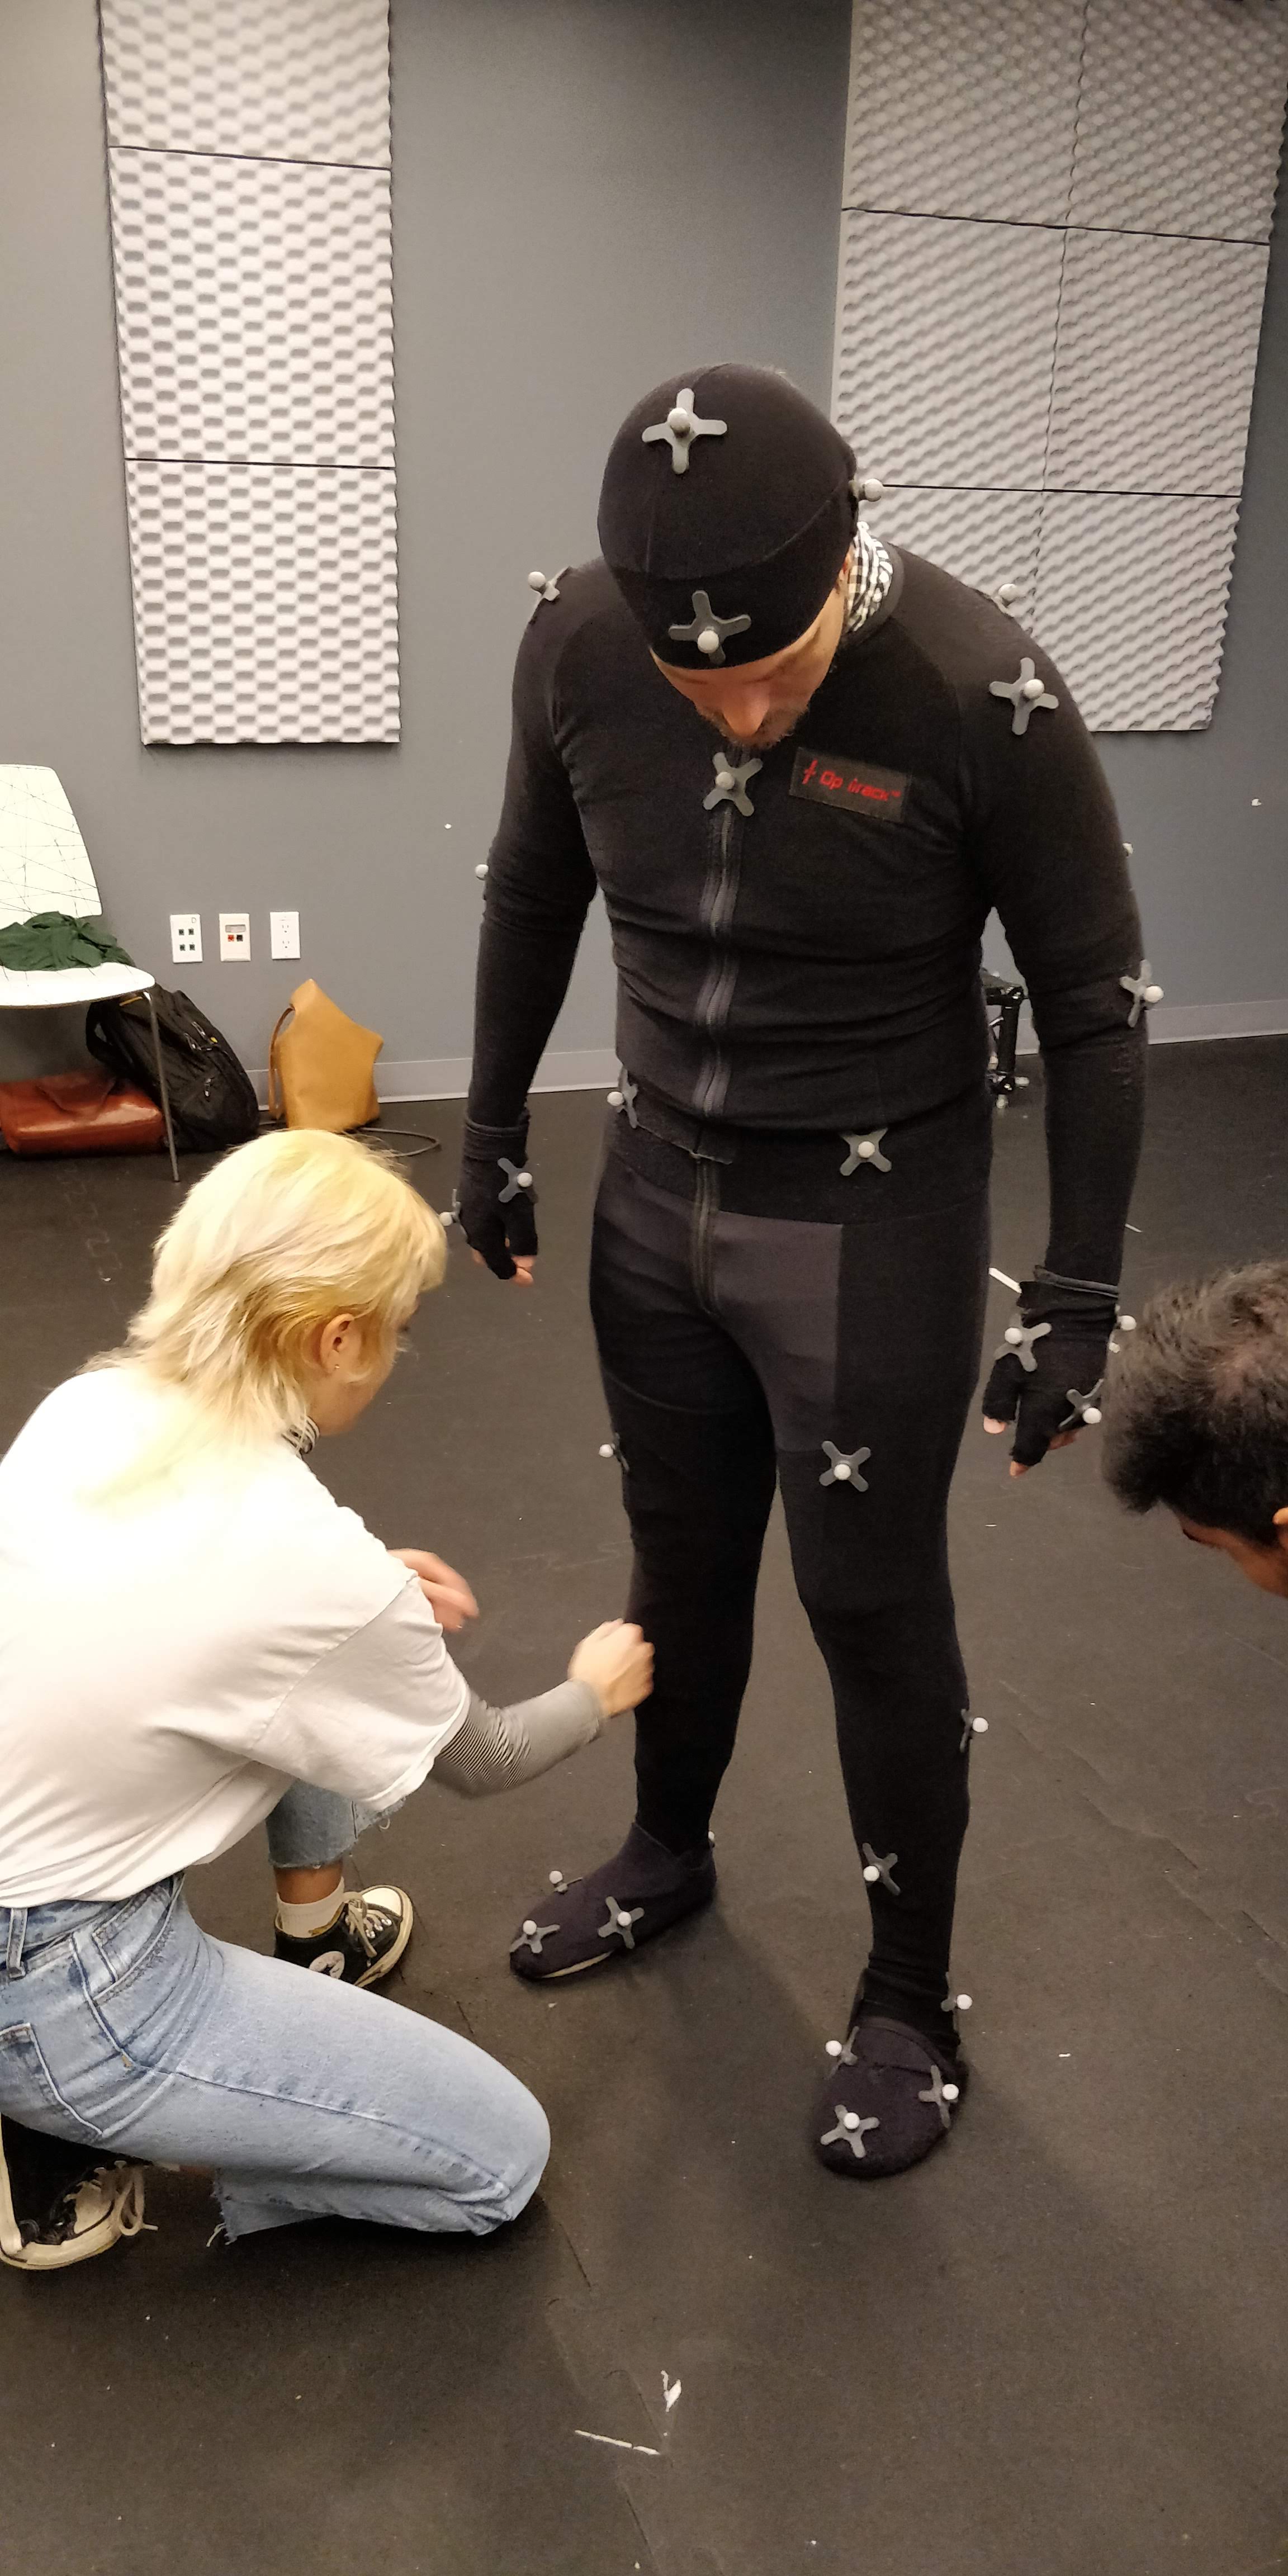
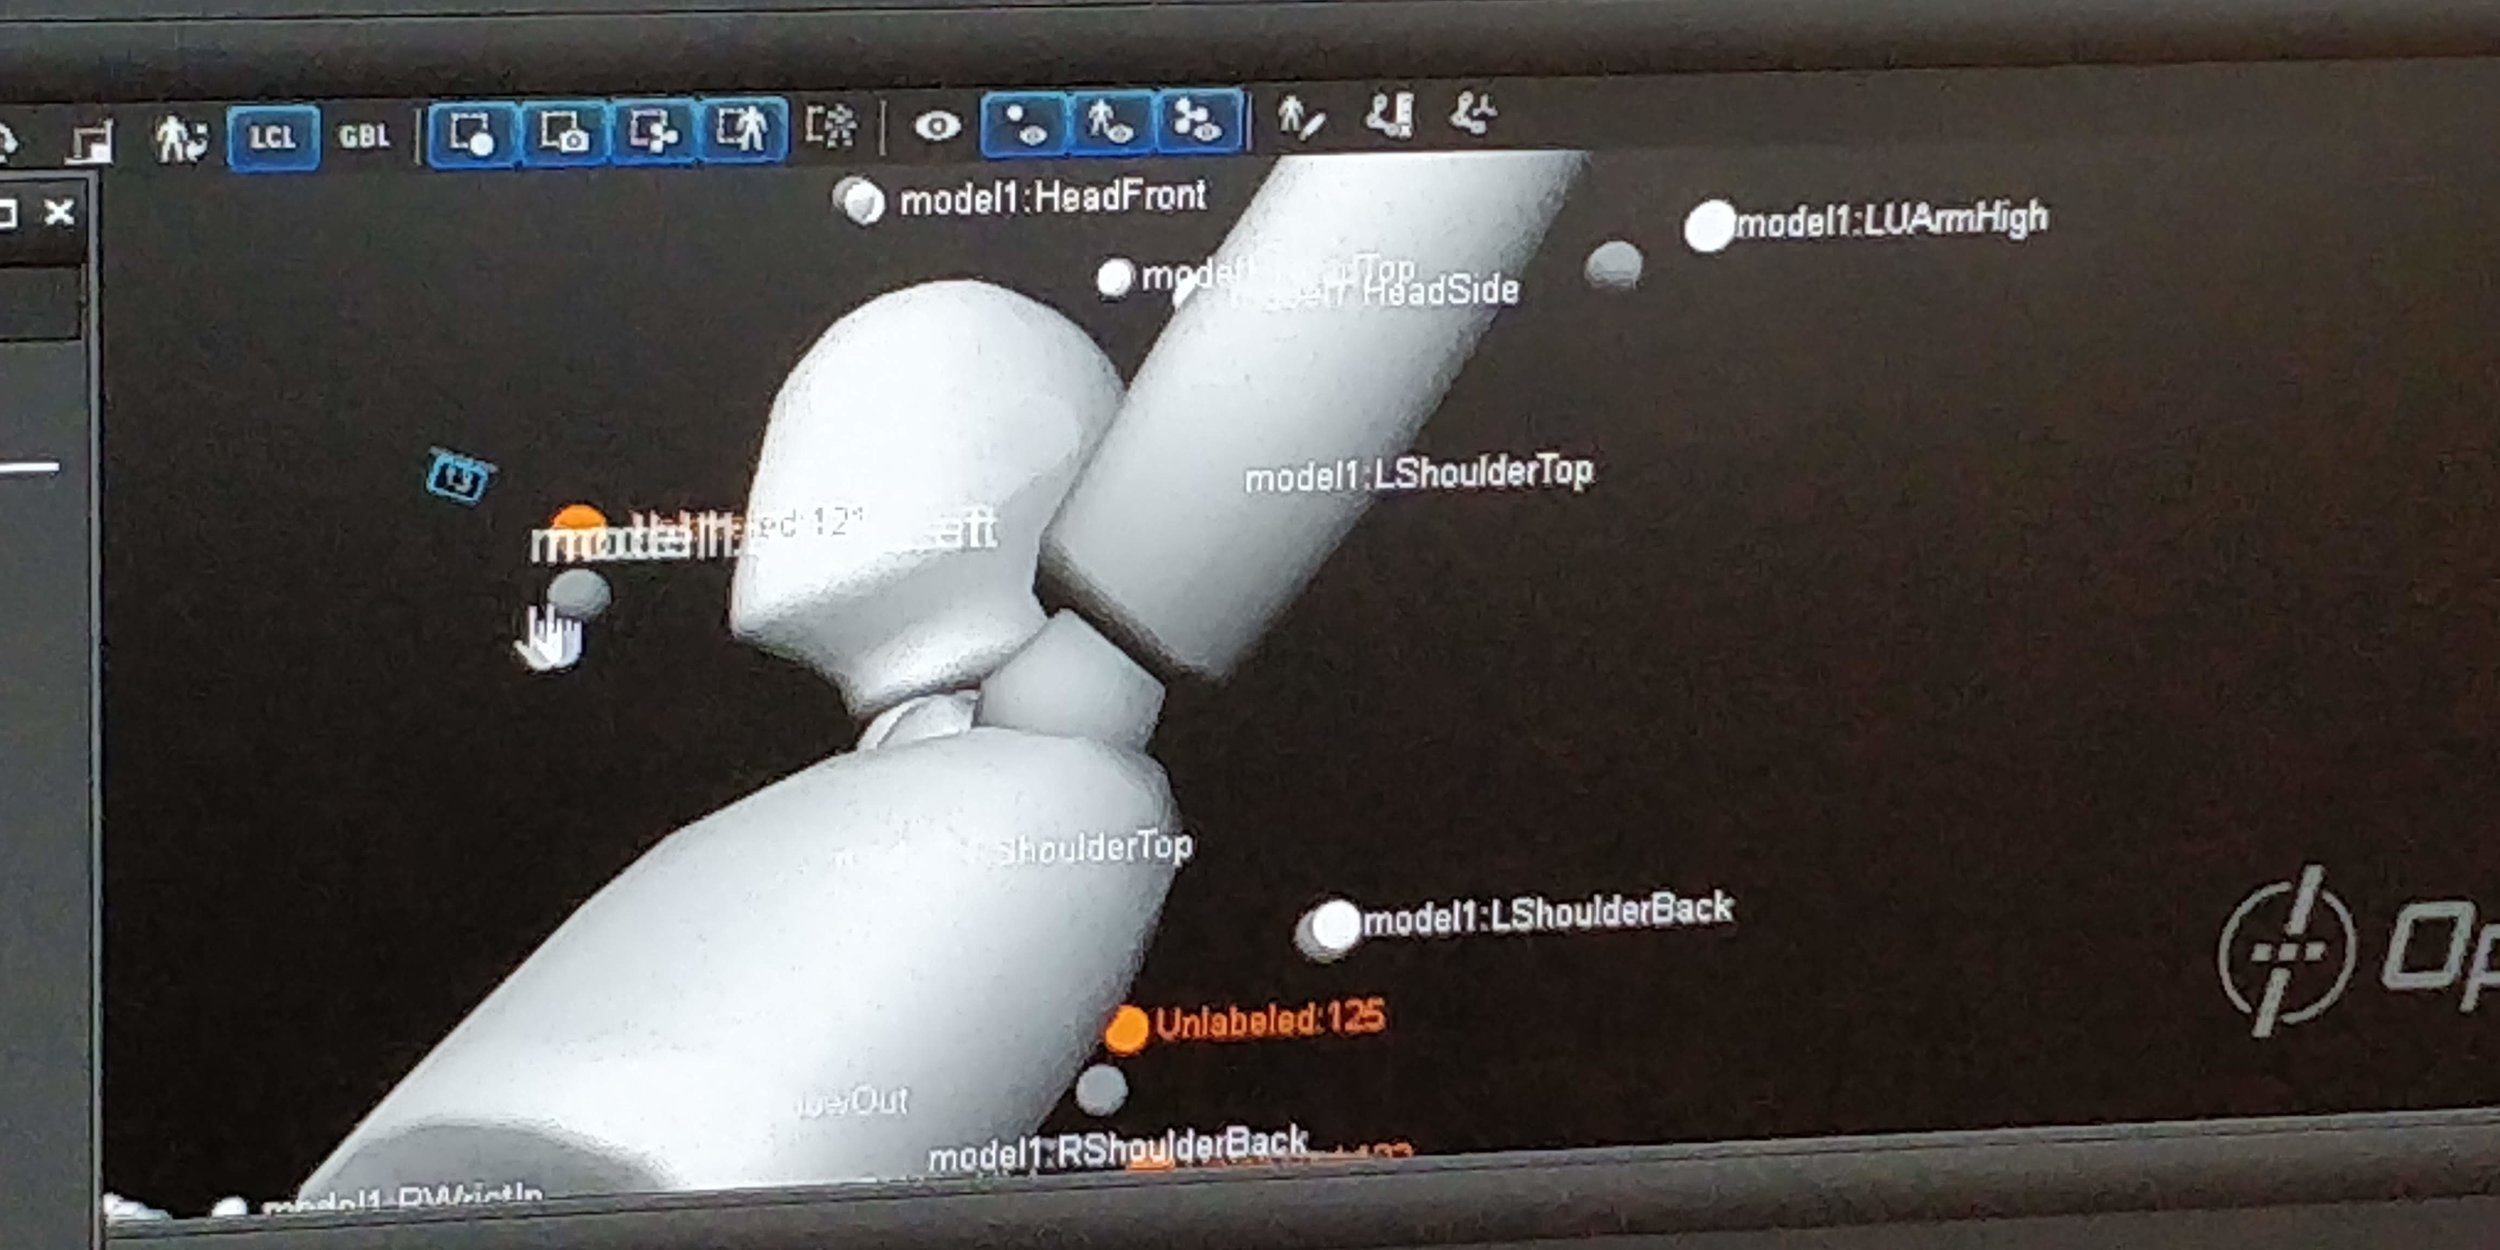
We started, again, by calibrating the studio and then went on to setting up the tracking suits. We mapped each actor with a total of 41 trackers in a predefined tracking setup for posture and toe articulation. Once all the trackers were assigned, all we had to do was set the actors in a T-pose, select all of the floating points in Motive and assign a skeleton, just as we do with rigid bodies. The difficulty was in setting up the suits correctly but Motive has some handy realtime visual guides to show you which points are off.
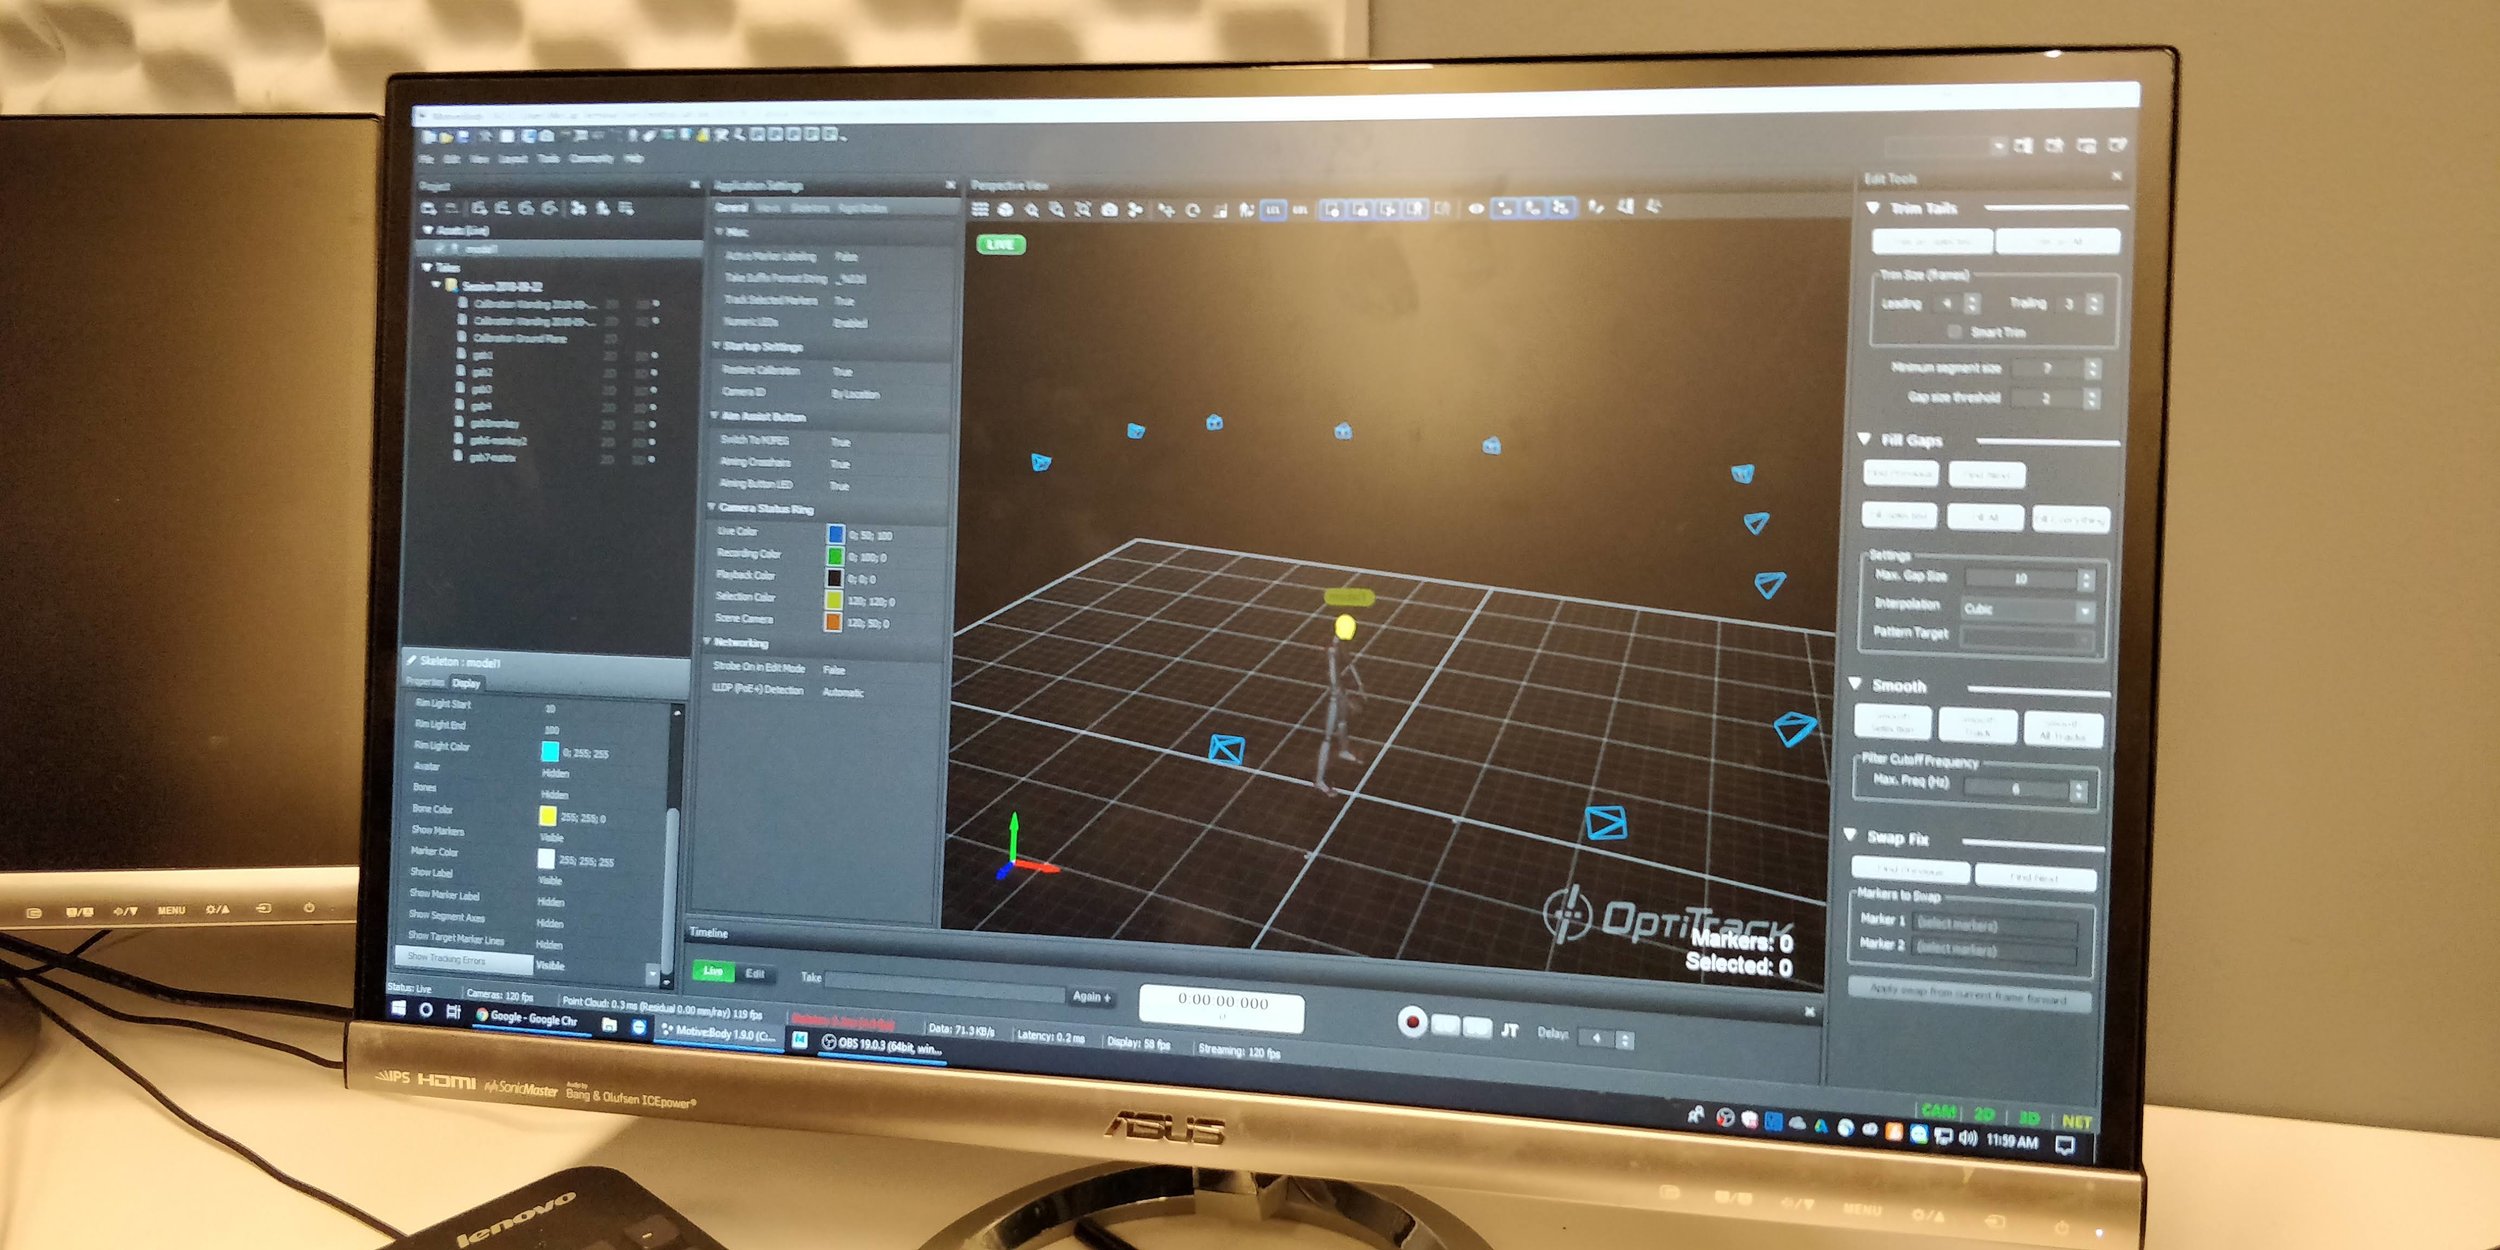
The Unreal scene was already set for us this week, so all we had to do was set the right naming and ids and a blue demon magically started to move around the scene. The downside was that using skeletal tracking requires setting up a control blueprint instead of using the actors, and both can’t be used at the same time, so our attempts to also track some chairs failed for now.
Once both actors were rigged and tracked we had some time to mess around, we used the (surprisingly smooth) office chairs as moving platforms and experimented in recreating scenes of dance, fighting, explosions, flying and swimming. The simulation renders still like bad green screen keying from an 80’s superhero movie but hey, it’s only the second week!
Week 2 afterthoughts
I’ve been learning how to use Unreal Engine blueprints and set up a simple targeting setup to control multiple actors based on motion data. I want to try and create an interface blueprint that will act as an abstraction between Unreal and the tracking hardware, so that the same project could be run with OptiTrack rigs as well as Kinects or Notch trackers.
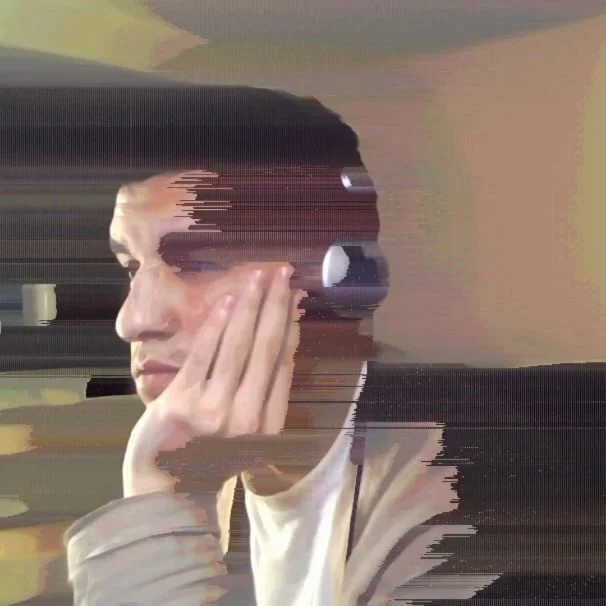
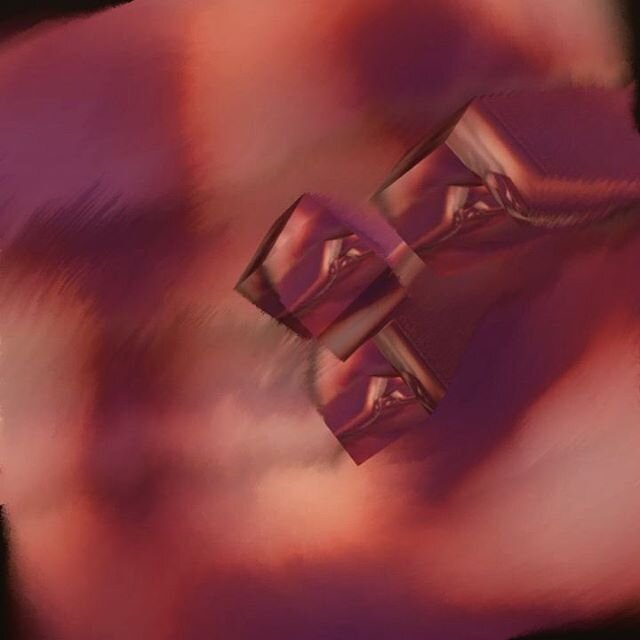
I’m also working on motion-reactive particle systems that Amit based on distance and speed rather than time. I like the ideas of being able to trace movement without having an actual figure appearing on the screen, on the transient artifacts of motion.
Week 3 - cleanup, retargeting and export
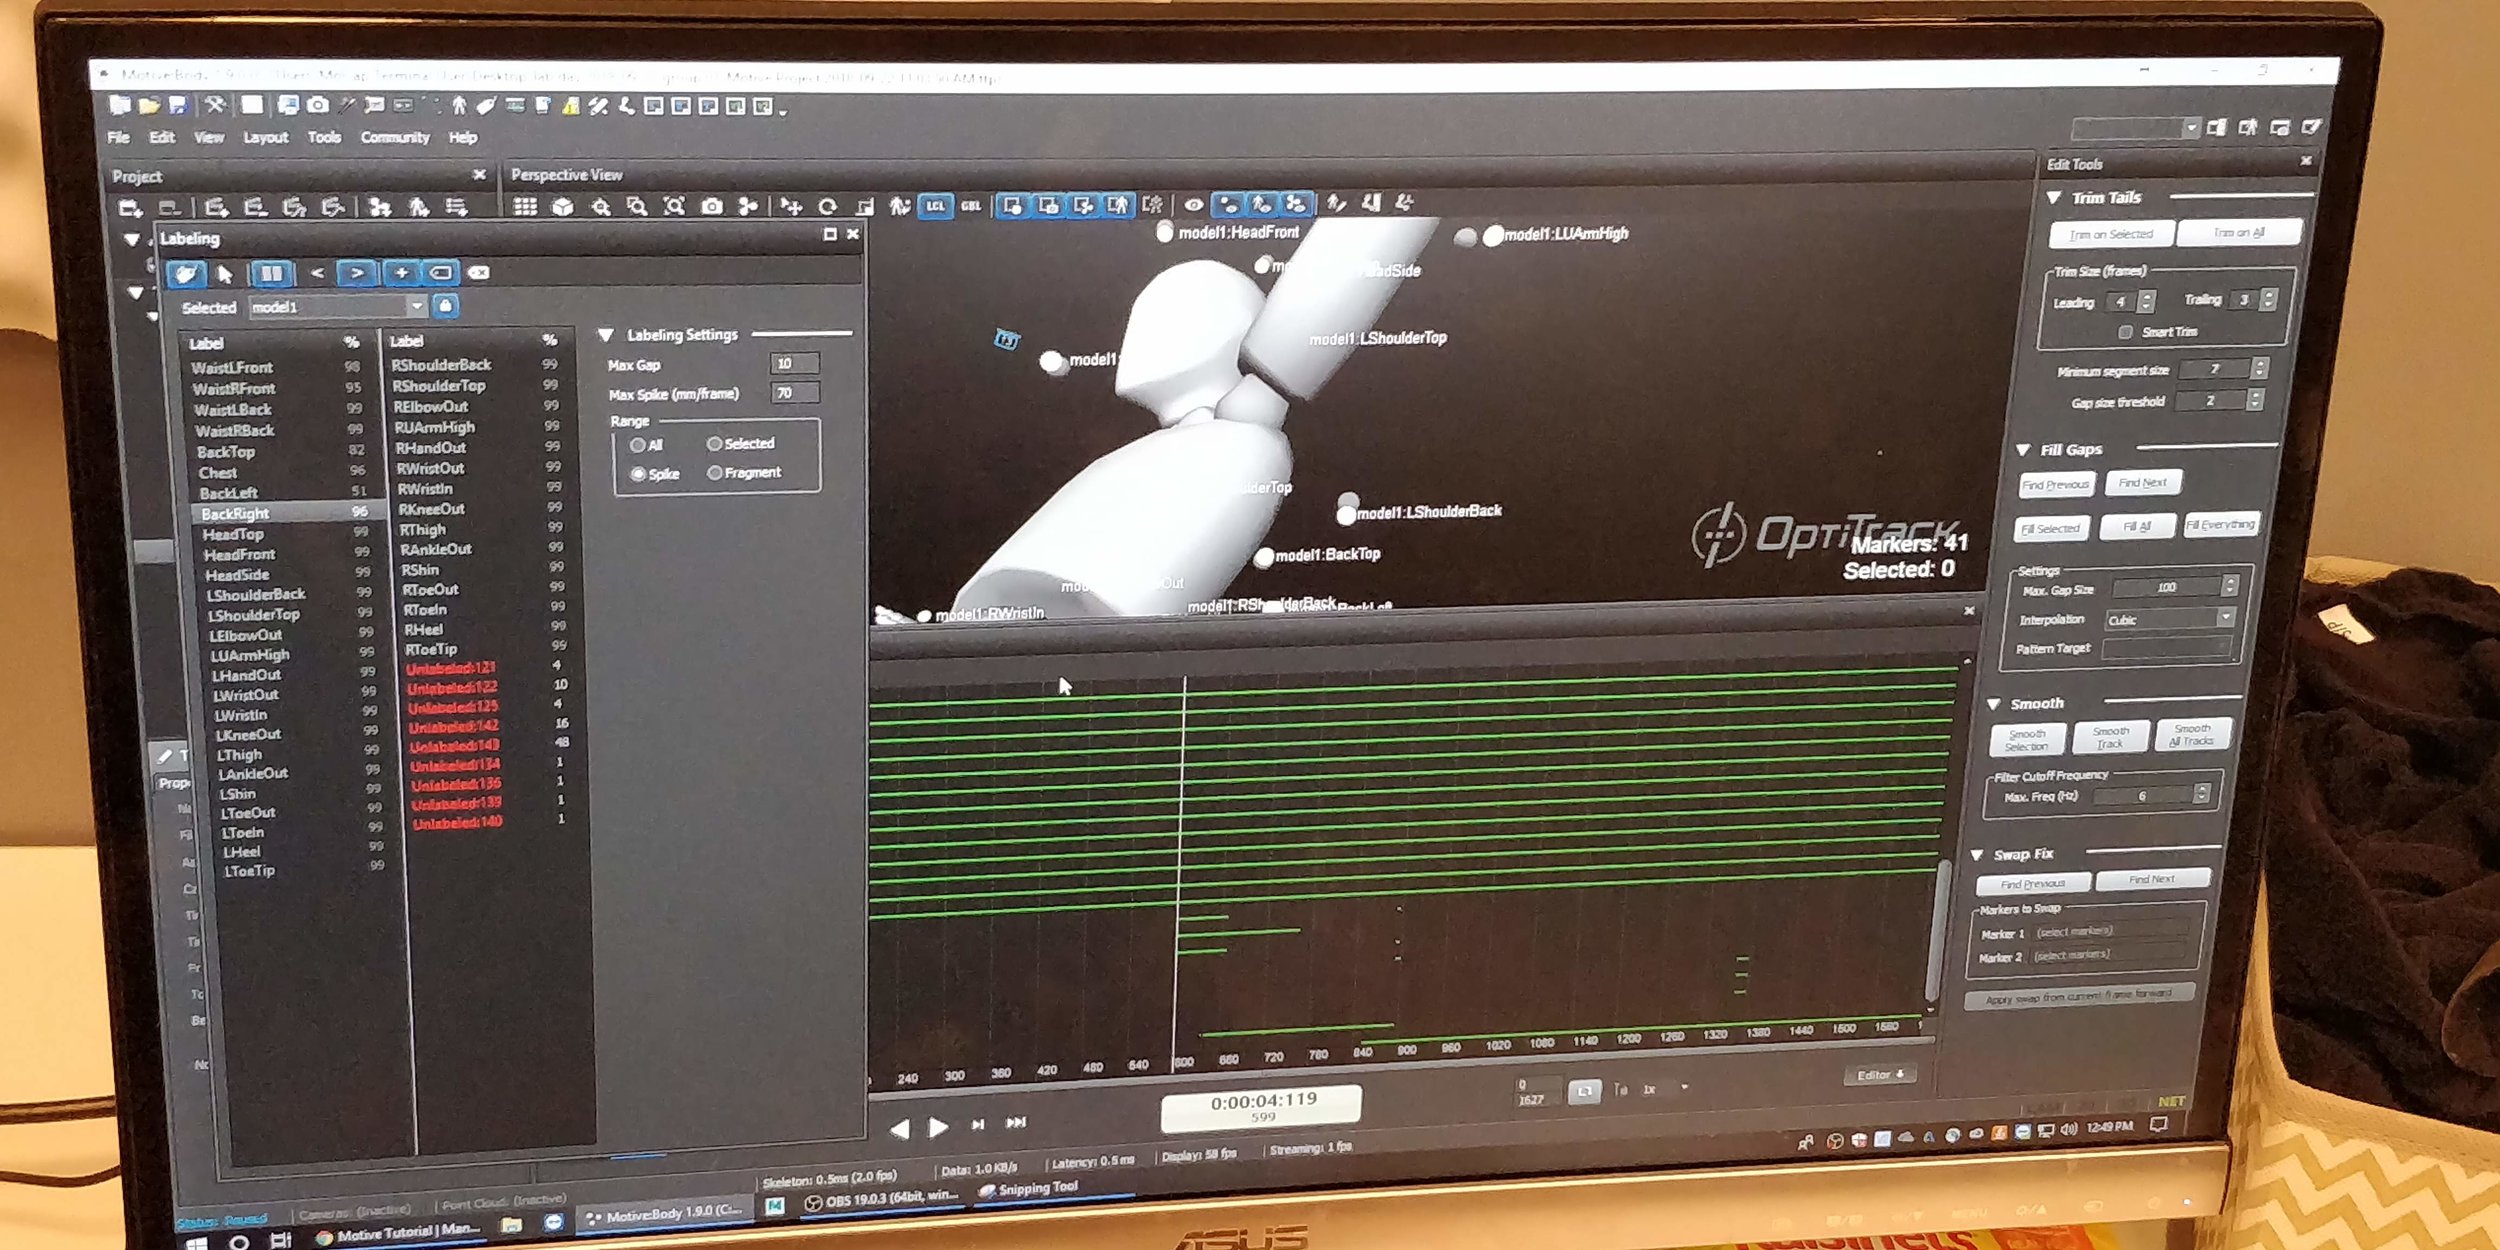
This week we learned how to clean up motion capture data with Motive, use Maya to rig characters we design, retarget captured animations to our rigged models in Motion Builder and bring the joy back to Unreal.
The journey started at the MoCap studio, where Gabriel graciously performed Brazilian numbers, played a drunk and a Gorilla for us. We then set down to clean the data and dealt with unlabeled channels and missing chunks that needed completion. We had some good takes that were done in a matter of minutes, and others that were a total s%!tshow.

After the data was cleaned, we exported the animations and I started working on a character to rig. I used Oculus Quill to doodle a 3d character and worked off a humanoid model that I successfully rigged in Maya beforehand. I wanted to make sure the pose and proportions were the same so that I could use the same skeleton to rig a weirdly model figure that Maya might not be able to rig on its own.
After exporting the model from Quill I tested my theory in Maya and to my surprise re-skinning the rigged skeleton worked like a charm, that allowed me to transfer the skeleton as well as the skinning weights to my scribble figure and export it to Motion Builder.
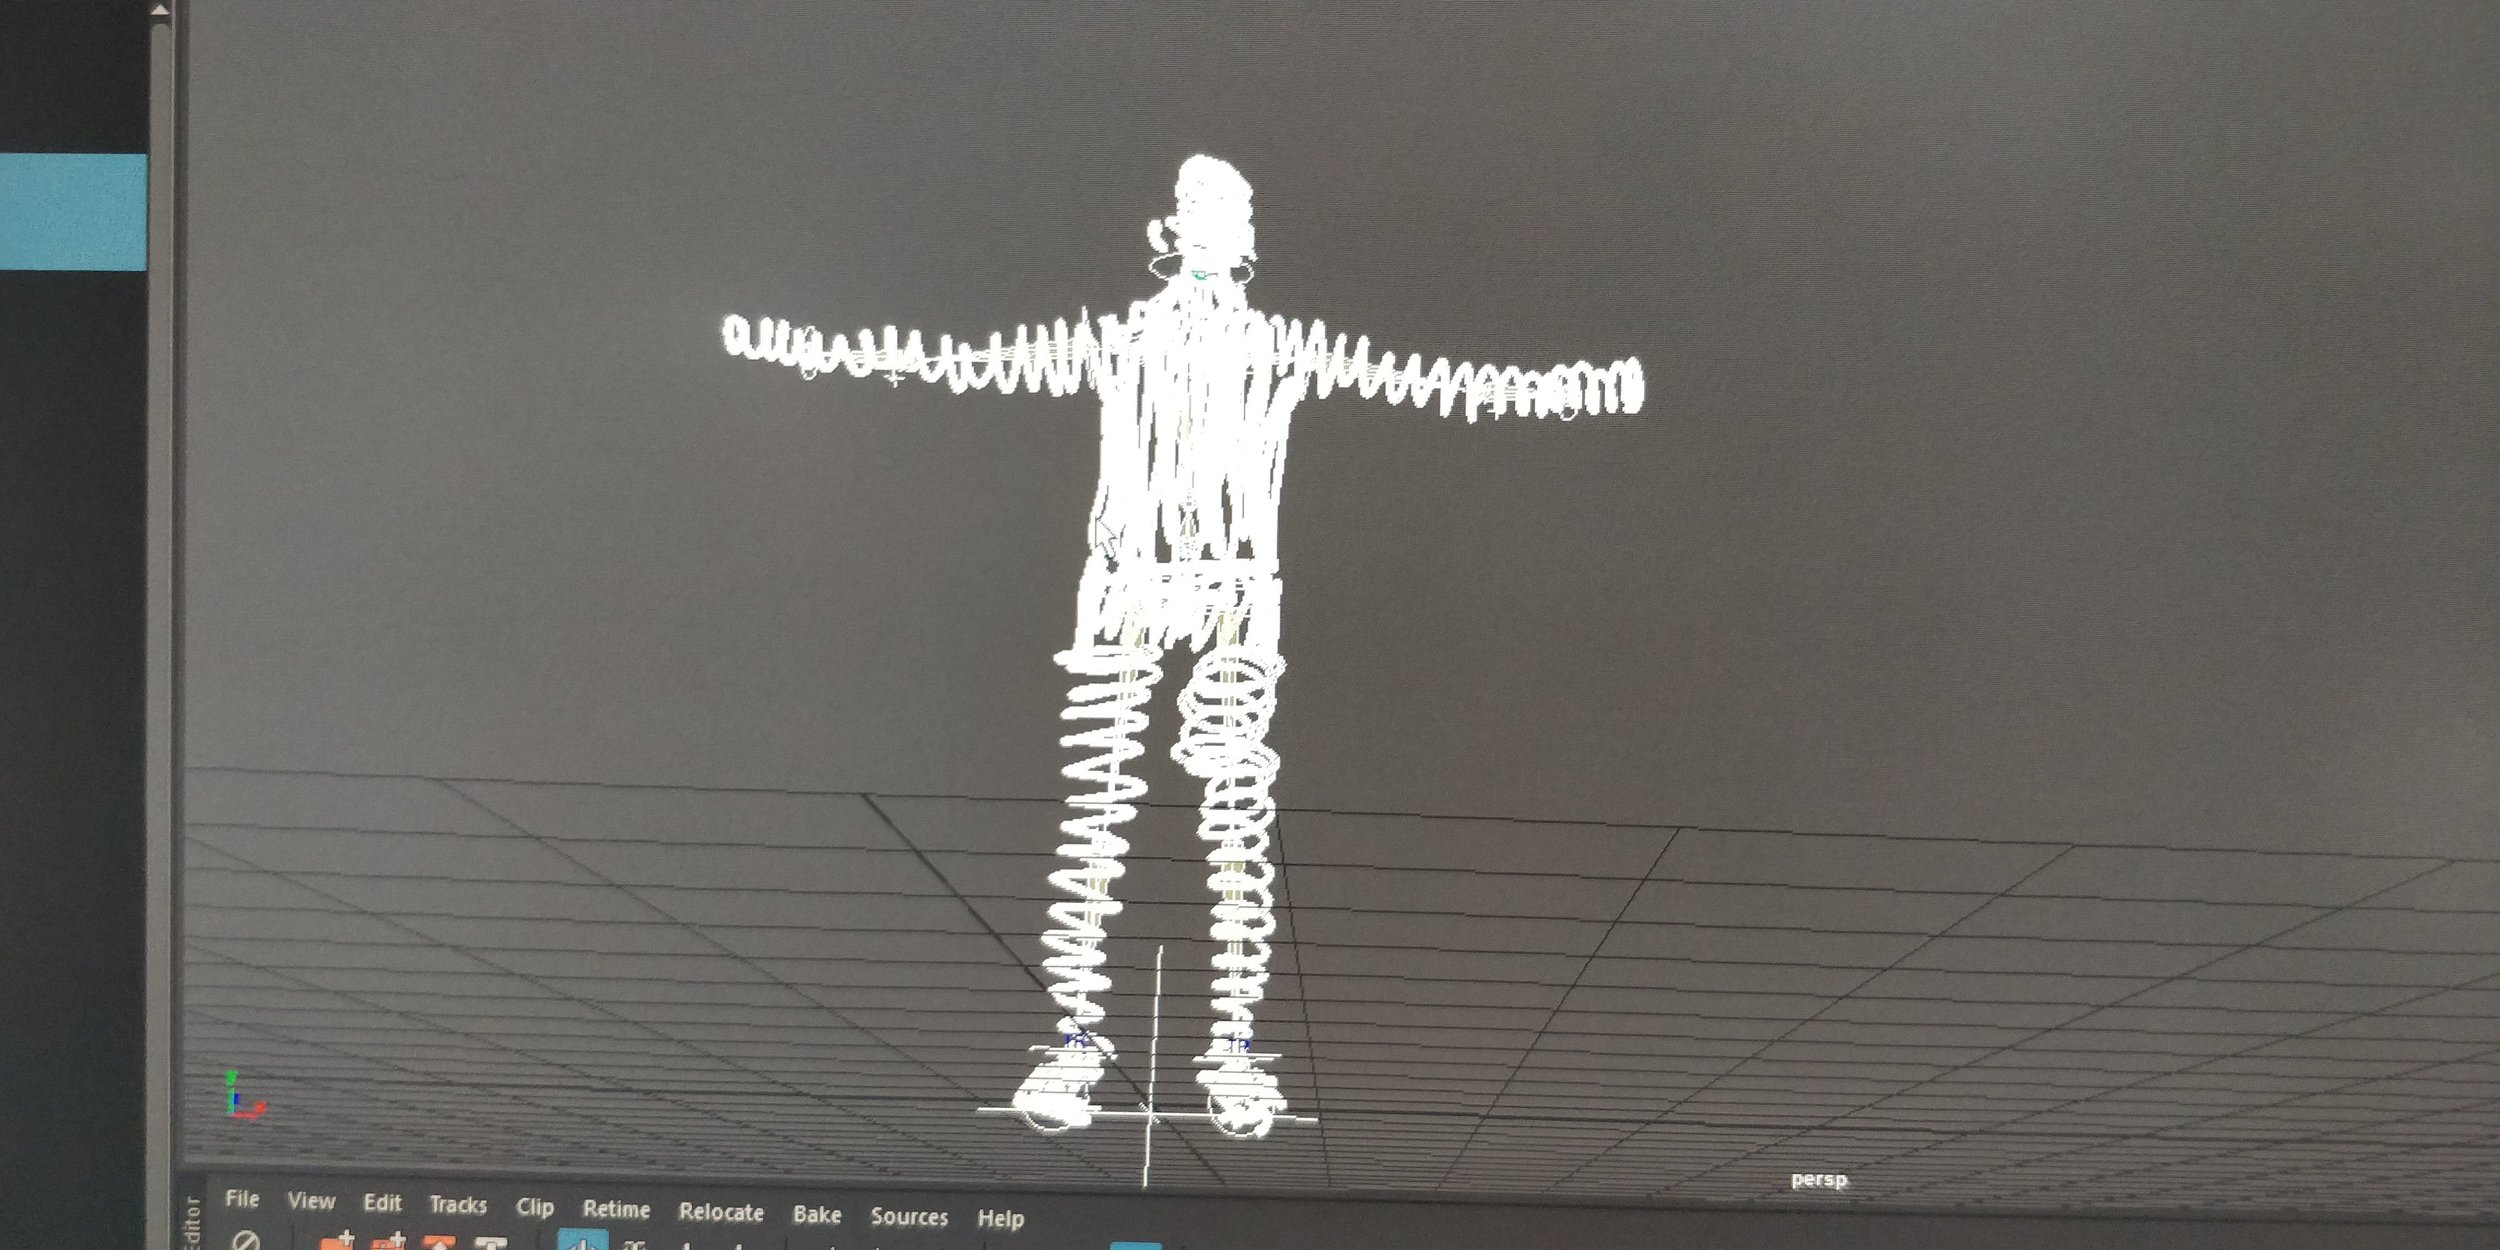
The rigged 3d doodle figure in Maya
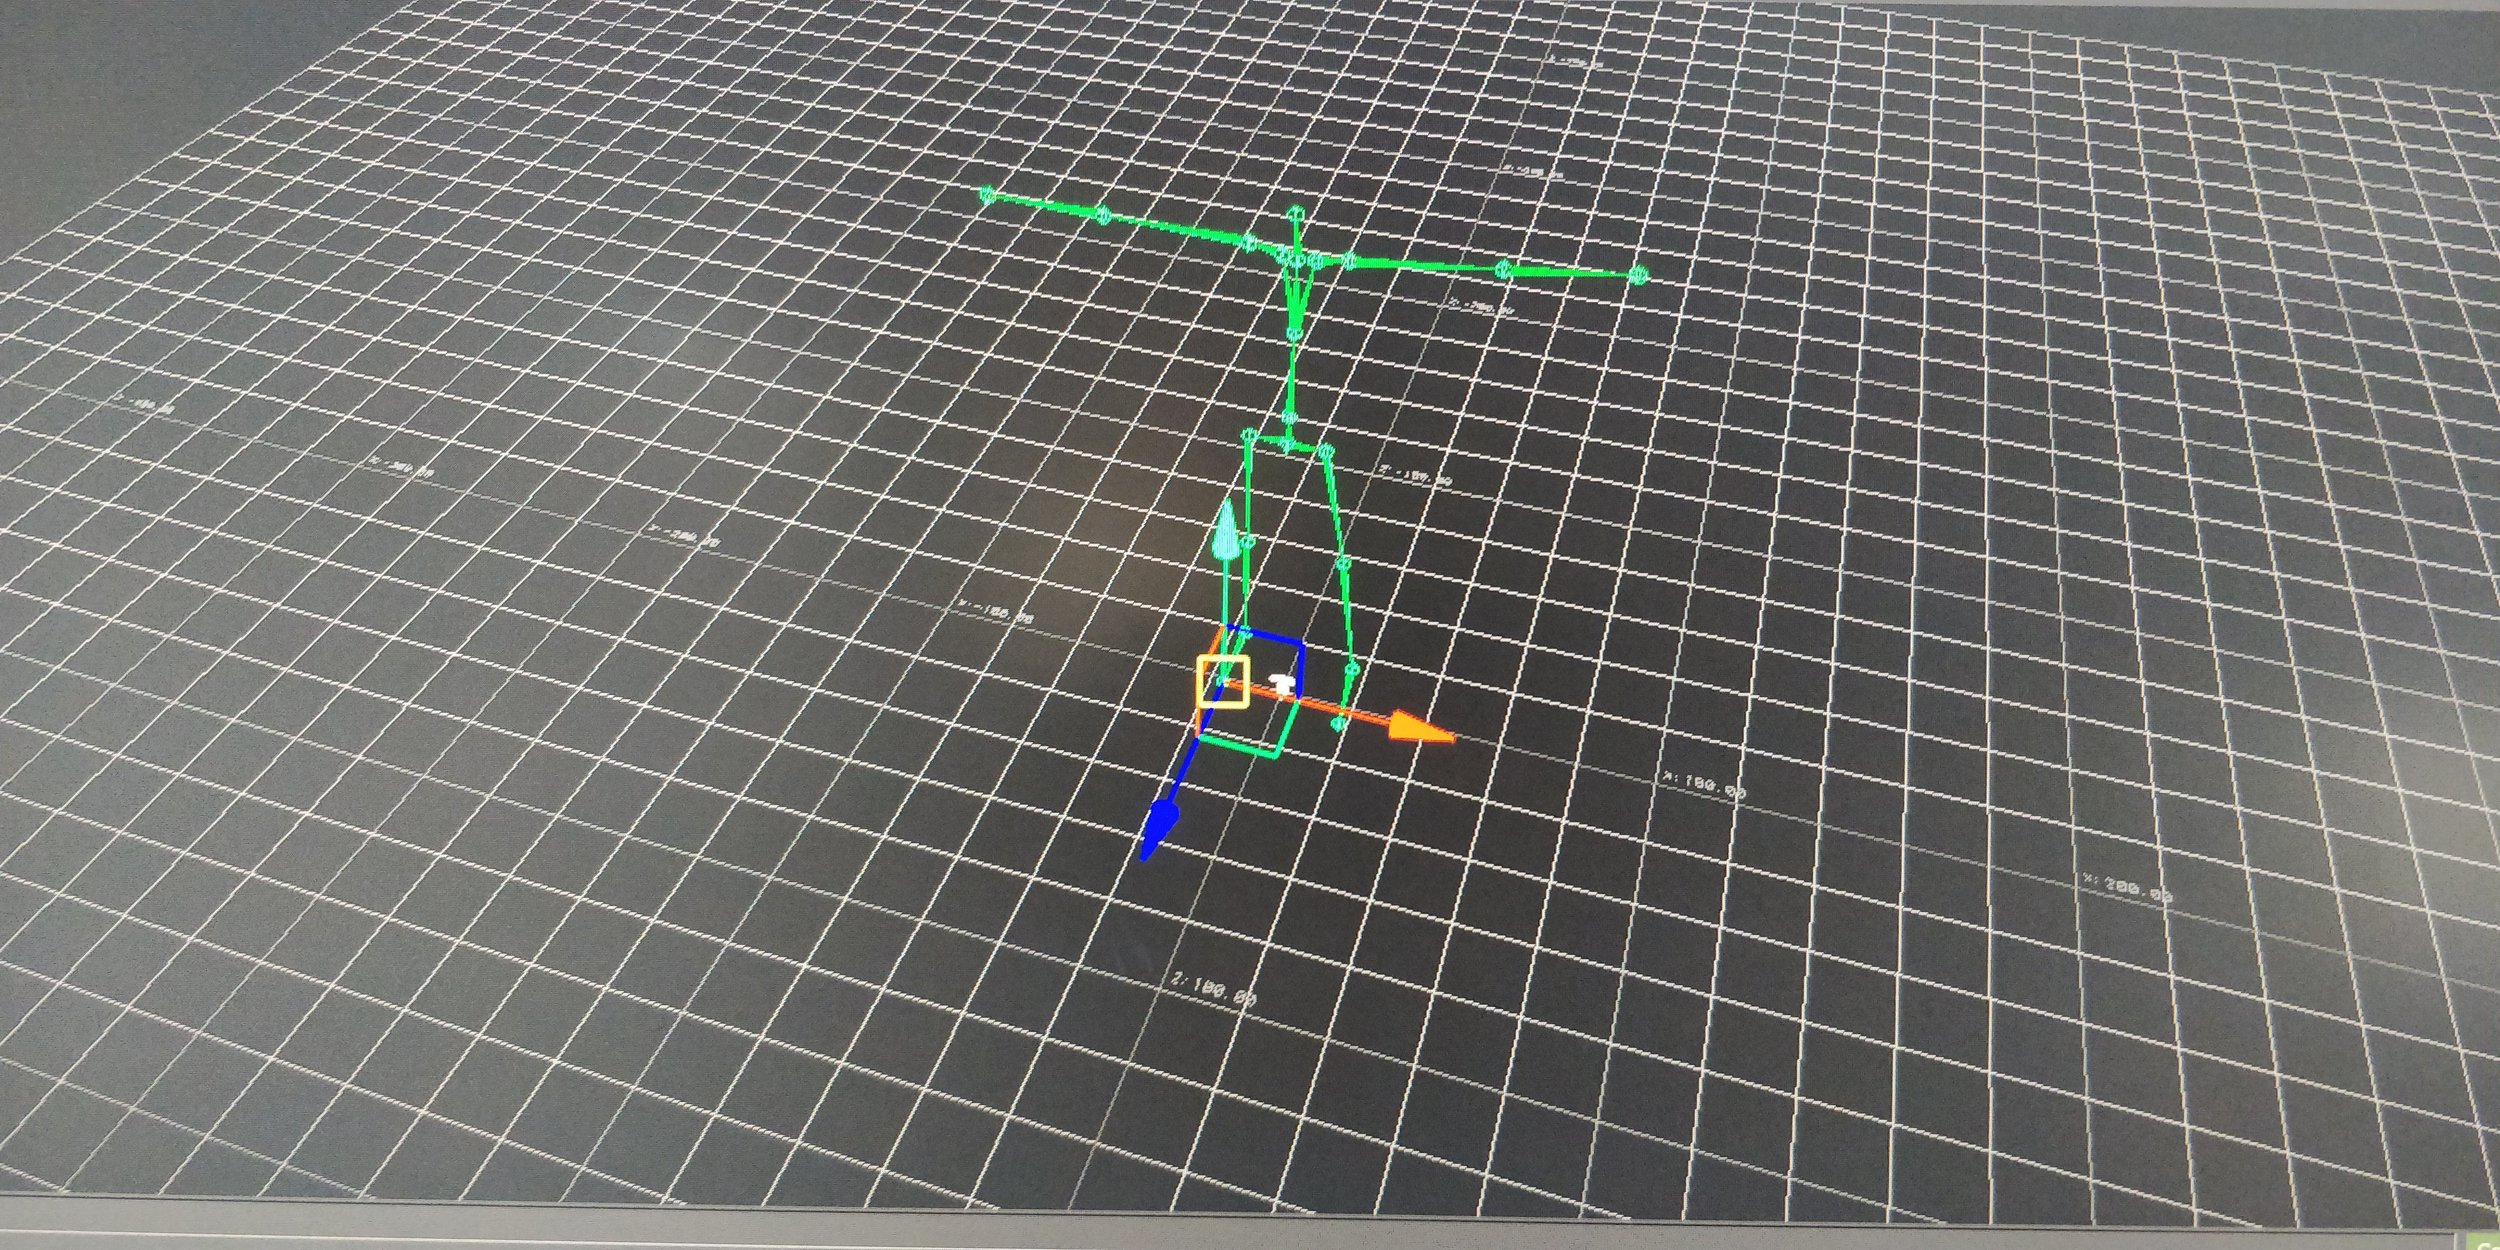
I moved the rigged 3d figure to Motion Builder and followed the steps to retarget the animation and apply it to the model. I had to re-align the animation clips by moving the curves for position and rotation since the clip didn’t start and origin, and Gabriel wasn’t facing forward but walking sideways.

Week 4 - MoCap Direction
The fourth week at the lab was all about direction, and we tried out a few dynamic scenarios to test out our direction chops in translating both environment and emotion in motion capture.
The first scene was trudging through a rushing river, and we tied Ridwan’s waist and ankles and pulled him back, simulating the push from the water. It was interesting to notice his movements and slowly understand what a body moving through water would look like, noticing details and adjusting direction instructions.

Ridwan crossing a rushing river.
Next we simulated a moon walk, I hunched behind Ridwan and he leaned on my back, then I began pushing up and he could float in the air. Terrick and Gabriel secured his feet and arms and we all slowly flated in zero-g.

RIdwan floating in space
We then went on to an elaborate Spideman scene involving a moving chair, ladder skyscraper and a monster(me) battle. We did a few dry runs and play-by-plays that made it easy to direct as the scene was running, it was great to collaborate and work together to shape the scene.

The absolute highlight of the day was a surprise visit by Motion Capture child prodigy (and Gabriel’s daughter), Stella. We managed to rig her in a tiny suit and she was completely natural and happy to play with her digital double. We concluded with a dance from The Beauty and the Beast:

Week 4 afterthoughts
Directing motion capture is tricky, and requires great awareness of fine details that make up the performance and capture the essence of the meaning of emotion the actors are trying to convey.
We worked with props, supported each other and collaborated in shaping the scene and it was great to build our own language for honing in on direction as the labs go on.
Week 5 - Rigged Cameras and Hand Tracking
This week we experimented with setting up rigged cameras in Unreal, controlled by motion trackers in the studio. This let us walk around with tracked rigid bodies, explore different perspectives of the scene and play with camera movement. It reminded me of the “Making of” of Avatar, where I saw the film crew use special camera-mounted displays that rendered the 3d scene and actors overlaid on live green screen footage.
We moved on to using the Perception Neuron suit and tried to set Nico up in the suit. Full-body was limp but sorta-kinda worked, hand tracking didn’t work at all, something to do with the earth’s magnetic field, special space tin, neurons…………….
Still! I’m really excited to be able to blend together different capture animations, from full-body to hands and face, to get as much expression as possible in out animated scenes and as much data to work with.
After the MoCap session I got back to working on a scene I’ve been building over the past few weeks. I realized I could rig and retarget an animation all the way through in Maya using HumanIK (and on a Mac). While Maya is not as complete a motion package as MotionBuilder, it did the trick for simple rigging and retargeting of a skeleton animation.
I’ve been working on a scene where a character tries to escape one corner of a room only to have to keep running away from the next. During the actual MoCap session I chased Ridwan around the room shouting and waving my arms, and the sense of emergency really comes through in the capture. Now I wanted to use the environment, lighting and post-processing to complete the effect and convey fear and intimidation.
I set up 4 spotlights at each corner of the space in a blueprint with a colliders such that the 4 colliders covered the entire floor. I then set the spotlight to turn on when a socket attached to the skeleton’s head entered the space and aim at the socket.
Using exponential fog and volumetric lighting I was able to create a dramatic sense of military flood-lights lighting up and aiming at the person trying to escape. The scene was otherwise dark to accentuate the sense of panic and the fact that as soon as the figure escaped one light, another immediately spotted it, forcing it to keep running away.
Week 5 afterthoughts
I’m really excited about the affordances rigged cameras allow us as directors in animated MoCap environments, even more so than what’s possible with real cameras. I want to explore using rigged objects as controllers for depth of field, focal points, moving lights and other effects, things "live action” film crews can only dream of (or buy a bunch of expensive transparent drones that don’t really exist so this isn’t really possible anyway…).
I also want to keep working on developing the visual aspect of the scenes I’m working on, using the MoCap data as base material and using lights, scenery, camera angles and character representation to complete the story.