Finishing
Over the past few weeks I spent time trying to bring 3D prints to my desired level of finish, a point where you wouldn’t know a piece was 3D printed if you ran your finger on it, or looked at a paint job and didn’t see the obvious layer lines.
Unsurprisingly, that means that I spent most of this week sanding, and priming, and sanding, and priming again (as I detailed in “The Zen of Sanding”). I started with very low grit, 80, to remove all the supports, rough out the adhesion plate and get rid of all the excess material. I moved up to 220 as a first pass to smooth out the print lines - this proved to be the most important pass as all subsequent sanding will rely on the quality of this run and smoothing the print surface as much as possible.
Next I used 440, 660 and 800 to incrementally smooth out the surface of the print. After all the sanding was done, the surface was really smooth to the touch and the scan lines, while still visible, were smoothed. I then repeated the process for all the prints. All 12 of them.
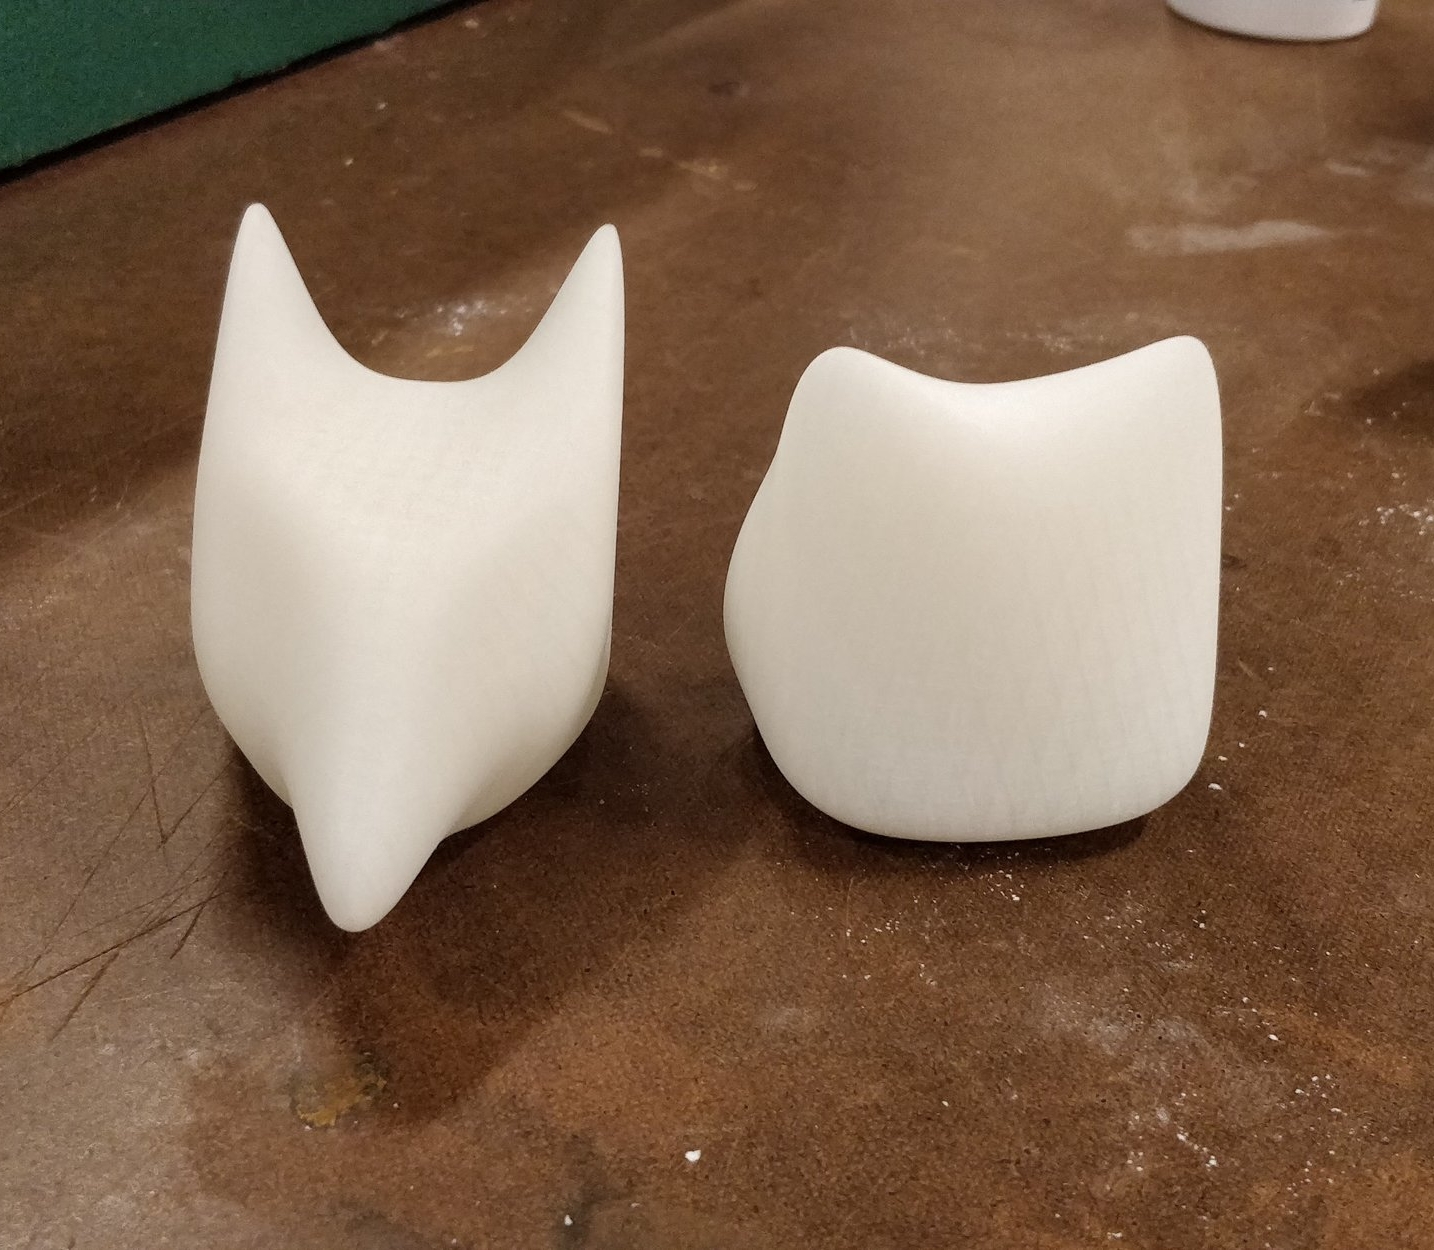

Then came time to prime them white. I stuck to the Rustoleom Plastic Primer and cleaned up the shop’s paint booth. I made a makeshift painting rack that could fit all the toys on two plates so that I could quickly rotate them. I used as light coats of paint as my heavy hand would allow and used a blow dryer in between coats to dry the paint. I didn’t want to rush the final sculpts so the whole painting process took about three hours. In the end, they came out looking pretty smooth with mostly paint texture on the surface, rather than 3D print lines.
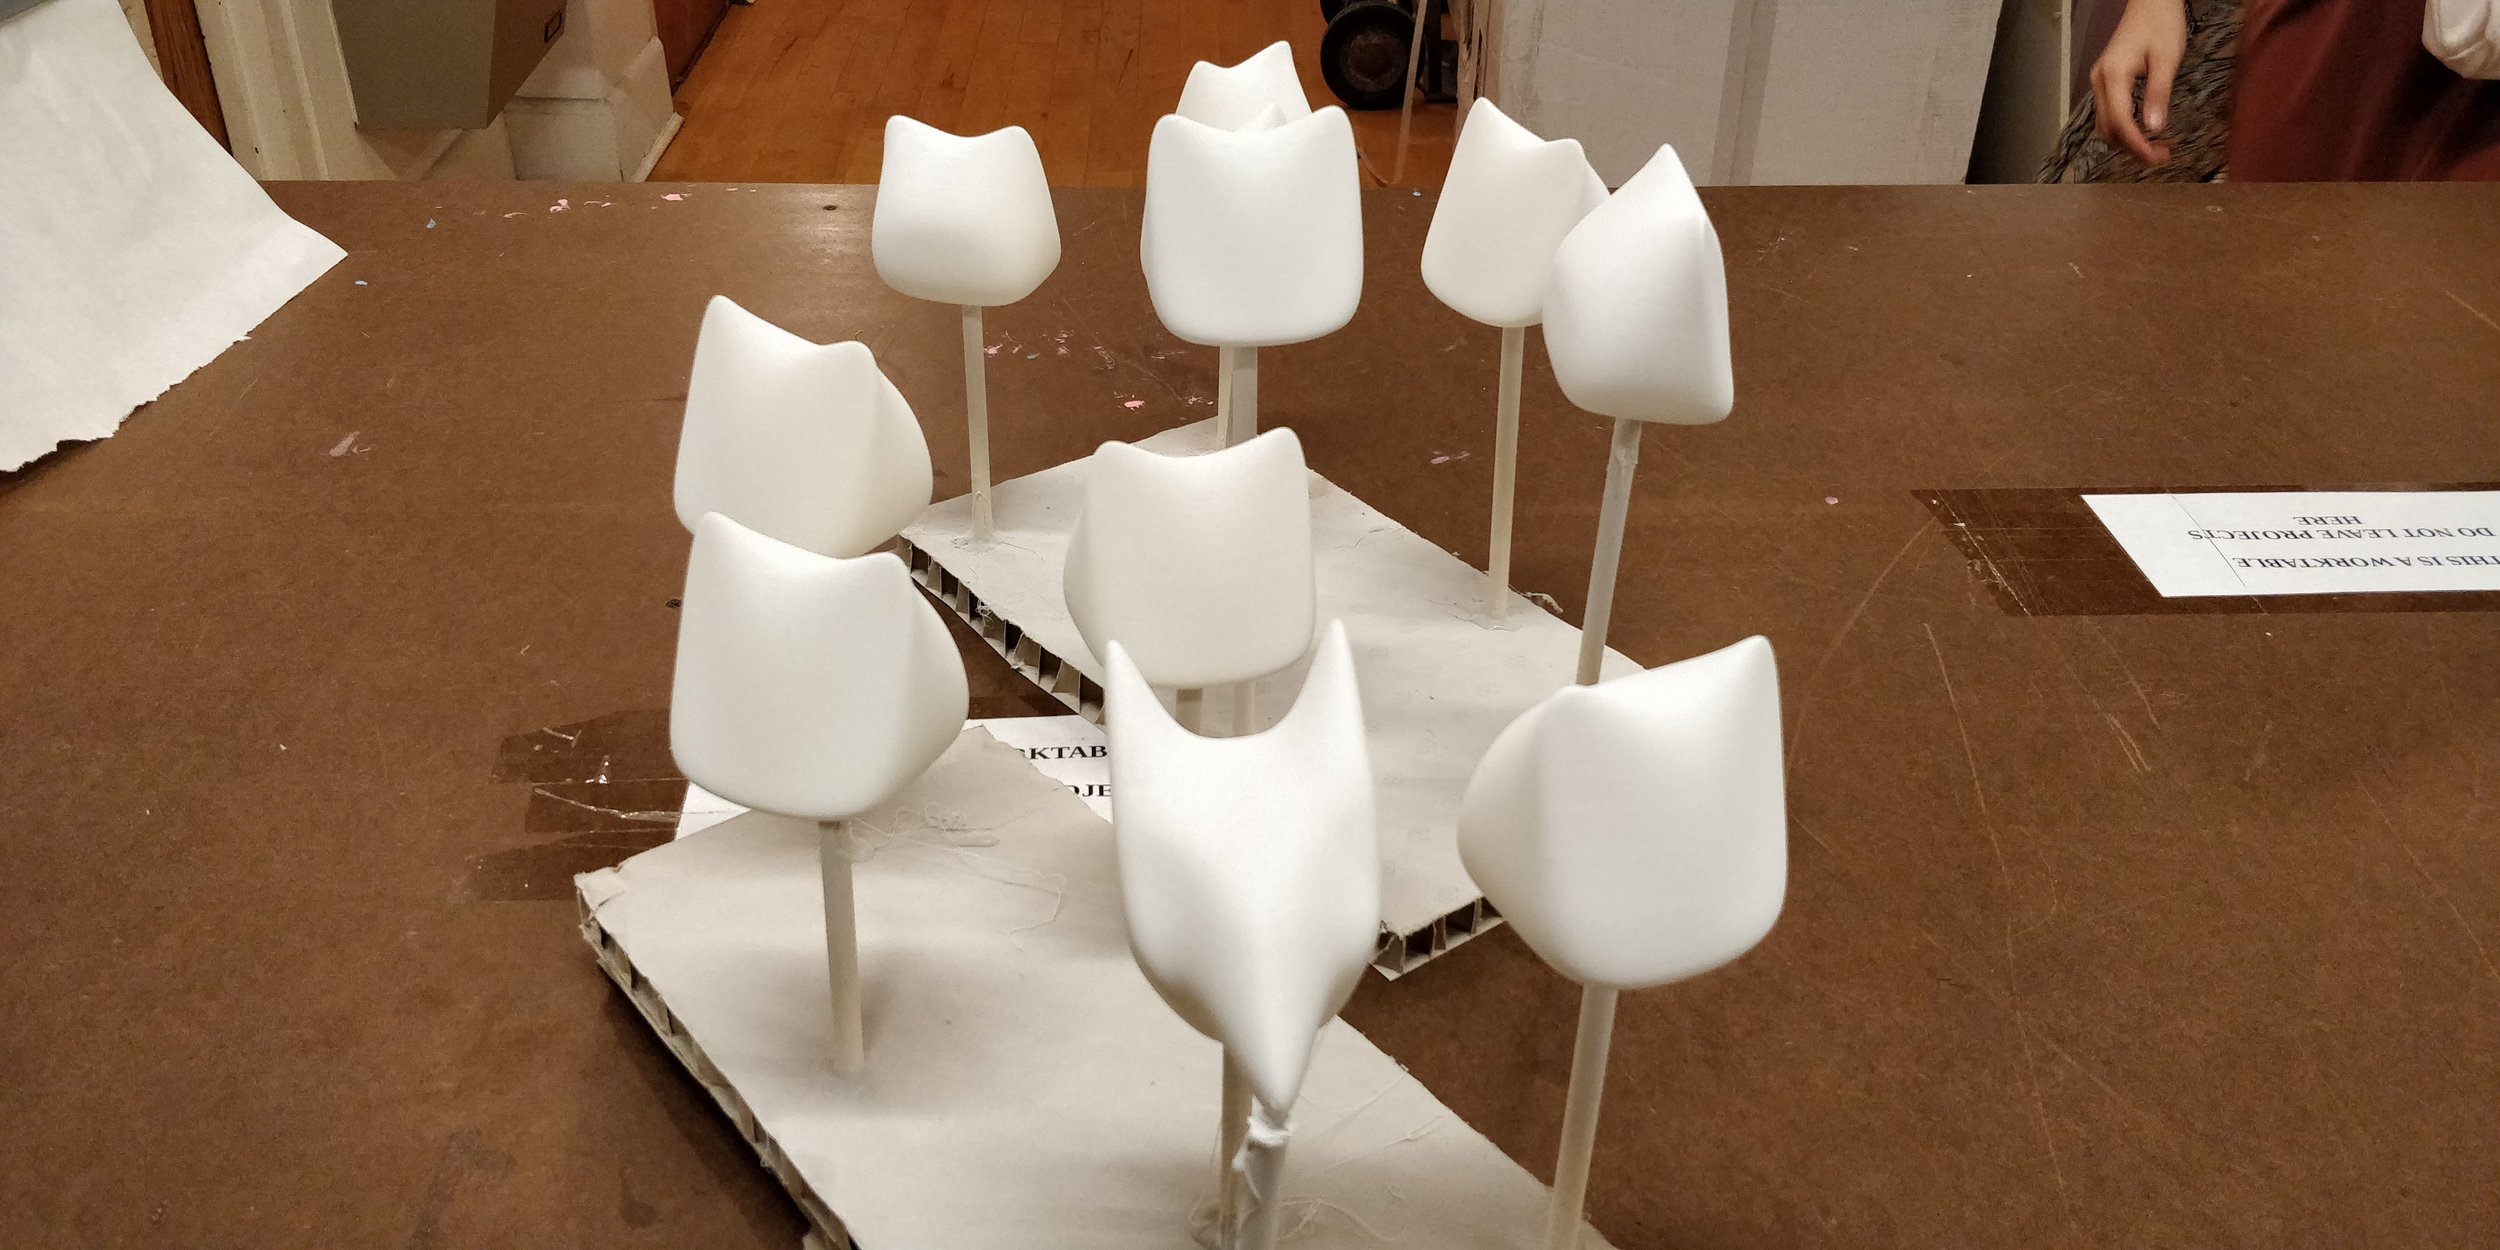
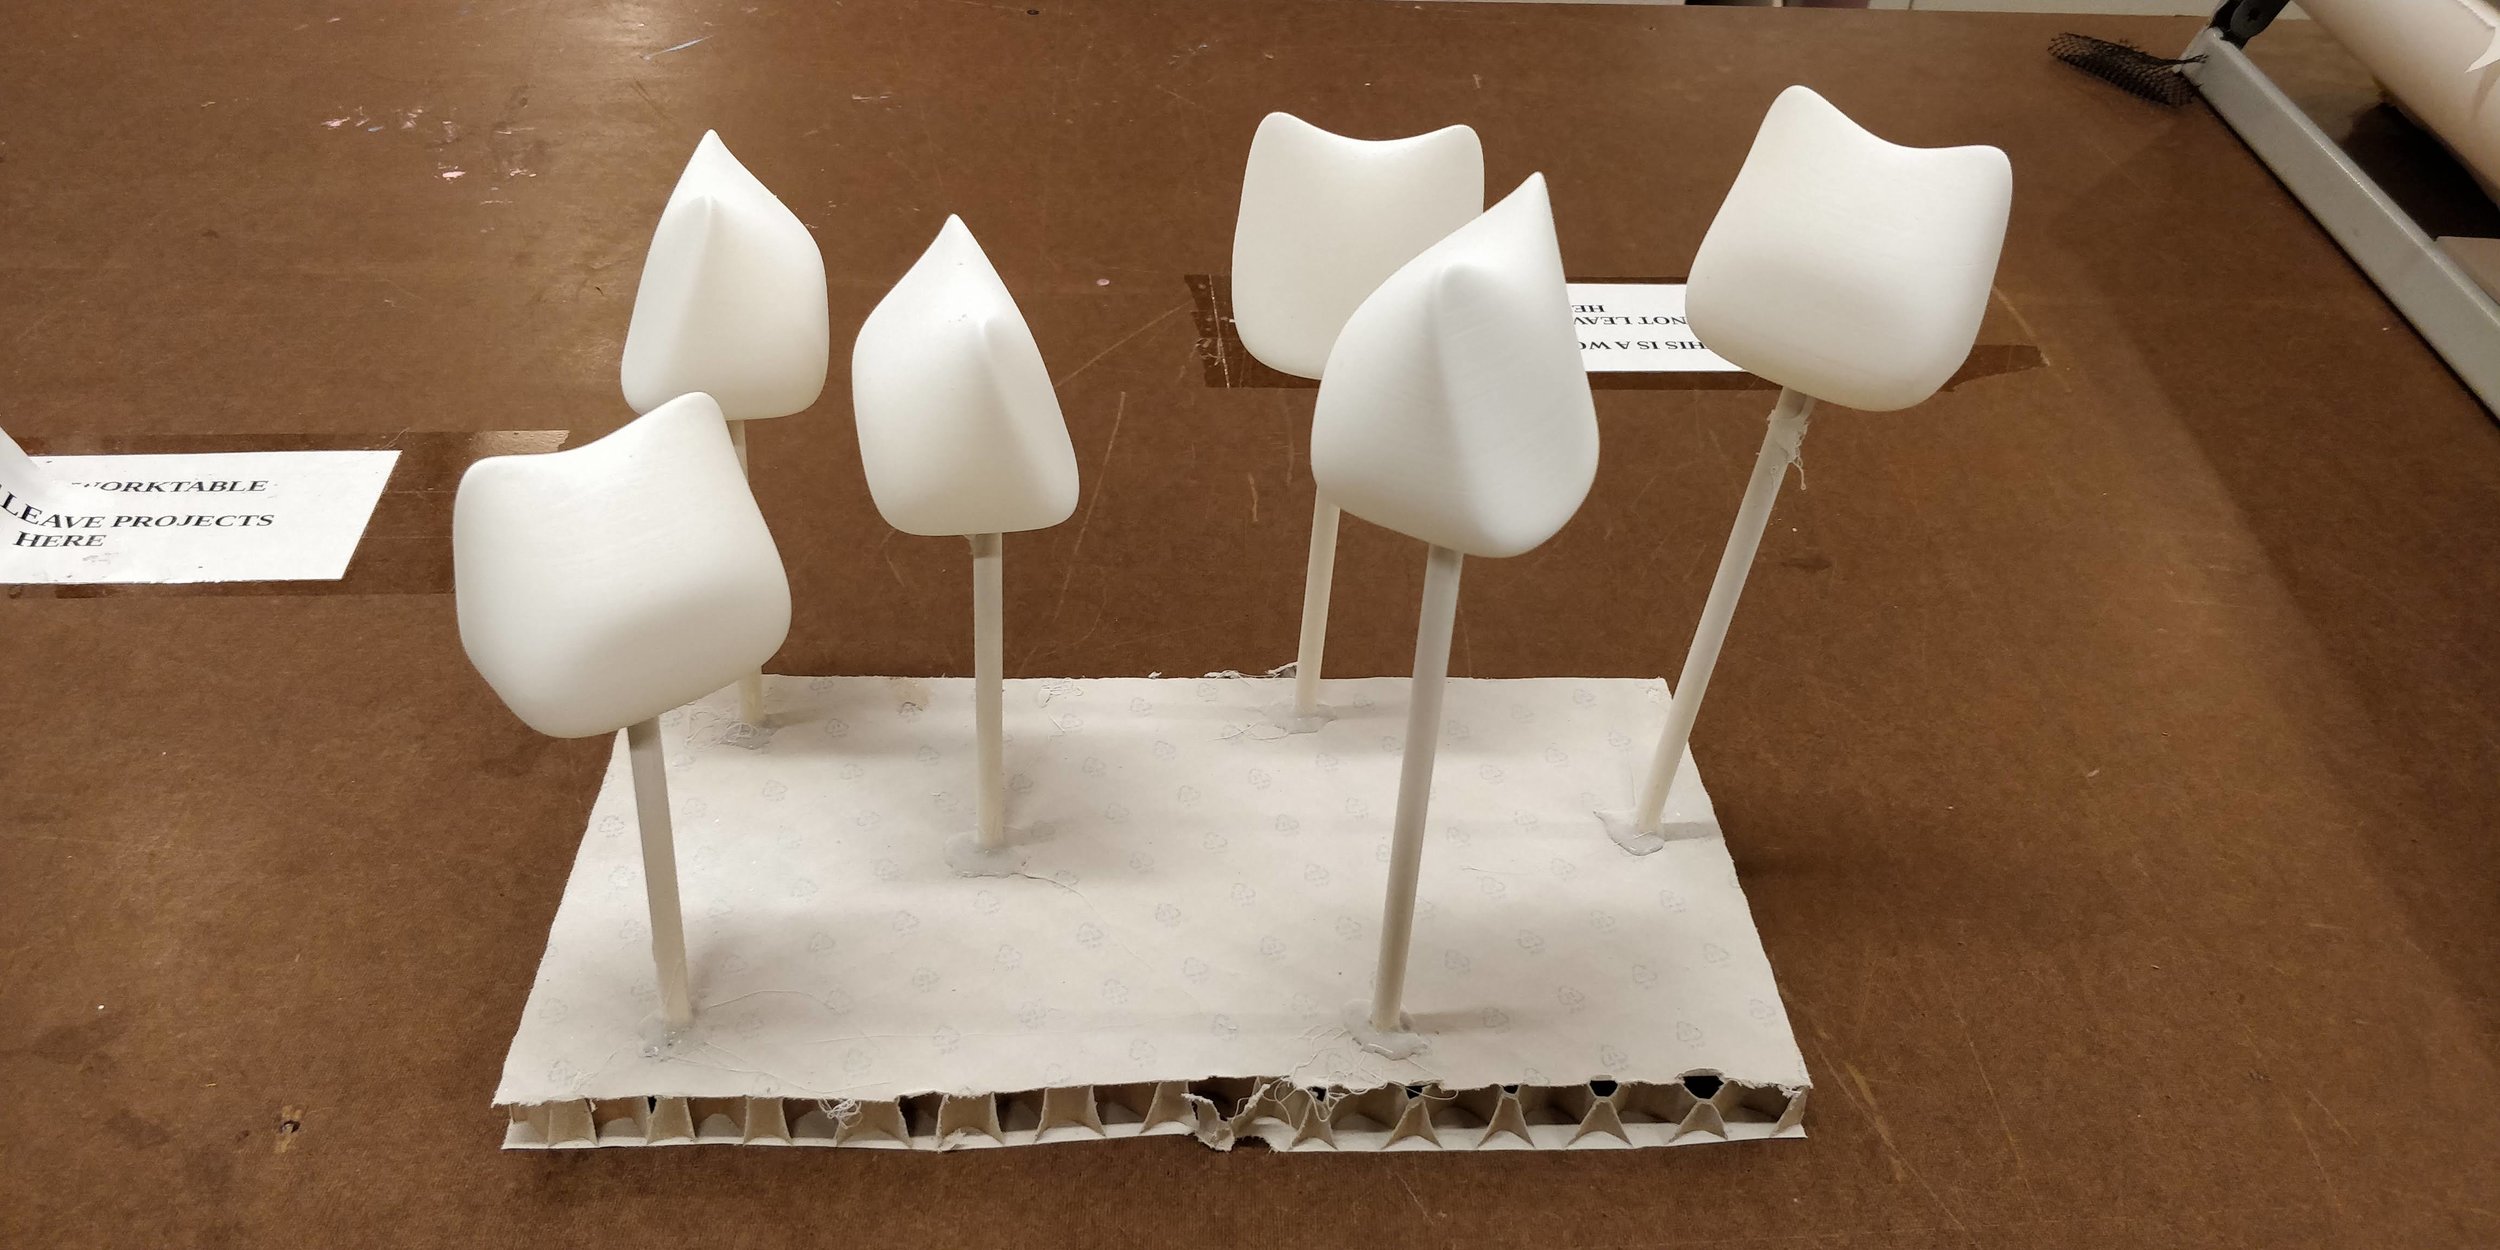
The final step was to lightly sand the primer, and they’d be ready for decoration. I was hoping to get another coat of primer in after sanding but was running out of time to hand them out. I used a 1200 grit sand paper and tried to only brush it against the paint to not rub it off completely.
Packaging
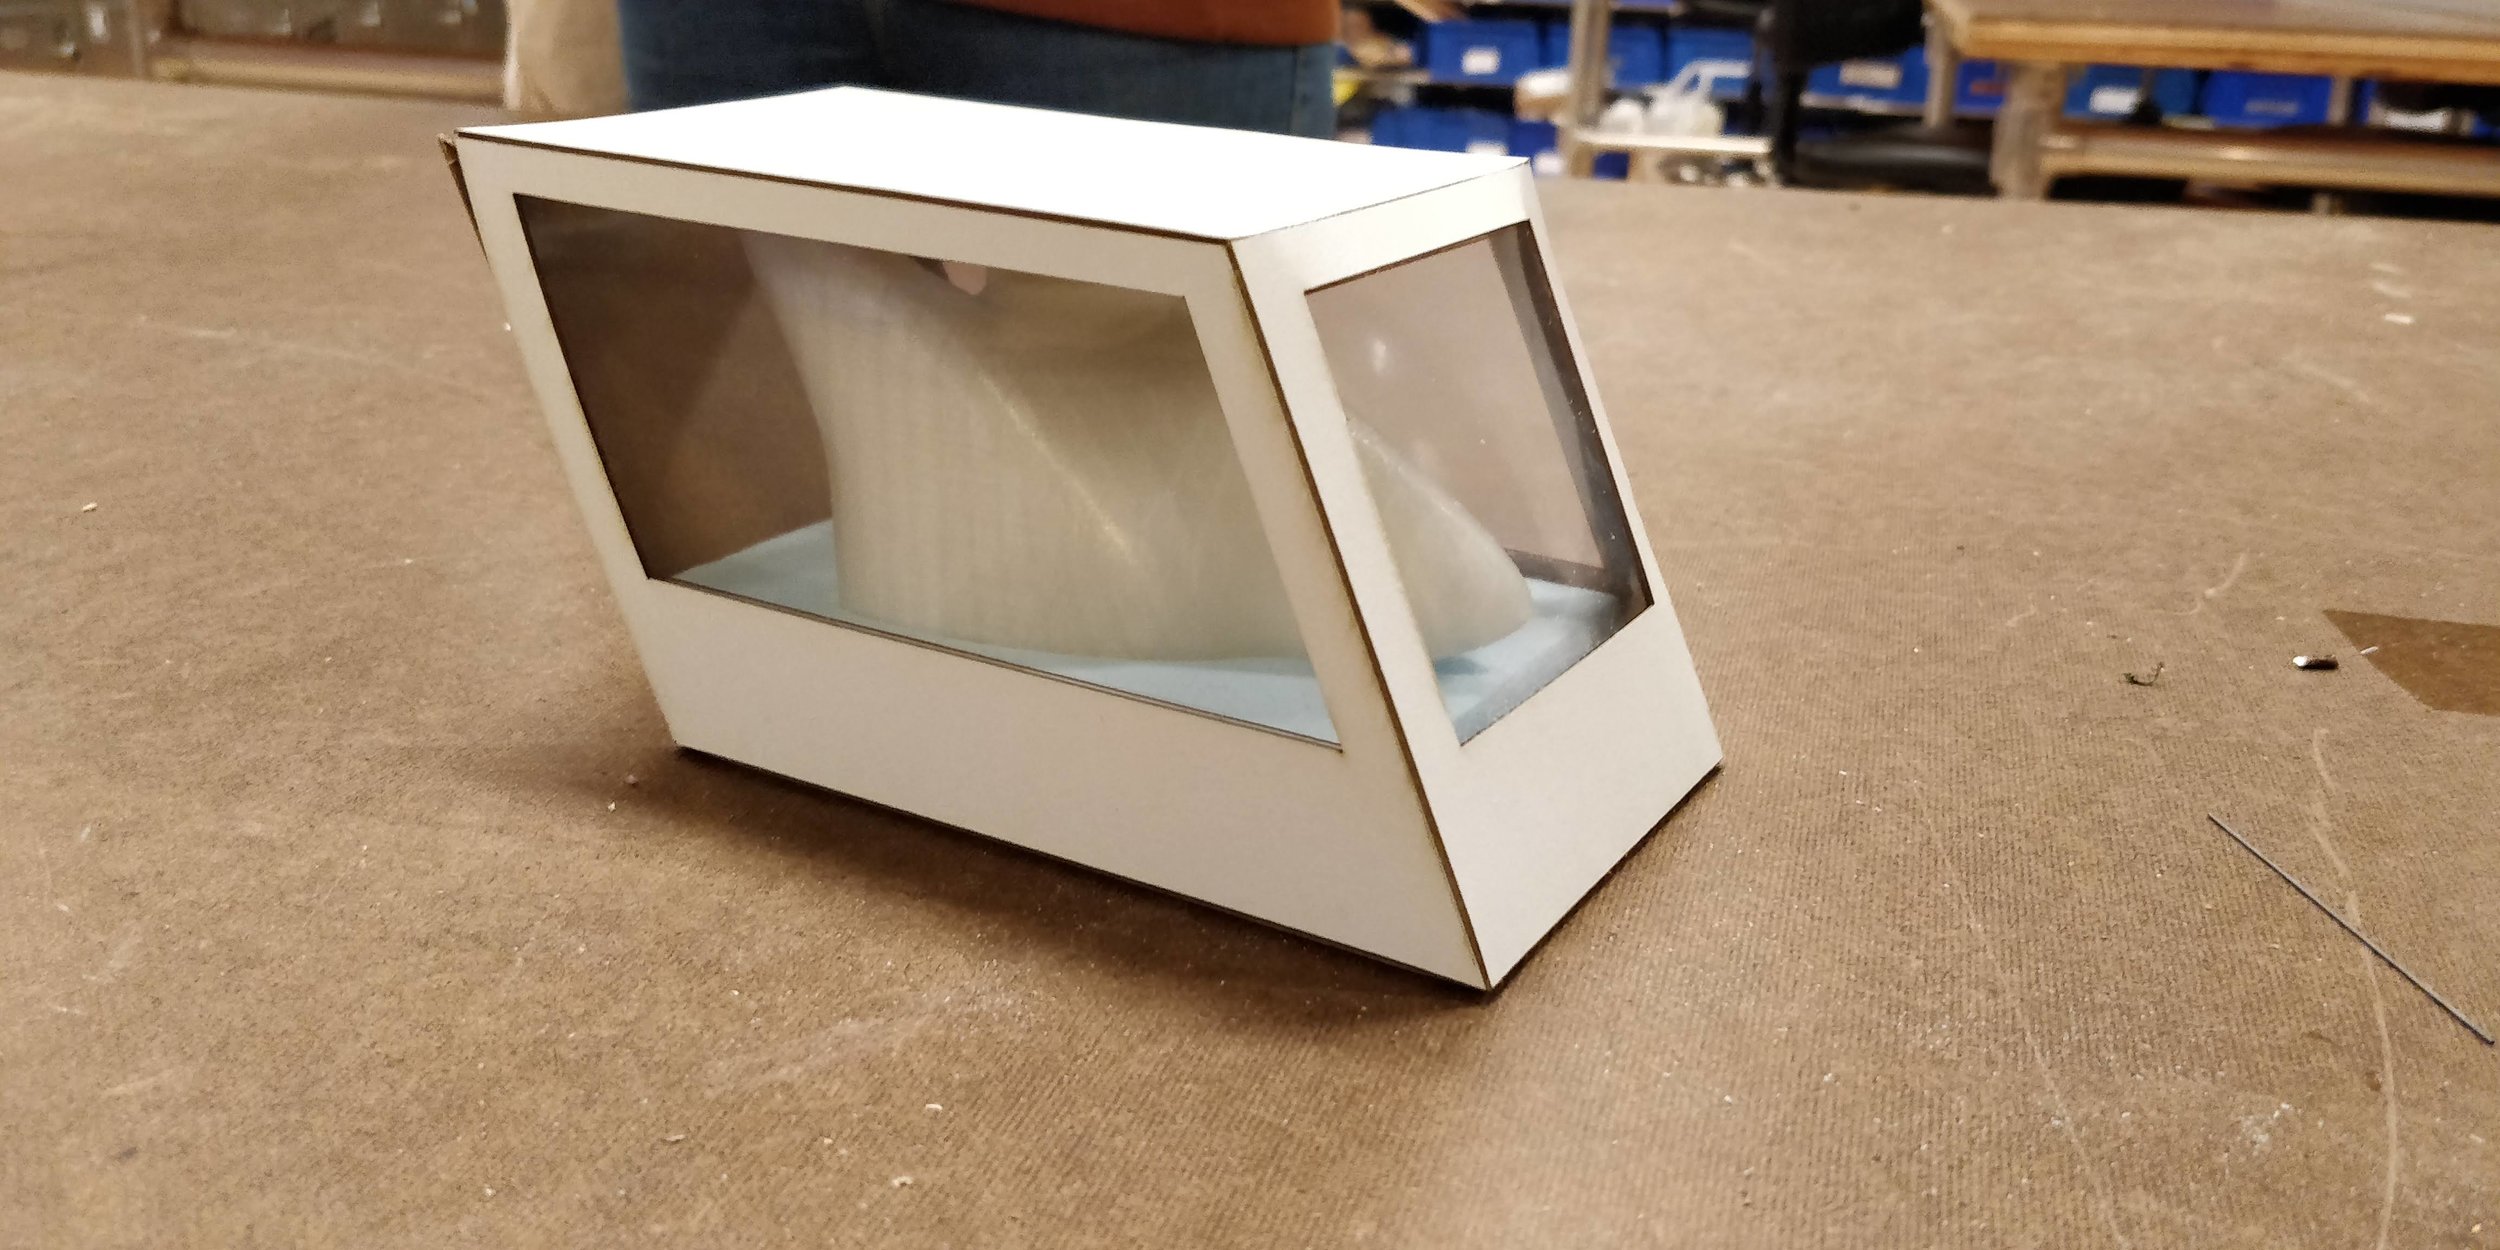
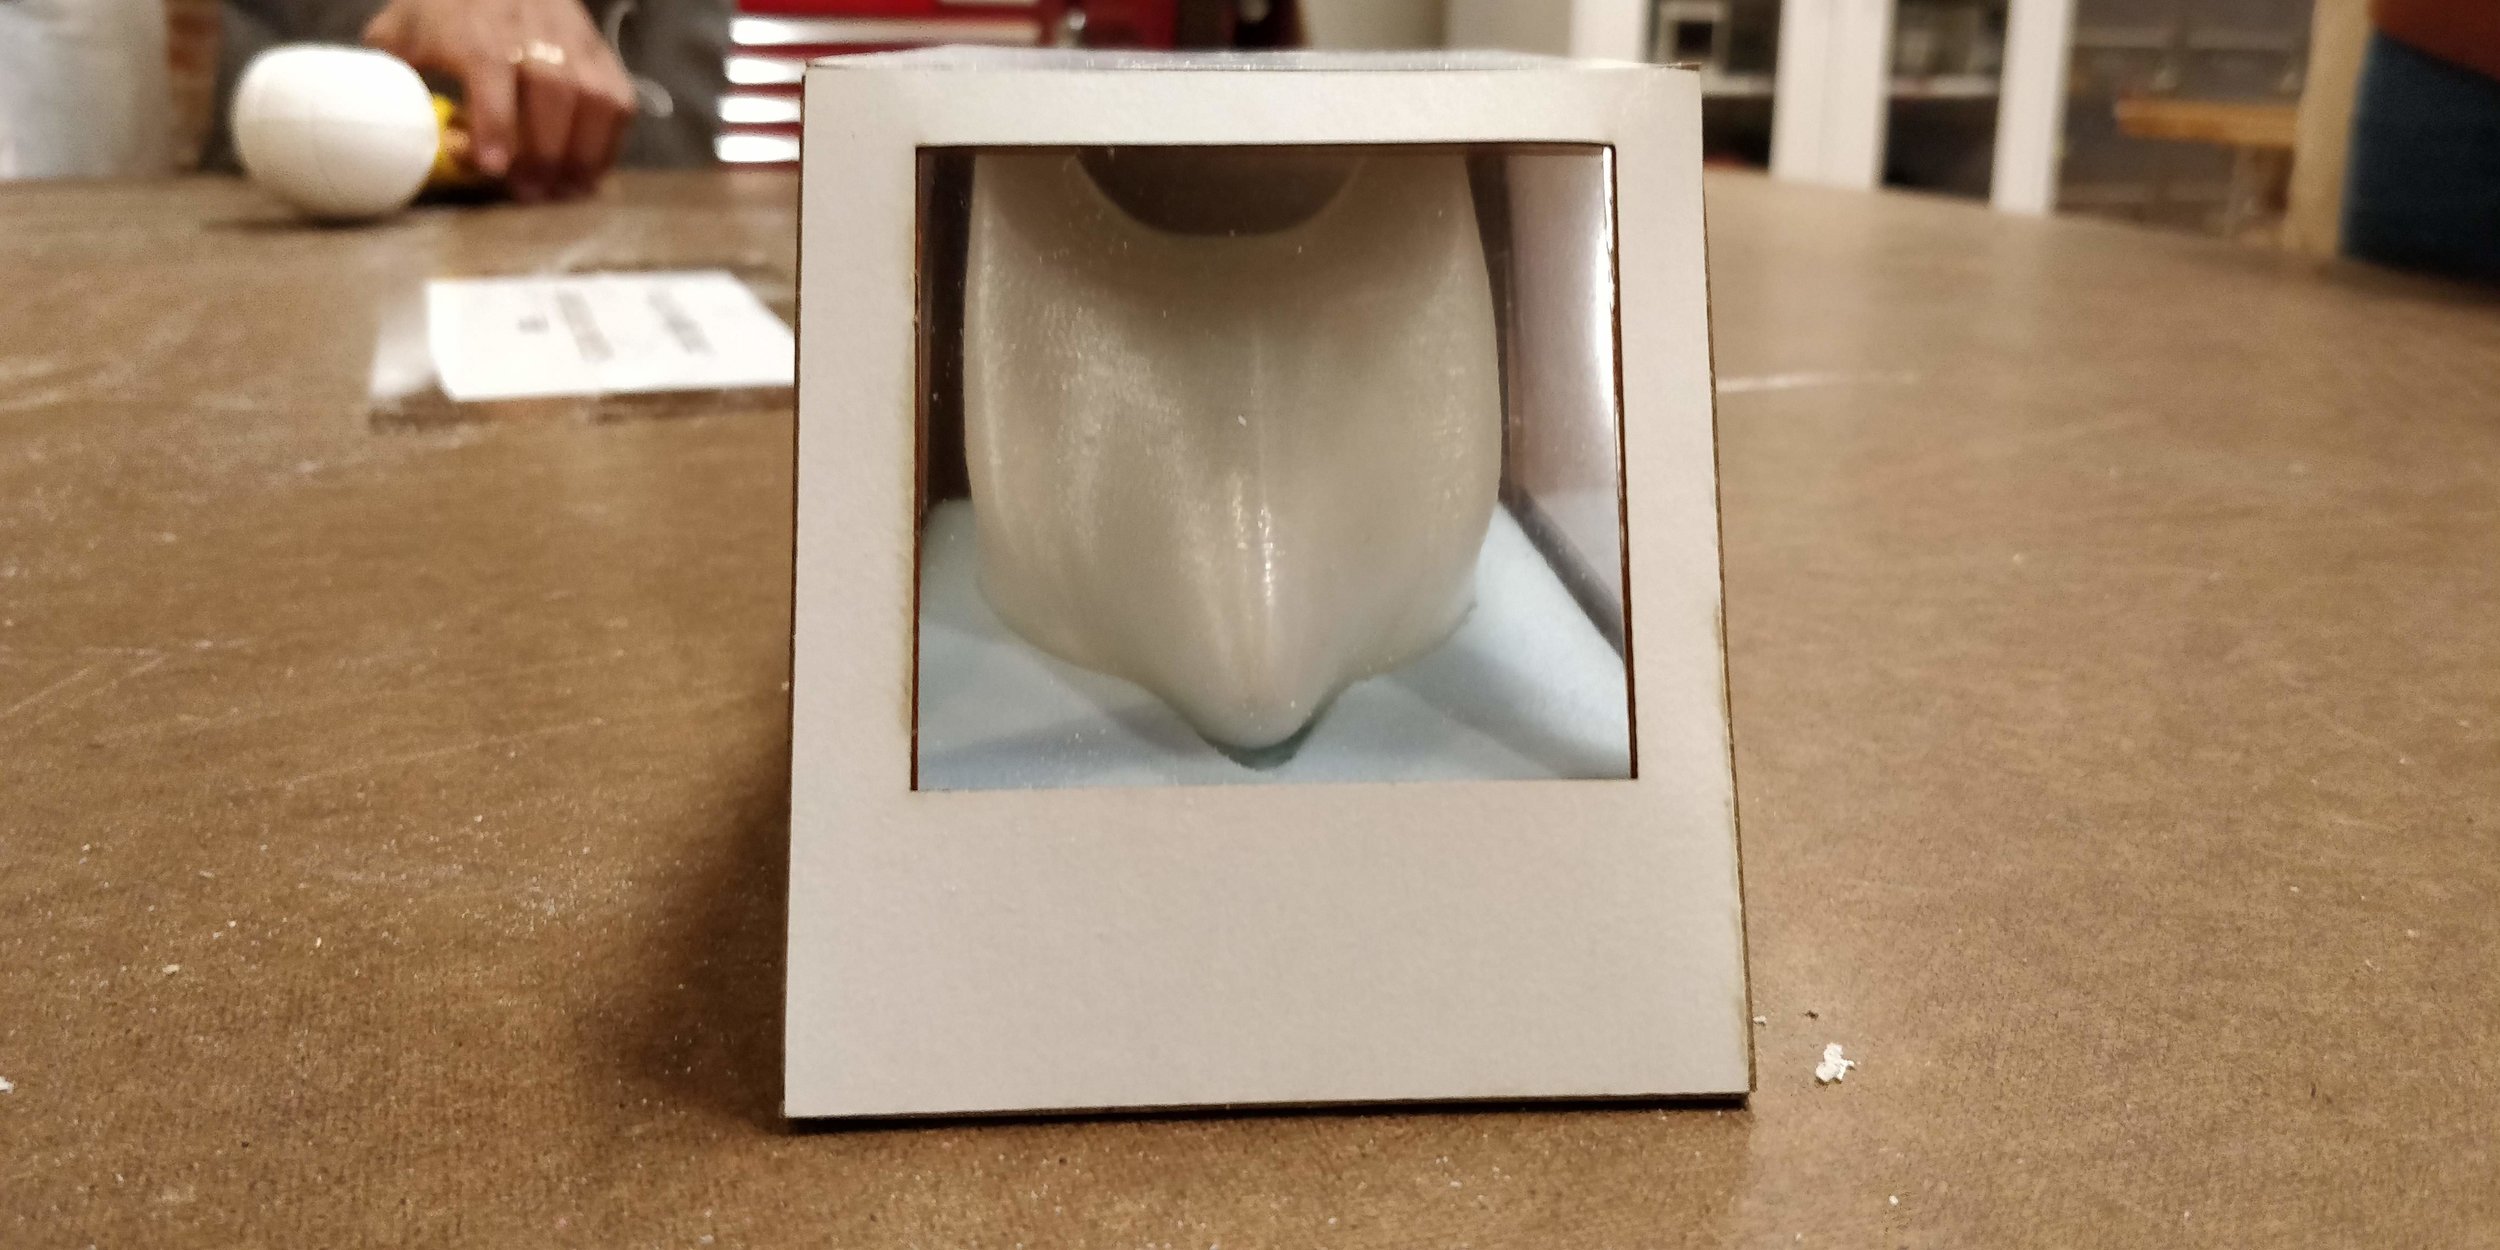
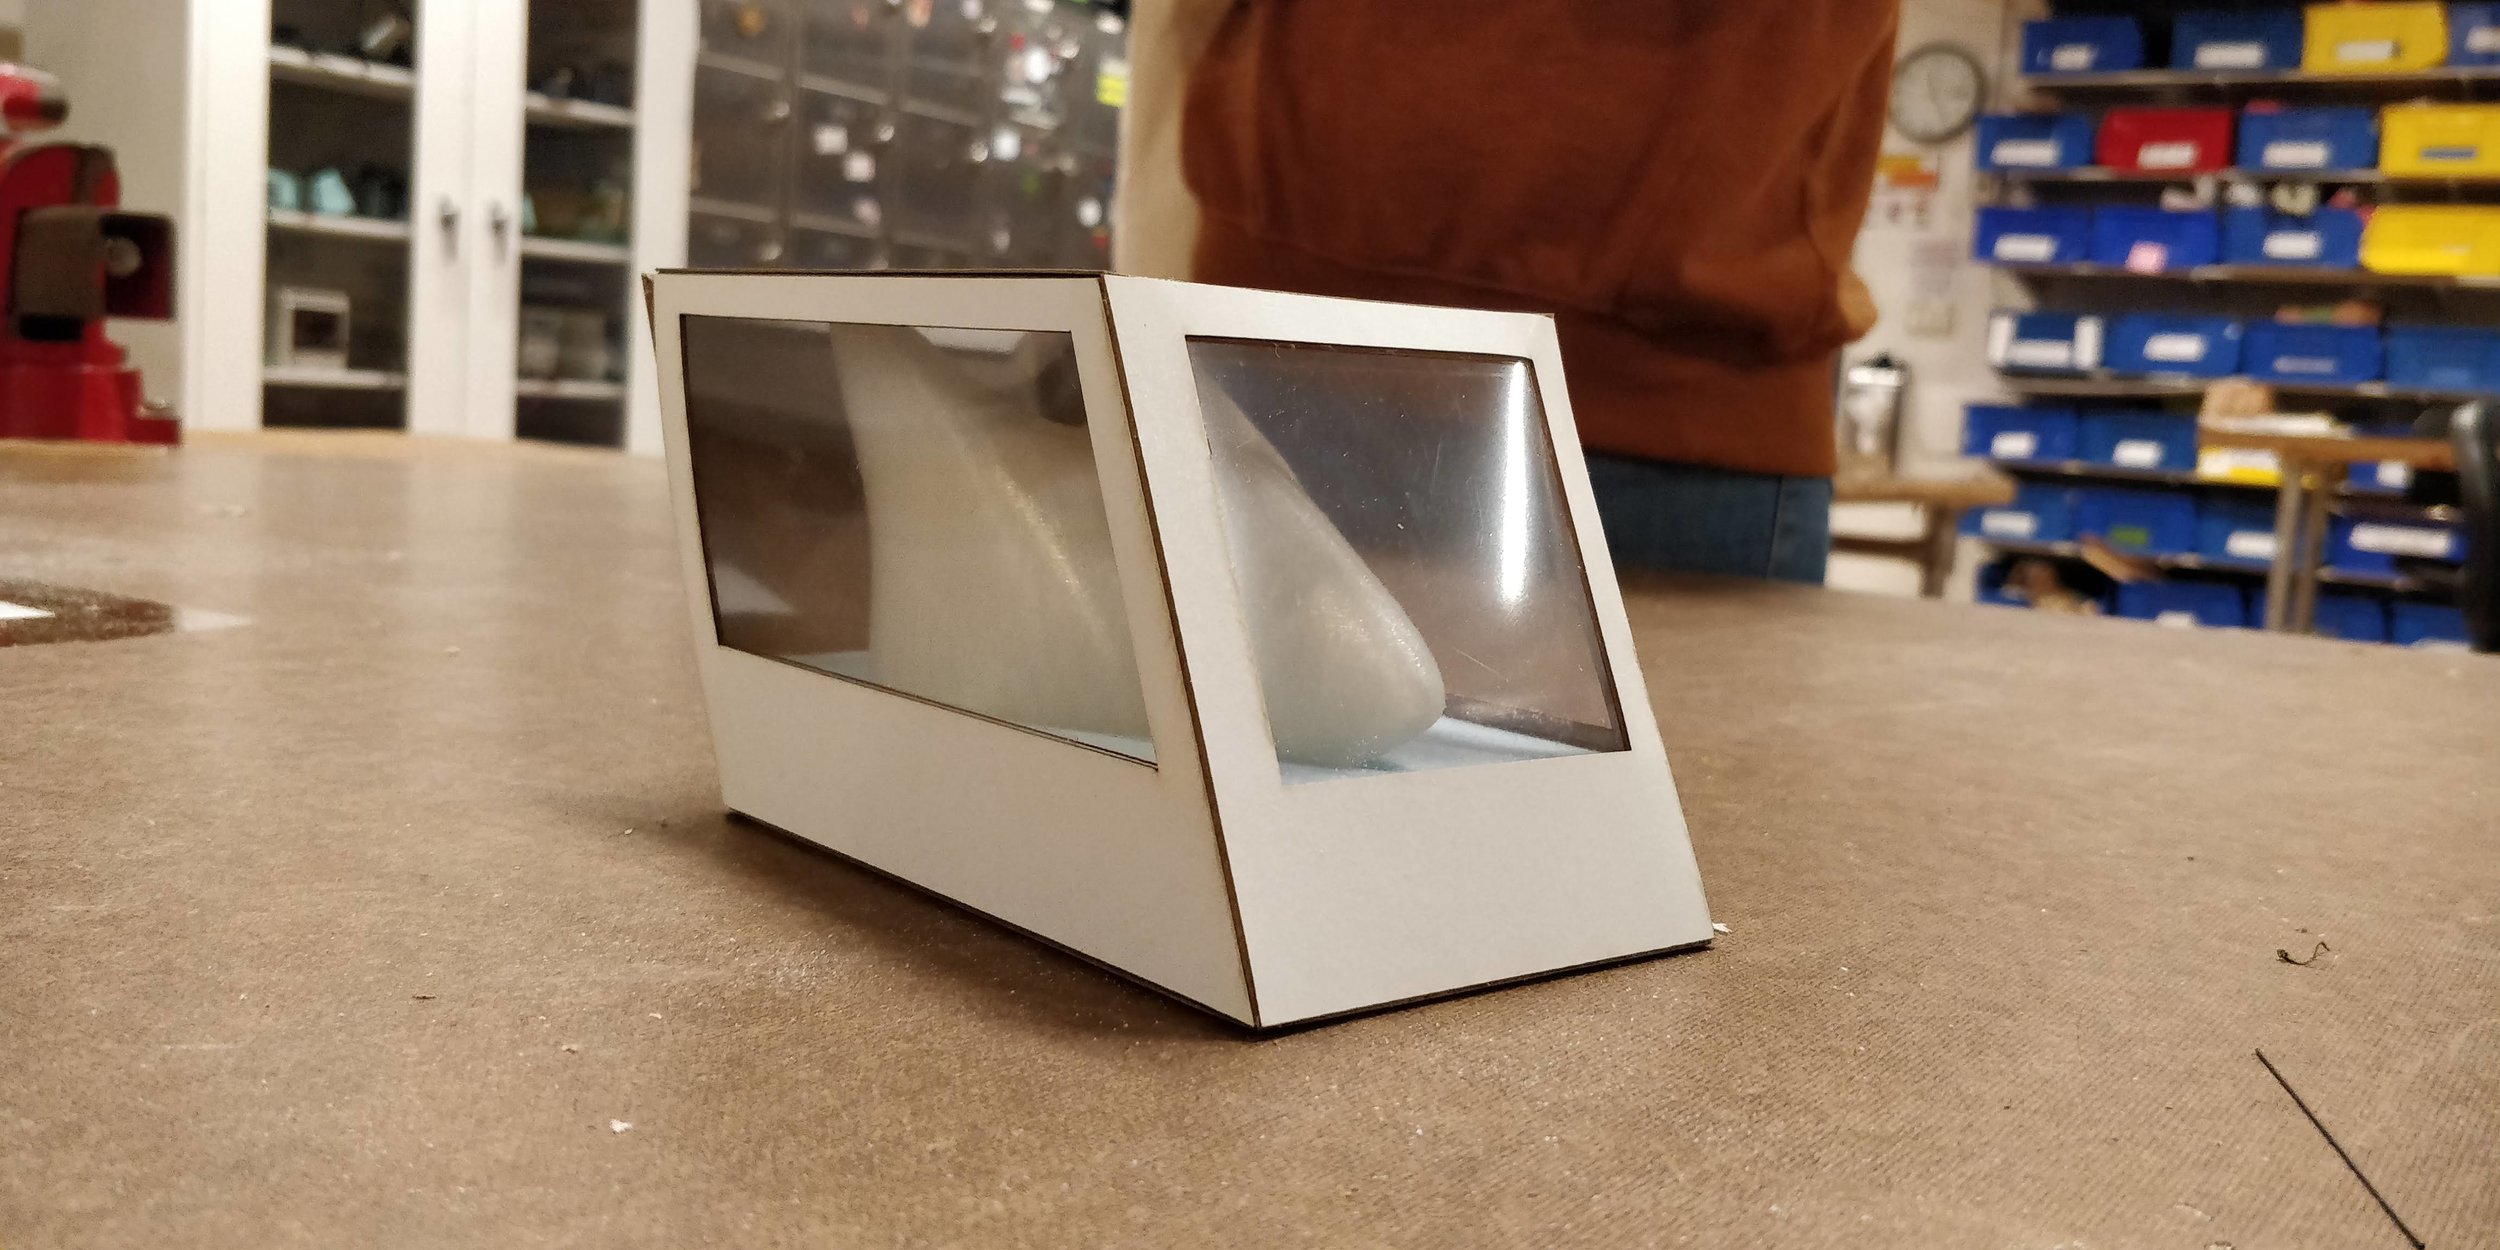
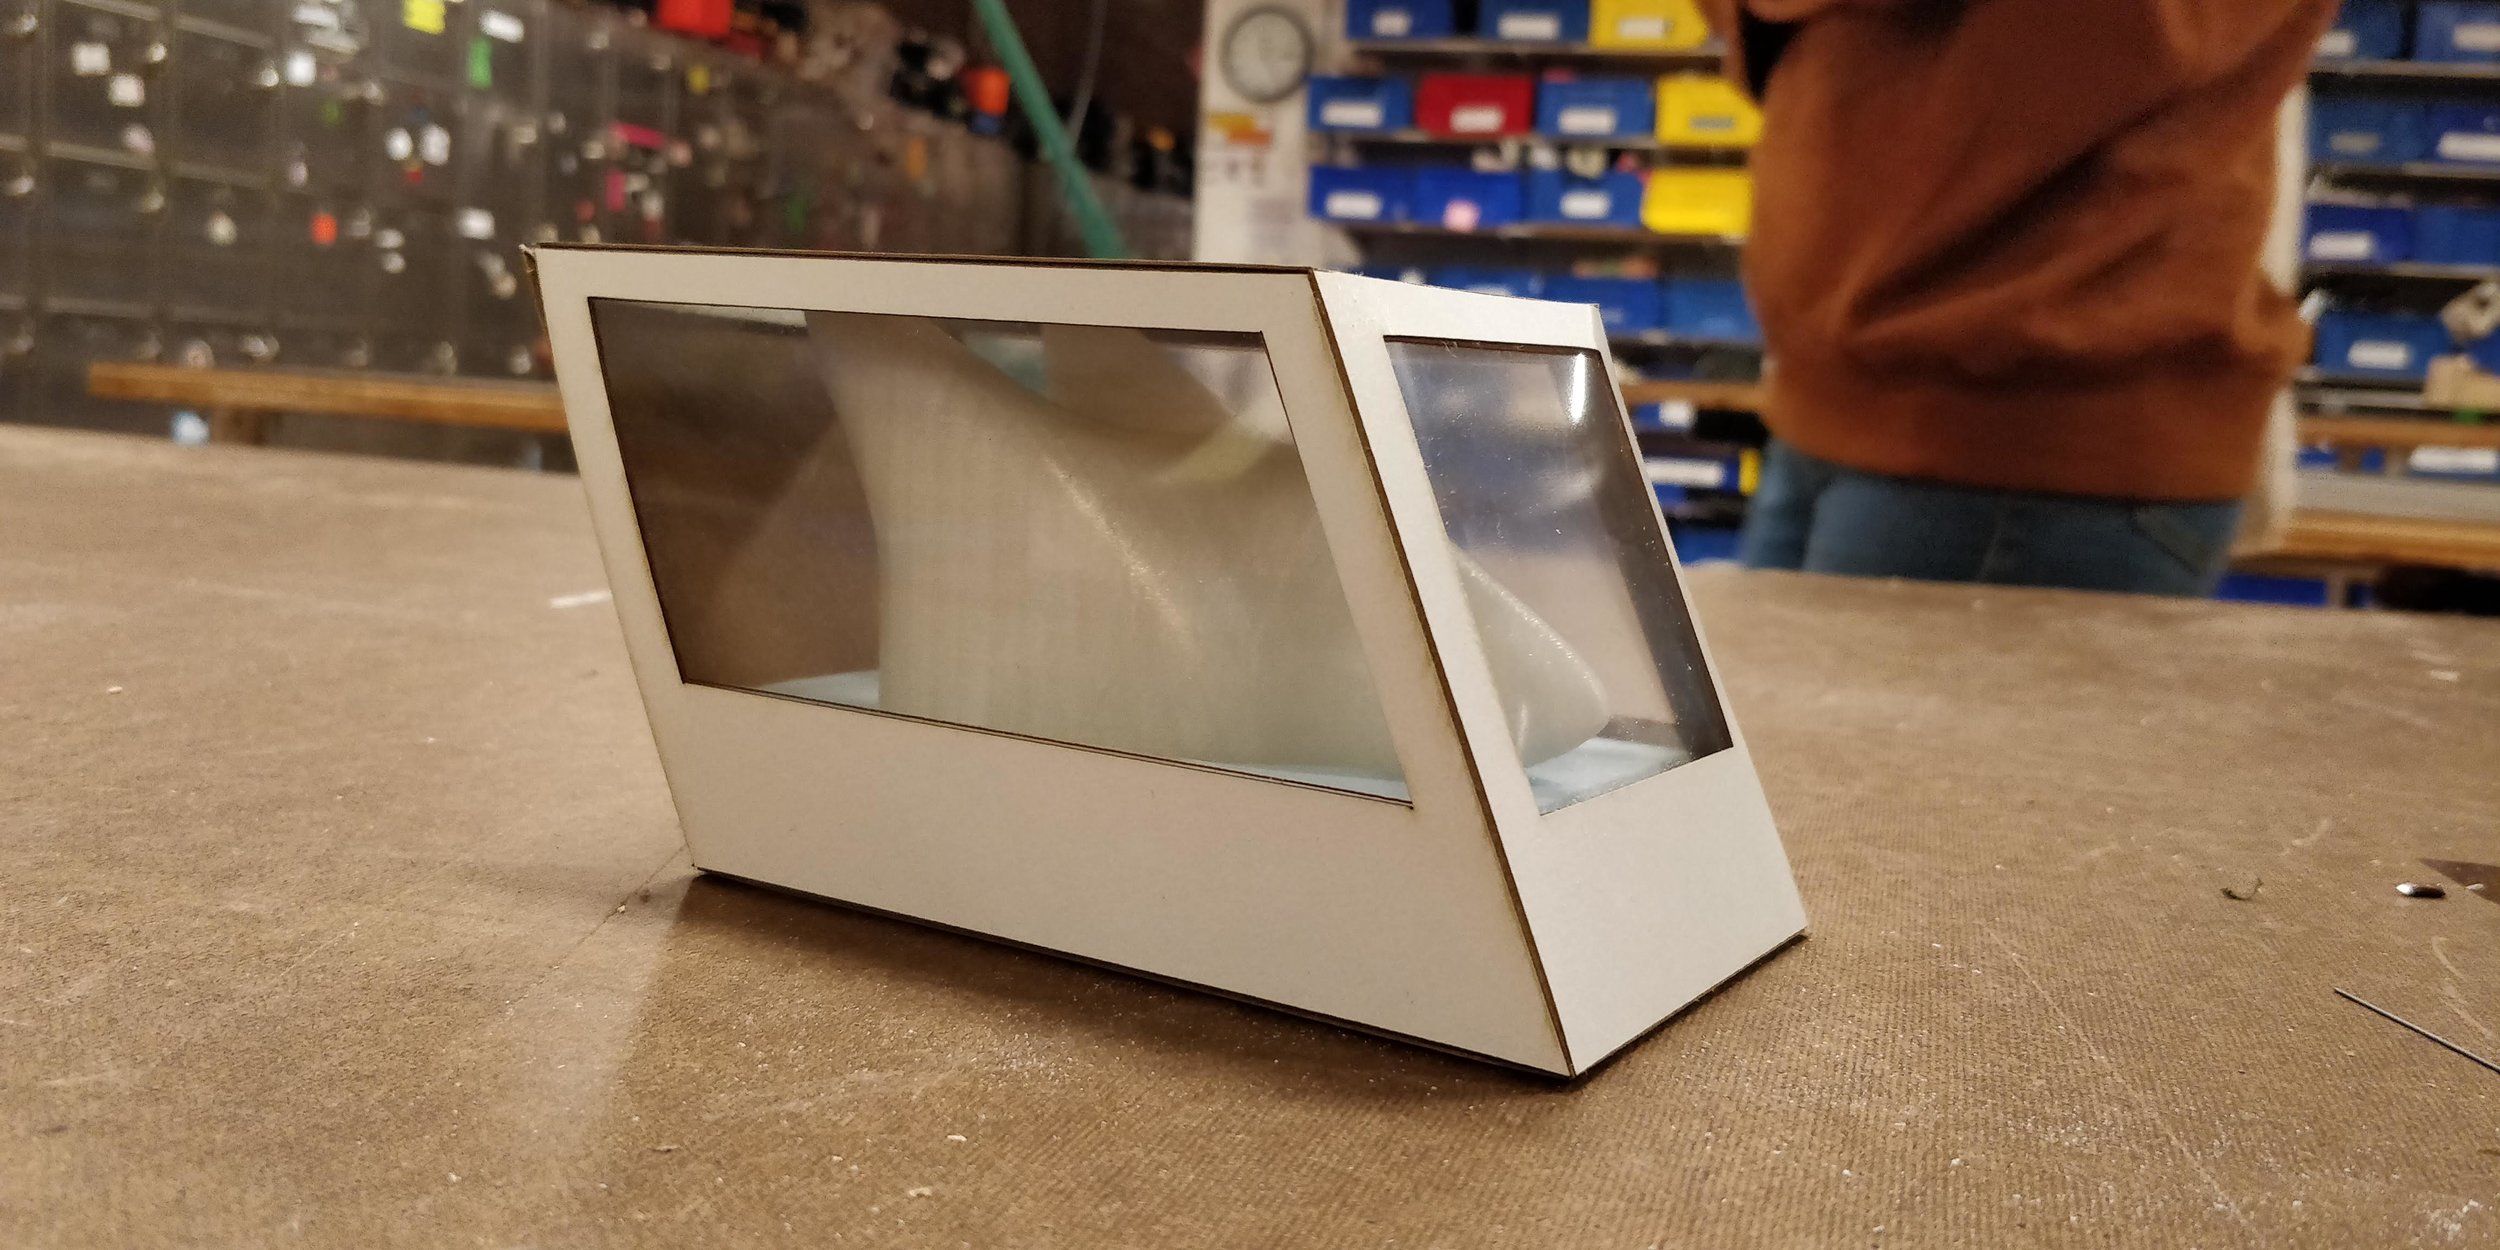
I started to design packaging for the toys, focusing on the fox first.I wanted to give each package a sense of the character’s back story or attitude and, since the fox is modeled after the Japanese Bullet Train, I decided to give the packaging some speed.
I started with a simple box and pulled it backwards before unwrapping it, this made it look like a cart speeding forward. I initially wanted to print on the walls but decided to go with windows instead to complete the look and expose the toy.