This week was all about finishing and painting, and I decided to take the time to try and get a decent finished result from 3D prints. After jumping straight to priming in previous weeks, I took some more time to prep the prints and smooth out the PLA surface before painting.
I started by doing a quick sanding test using 220 grit sand paper. The shapes I was sanding were quite smooth and flat so it was easy to sand them off quite well and get a nice, clean surface. At that stage, I just wanted to quickly go through sanding and priming to get a sense for the process. For this test, I used a gray unlabeled primer from the cabinet and applied a few thin coats in the spray booth.
Though initially things looked promising, a few issues became apparent:
ITPs paint booth is in a wood shop (literally the worst possible location) and must be cleaned and vacuumed before every paint job. The dust and degree floating in the air stick to the paint and ruin the smooth surface.
Simple primer doesn’t stick to PLA and was easily brushed off even after the paint has been drying for hours.
I didn’t sand enough…
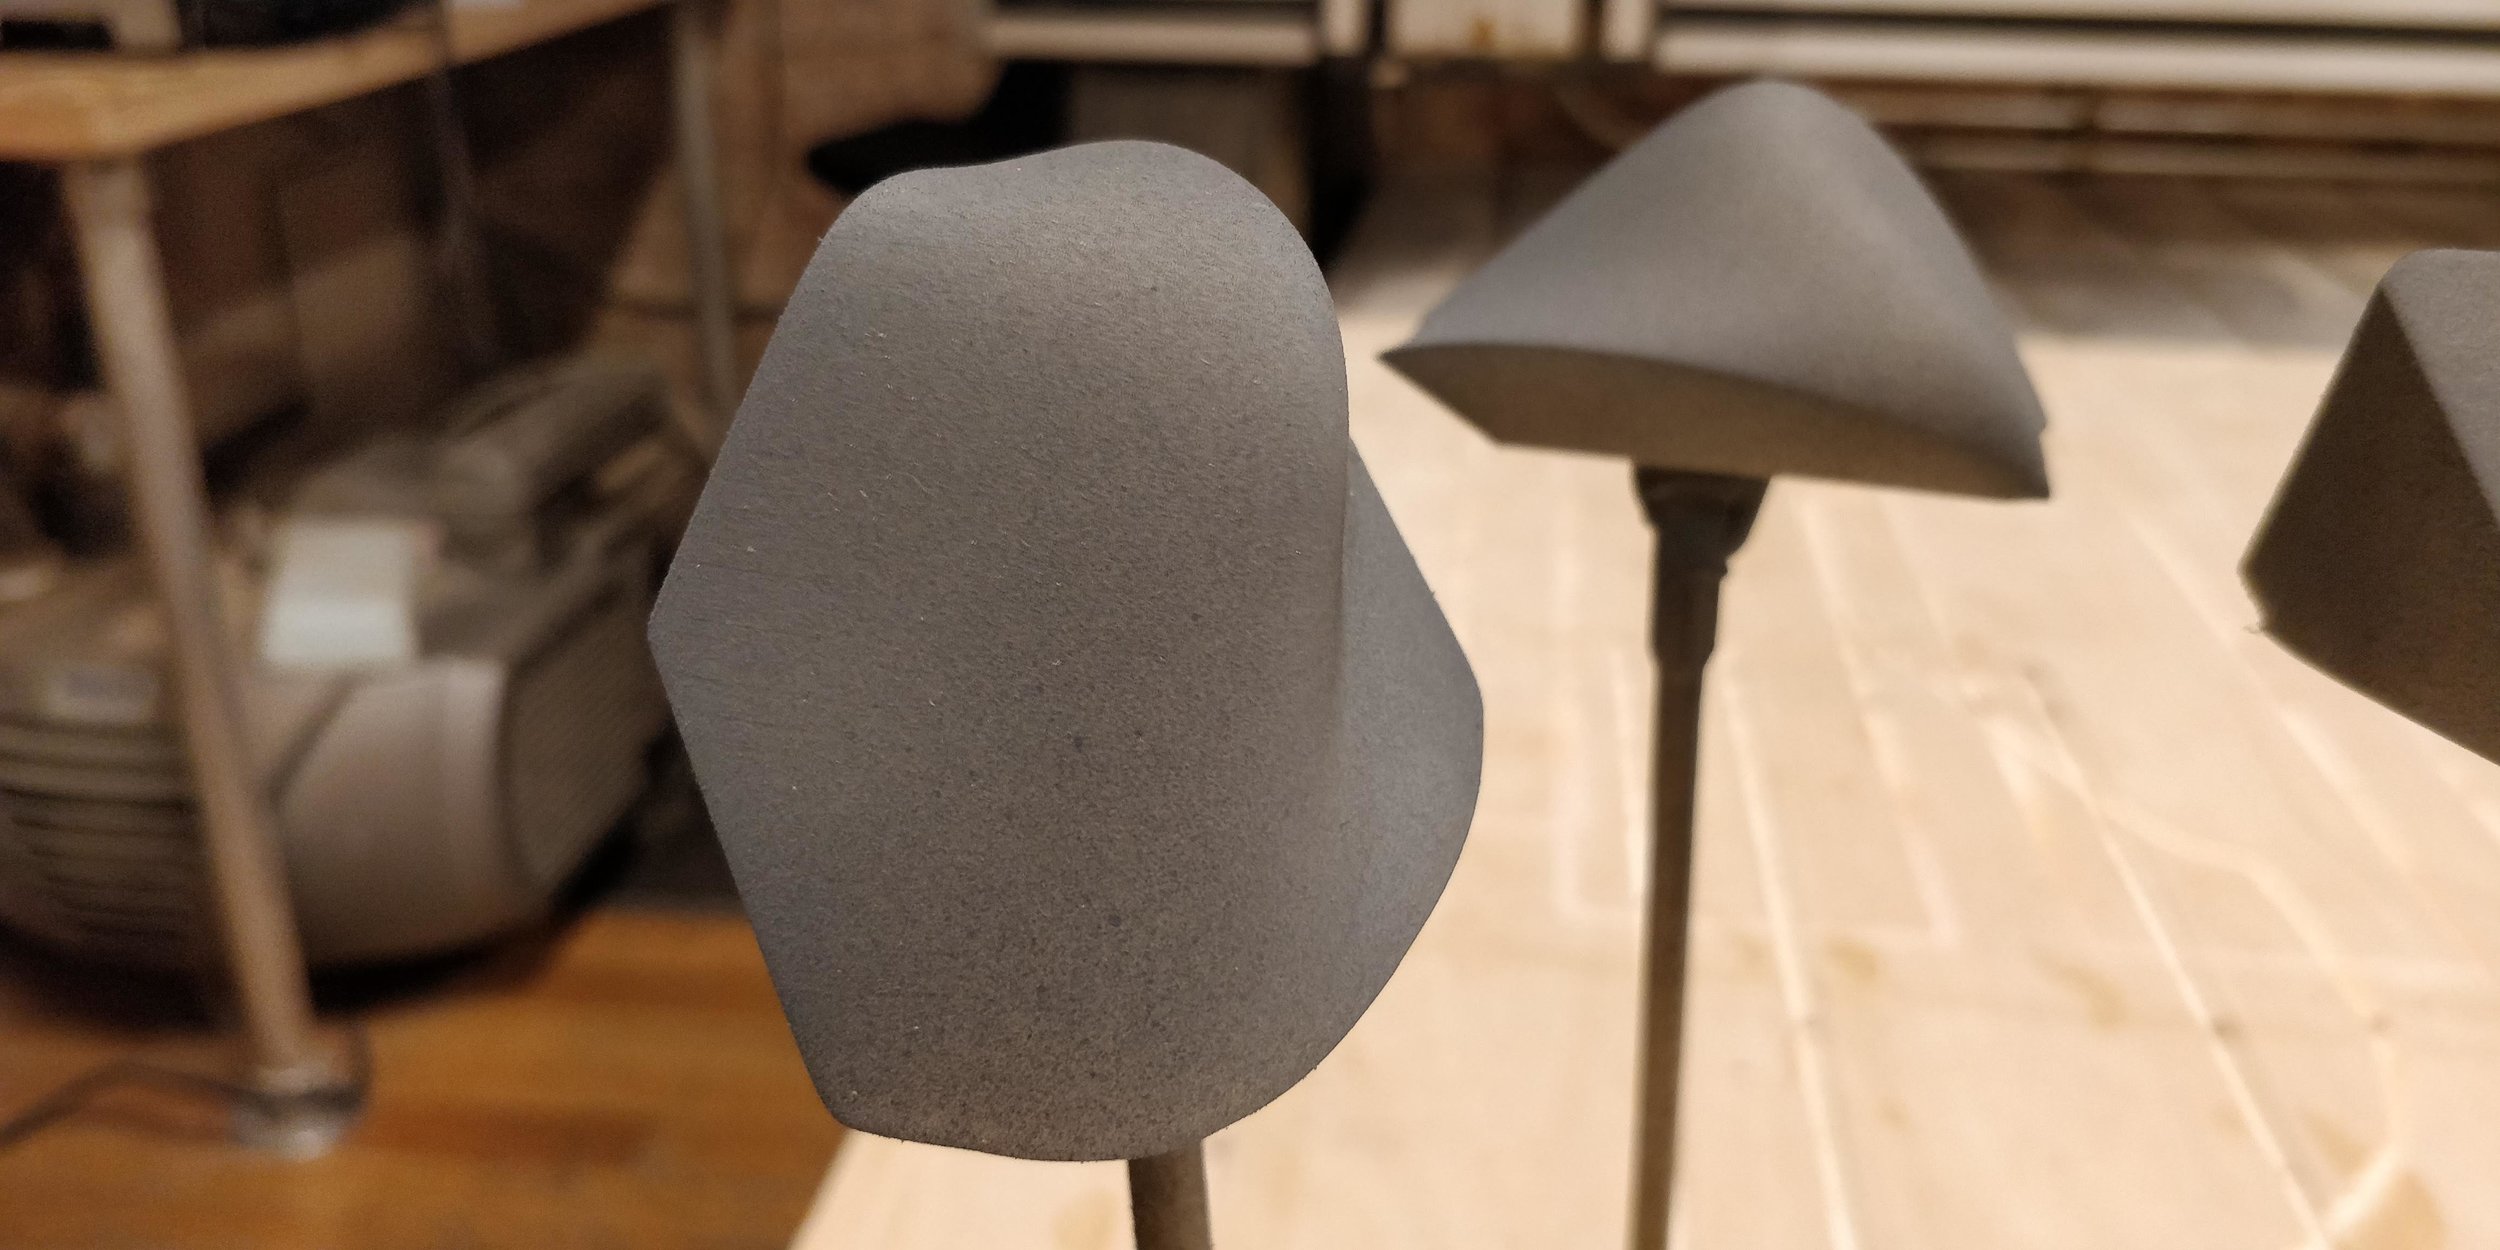
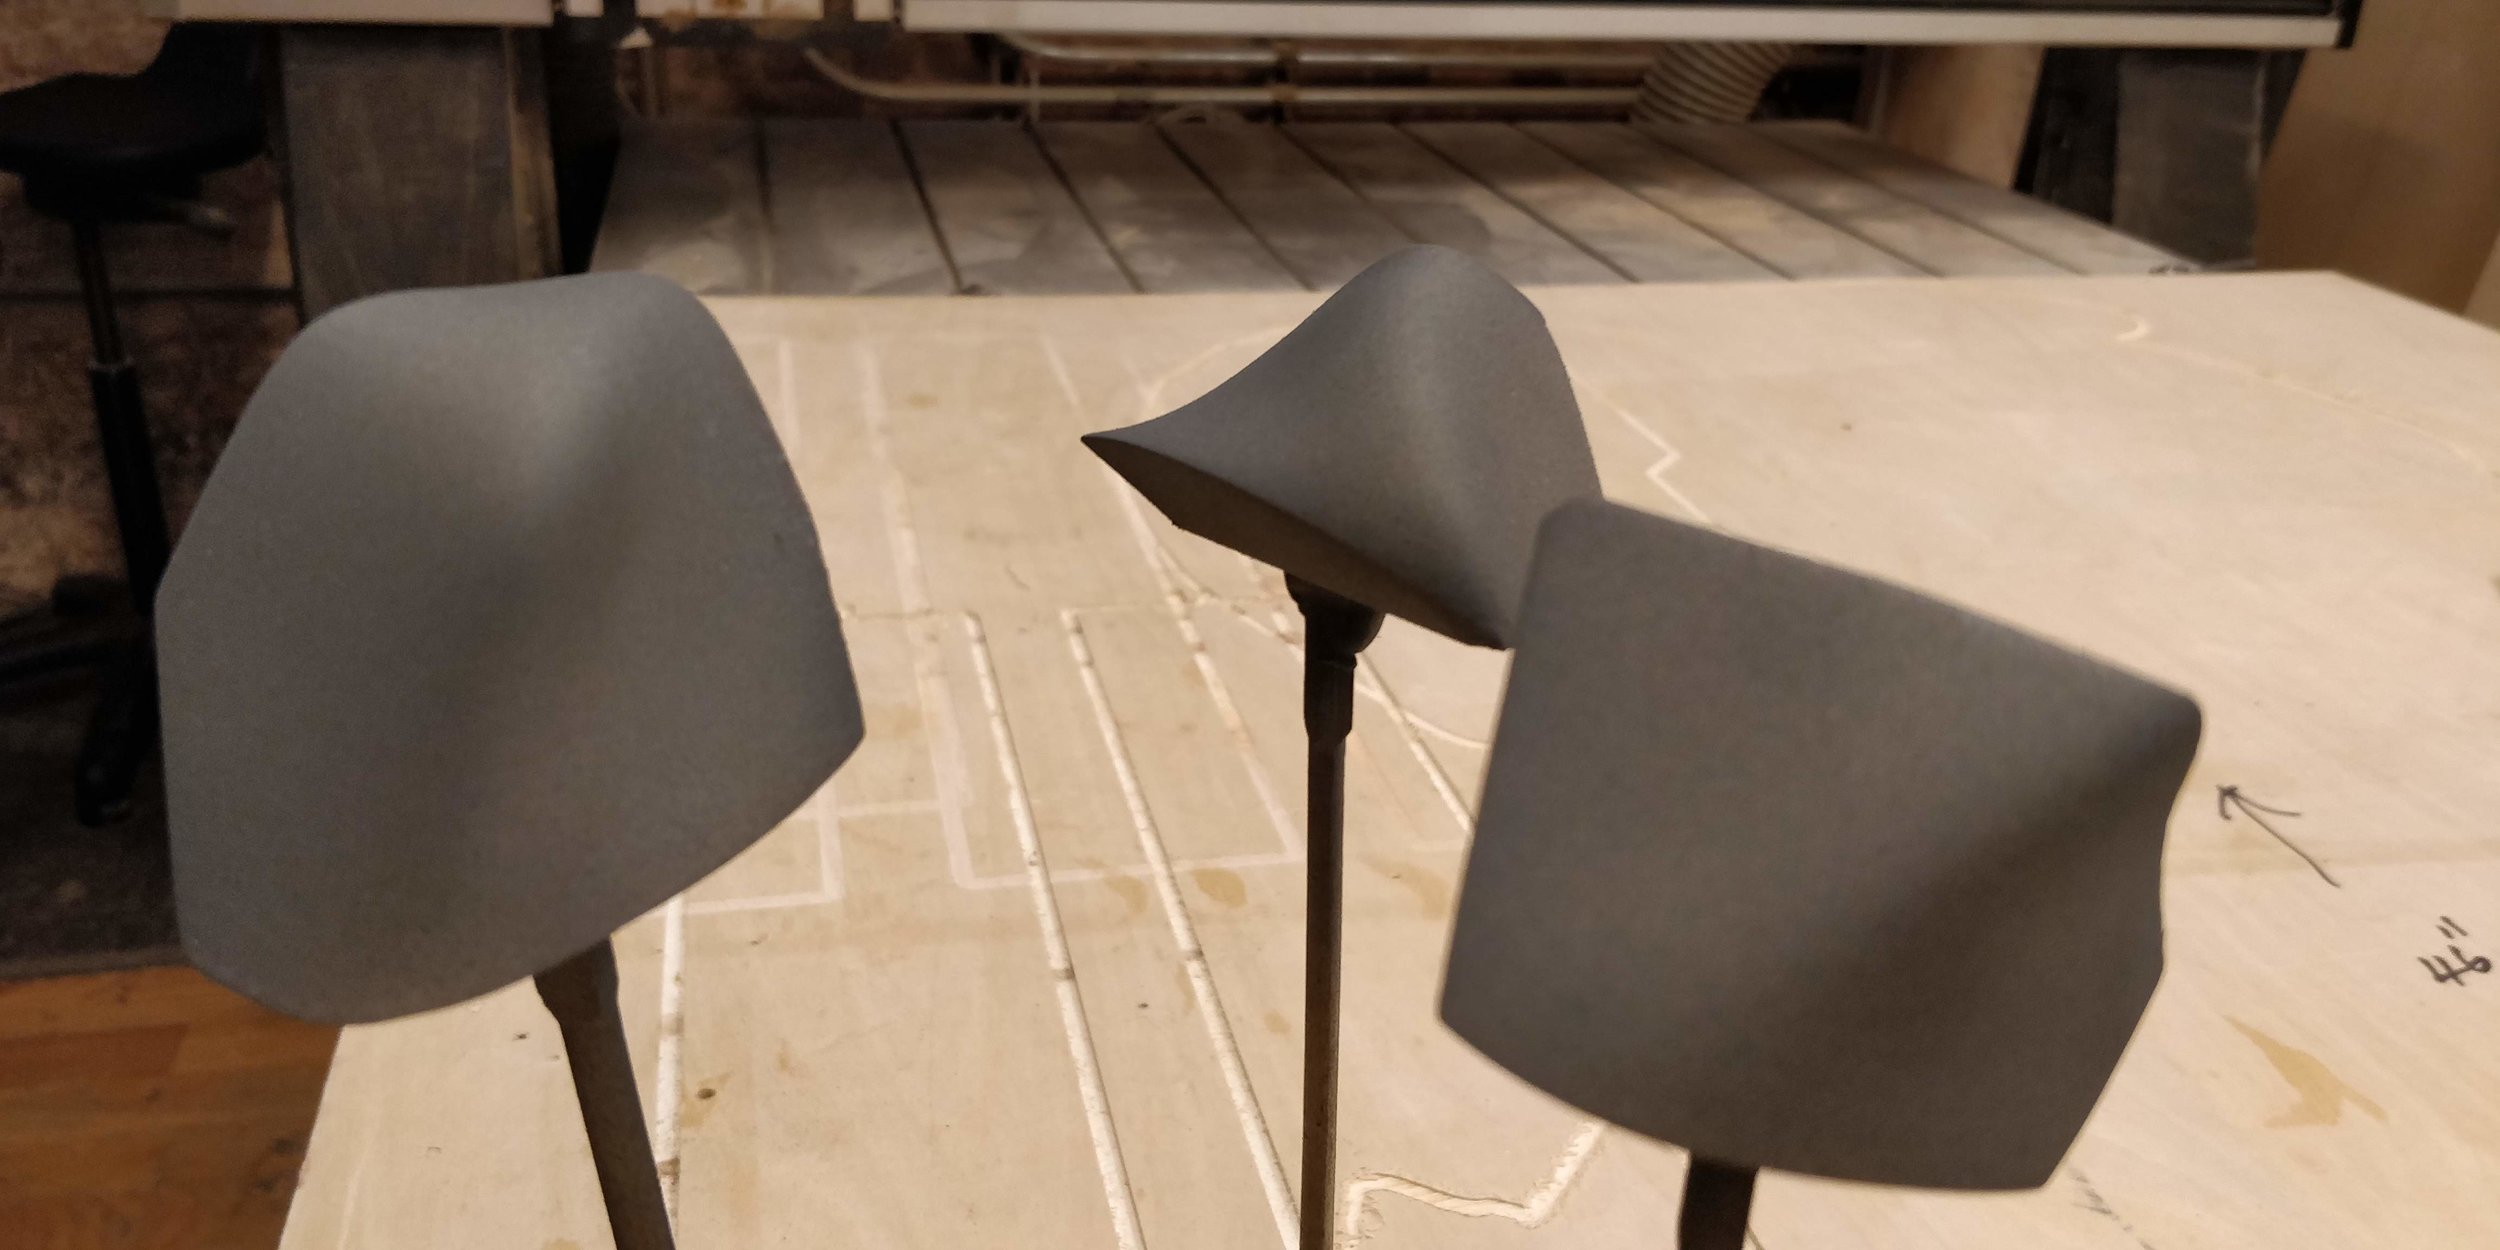
I printed the complete sculpts on thicker wall settings, giving me more room to sand the rough surfaces with multiple runs of higher grits. I started with a coarse 80 to remove the supports and bottom adhesion, moved up to 120 to clean up the print ridges, silicone 220 to smooth out corners with the sand paper curved around my finger, and 380 + 440 to get a clean final sand for a smooth surface.
I must say that I was very pleasantly surprised with the results of the sanding, even though the process took a while it was very rewarding to run my finger against the sculpt surface and feel it smooth out a bit more with every pass. Friends who looked at the final pieces couldn’t believe a 3D print can be so polished and smooth.
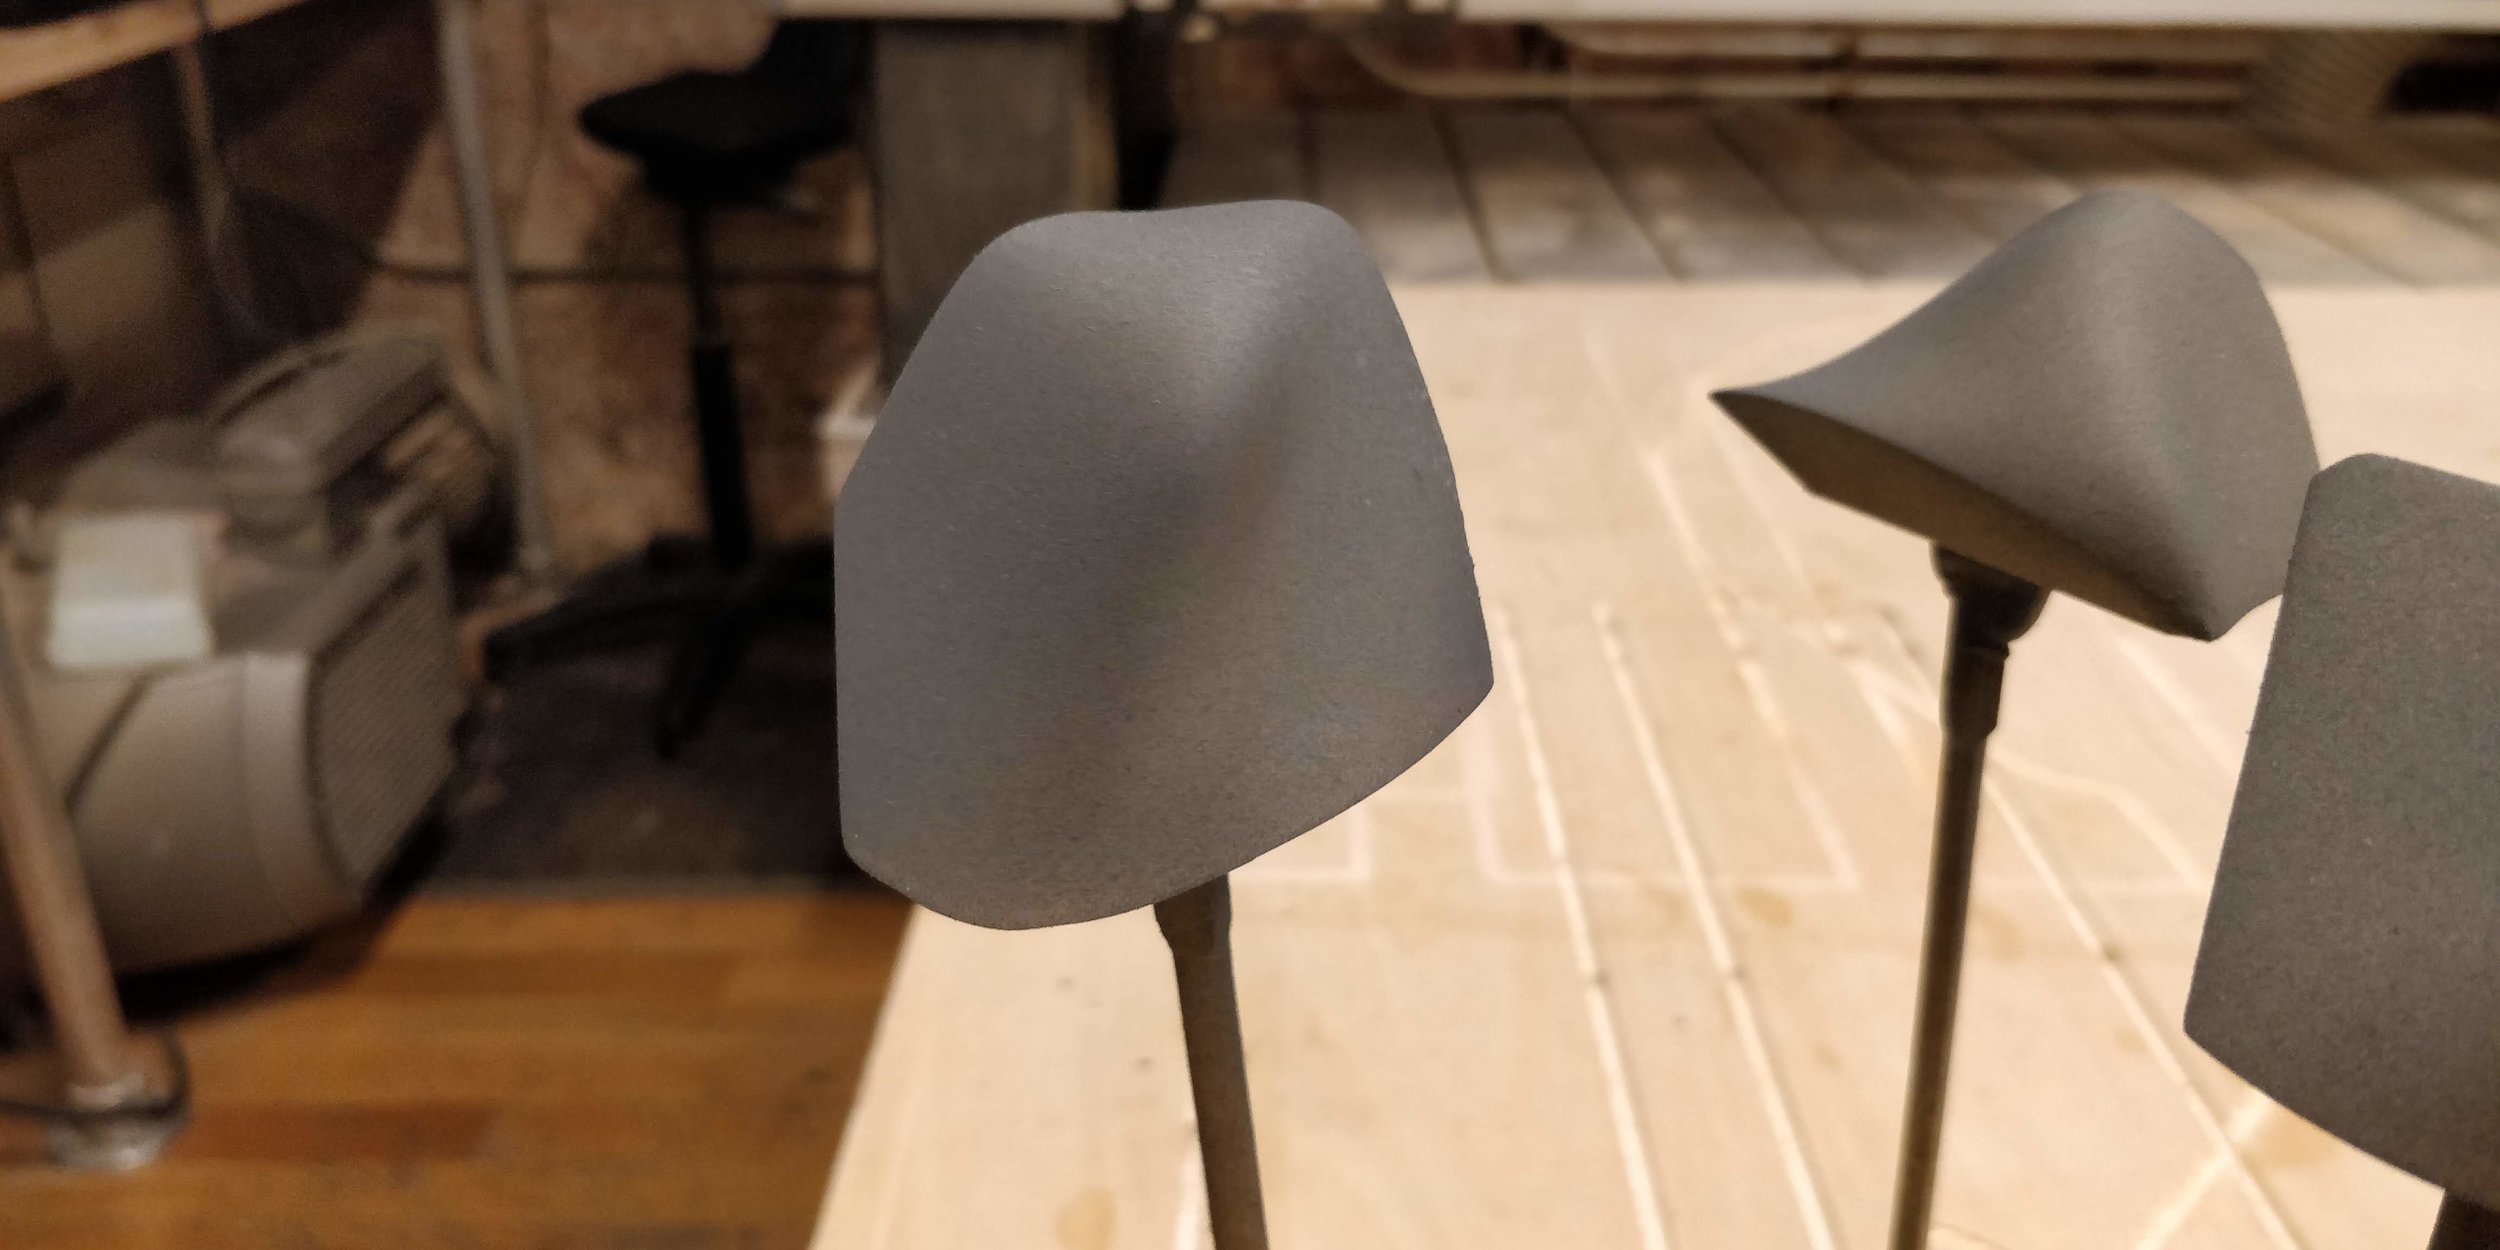
Since I put a lot of effort into sanding I didn’t want to mess up the paint job again and went to Ace for some guidance. They recommended a special plastic white primer so I got a can and headed to the shop. After cleaning the booth I started applying several light layers, blow drying the paint before moving to the next one. Over all, I applied 6 layers of primer, and this is the result:
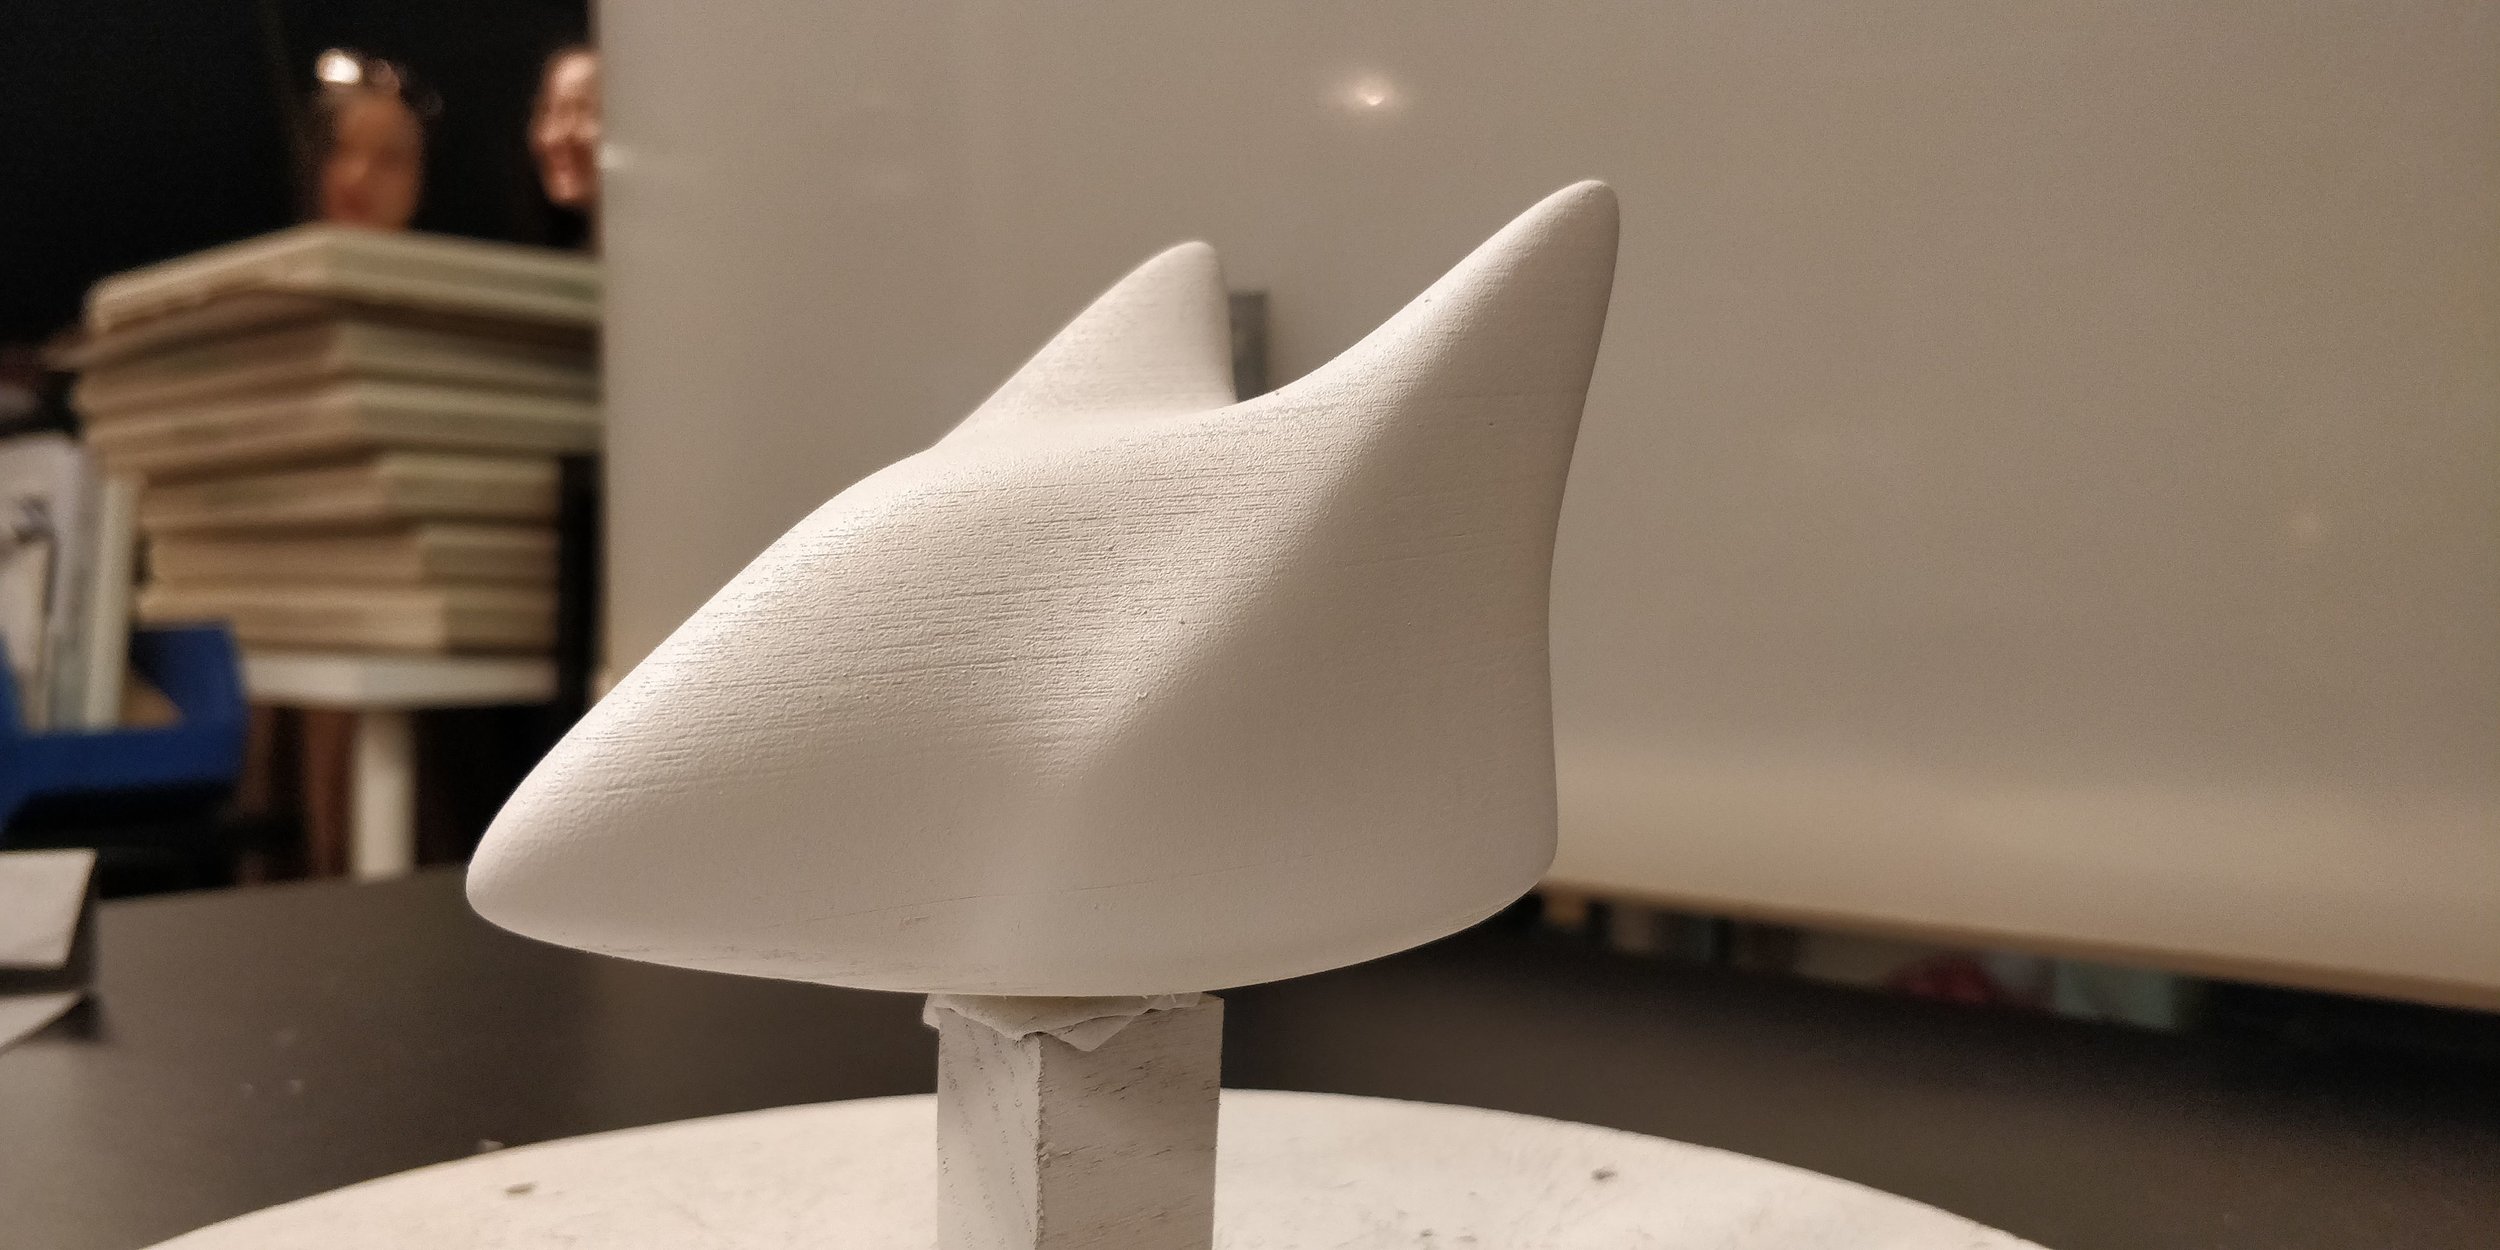

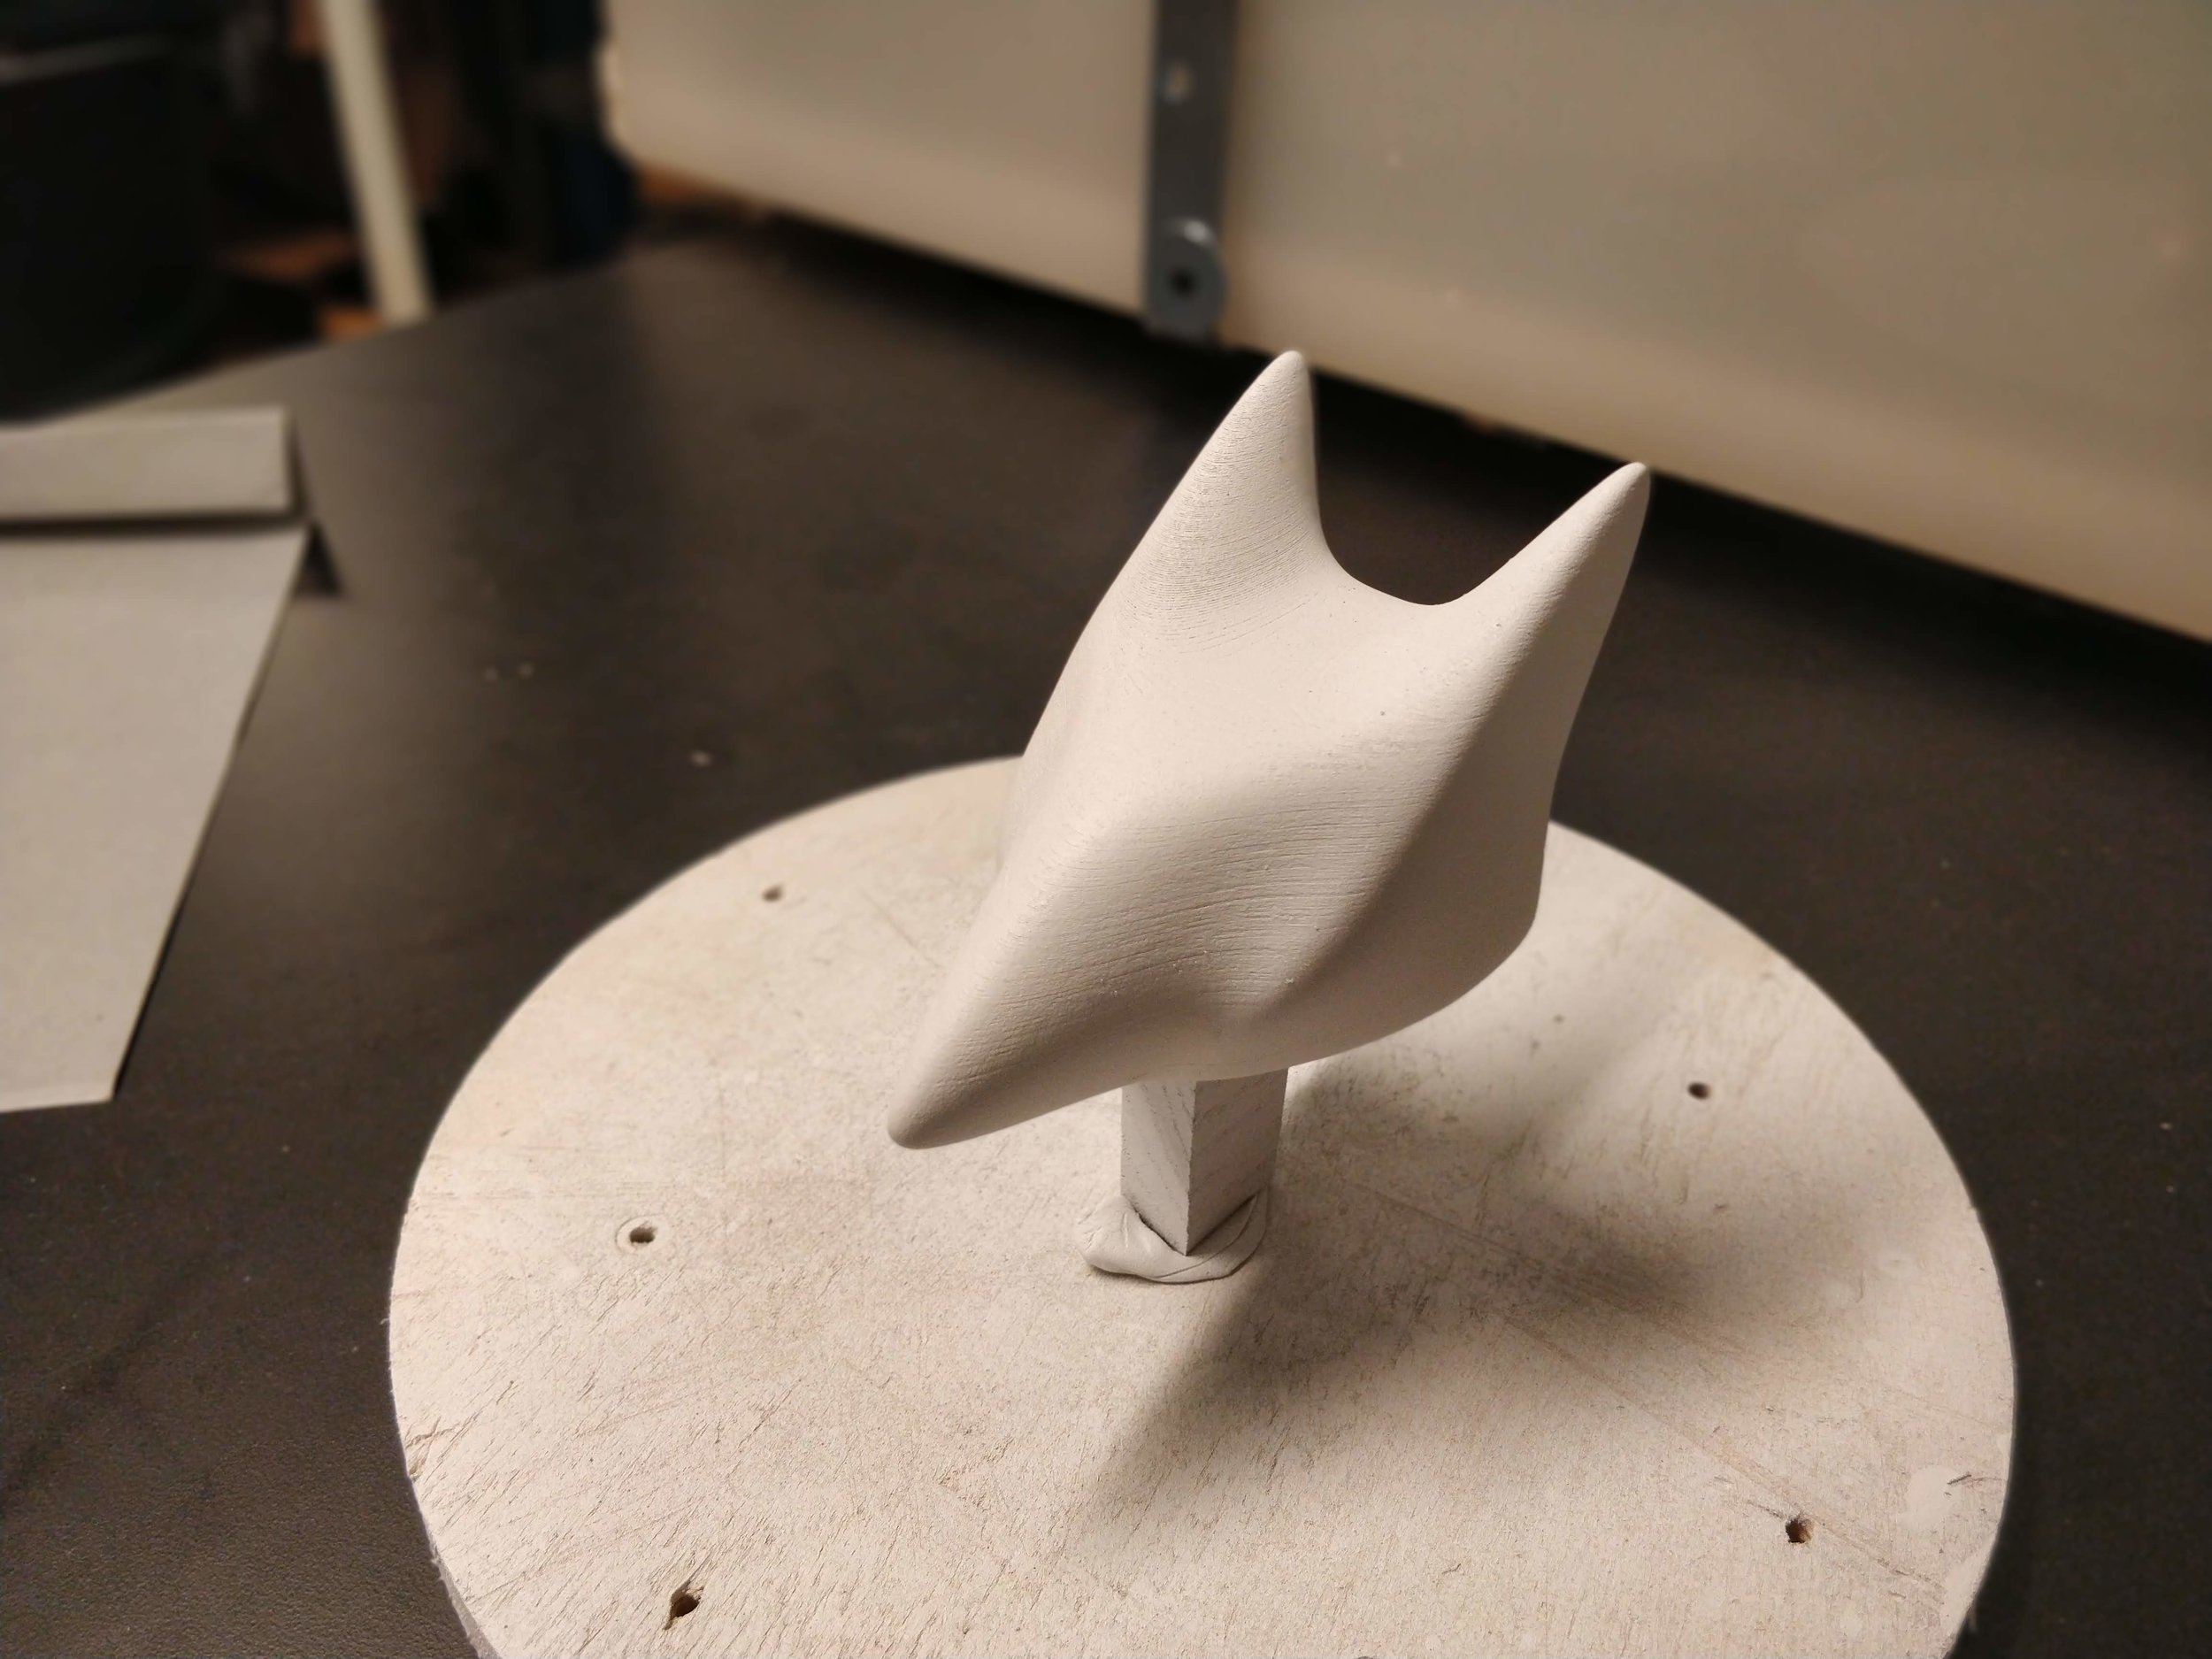
I really love how the primer layer came out, even though you can still see the print lines, they give the sculpt a sense of speed and forward movement, making the fox head look almost like sonic the hedgehog!
I’m going to try and spend more time sanding the next batch of sculpts and try to achieve a completely smooth surface, I hope a second color paint job after the primer will fill in the cracks as well.