3D print finishing (and packaging)

Finishing

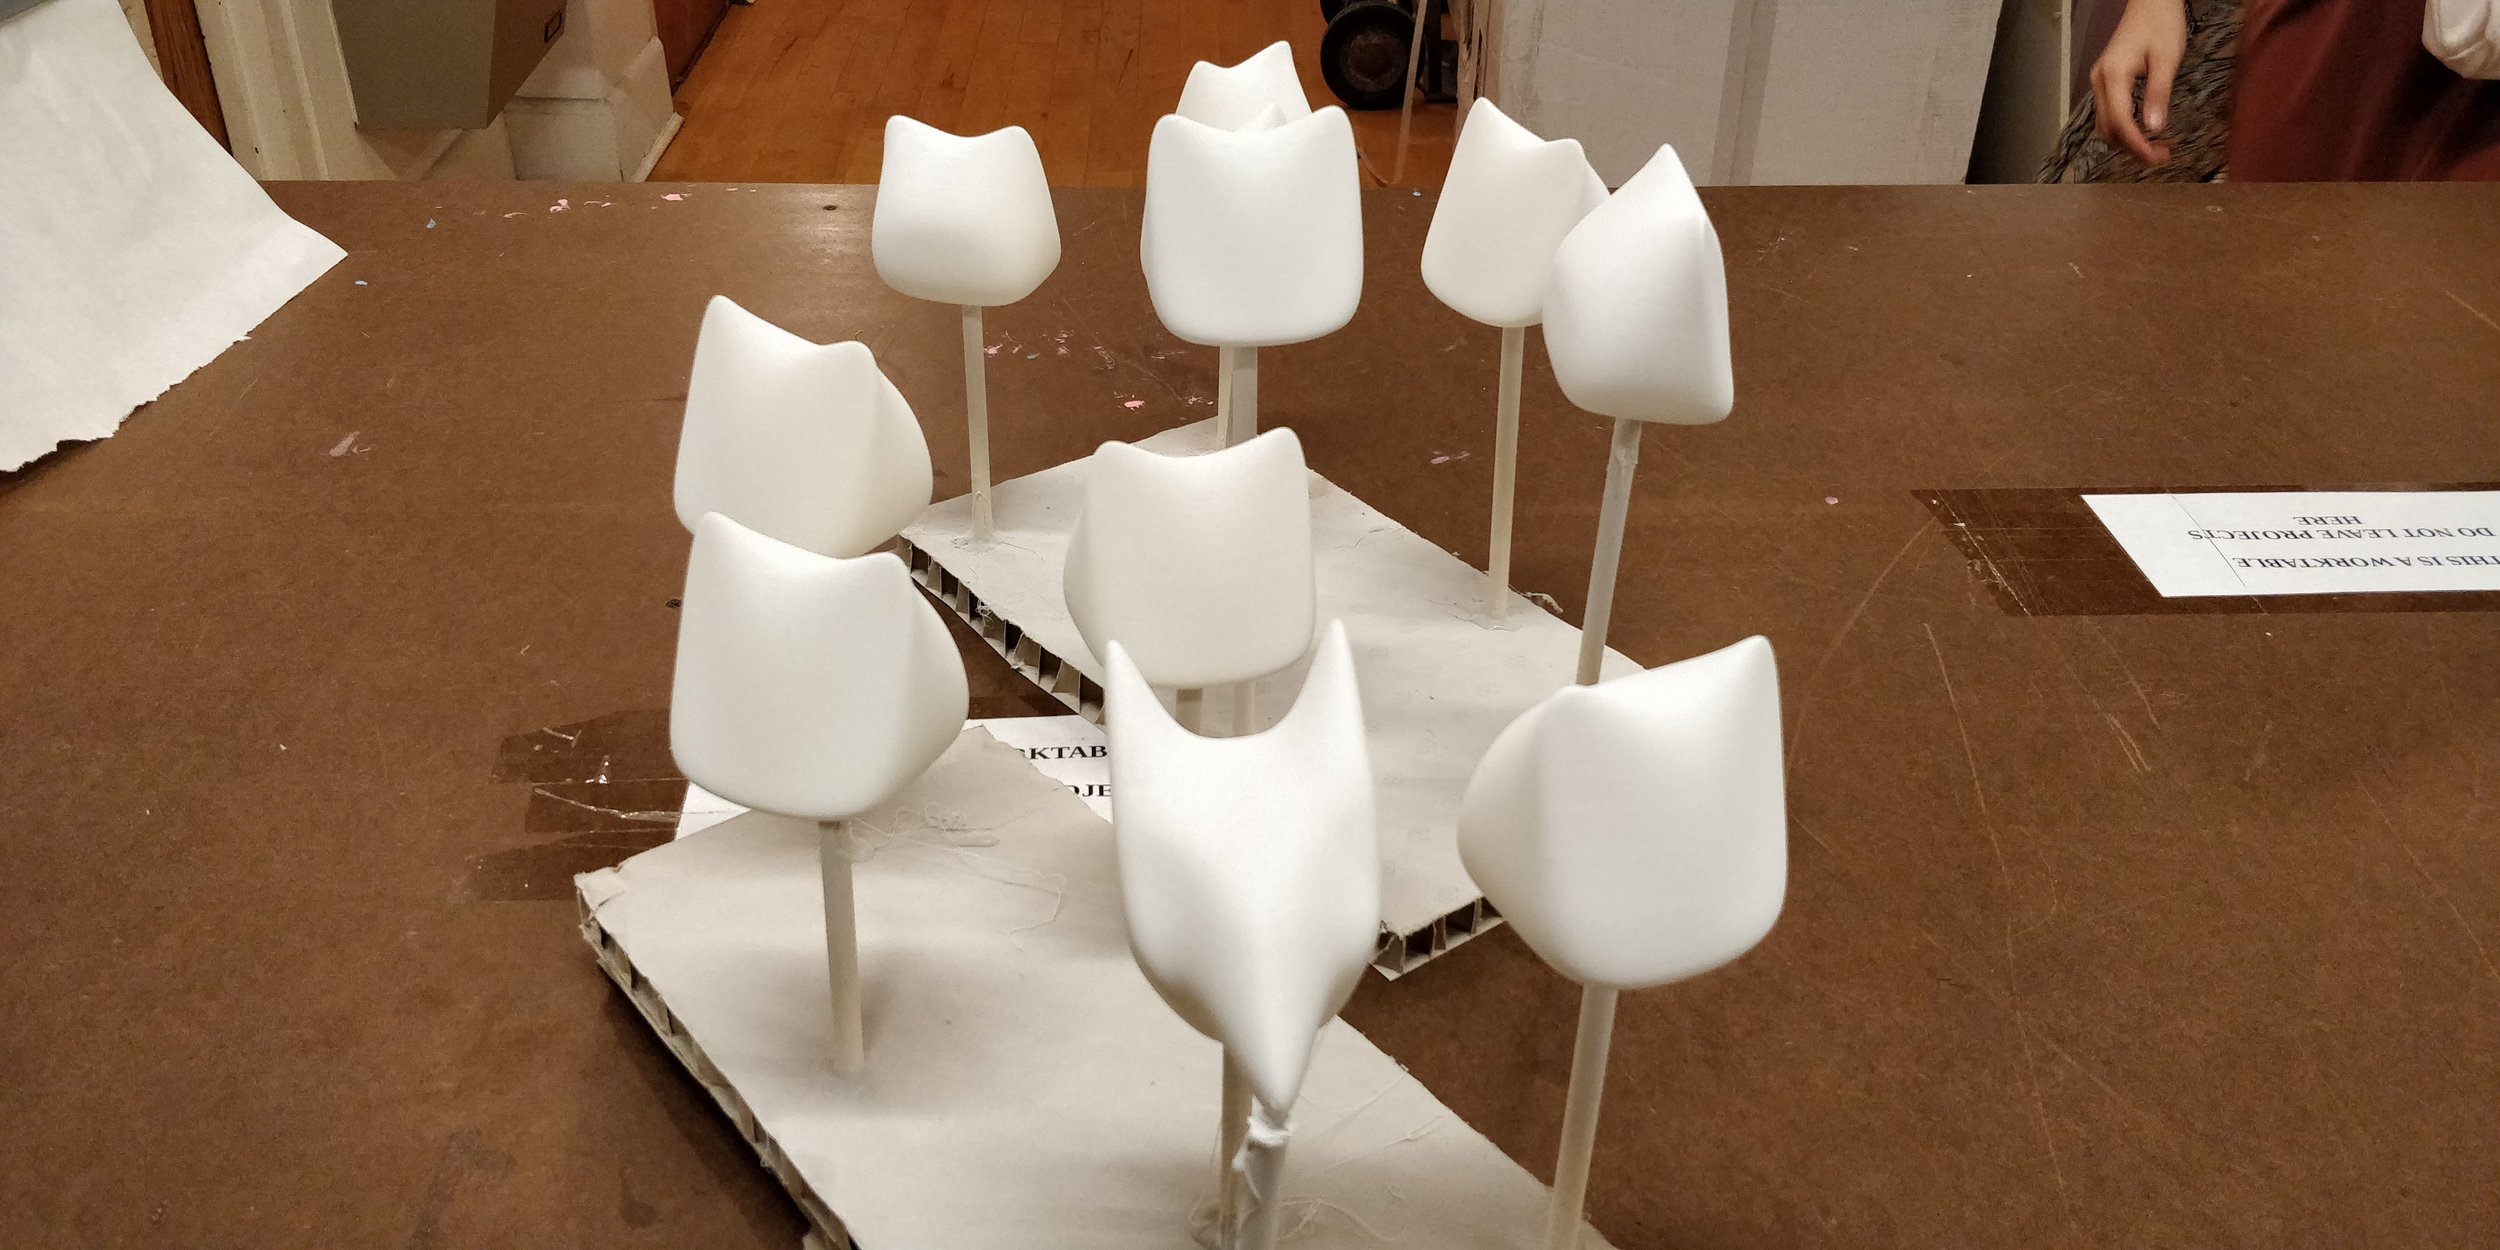
Over the past few weeks I spent time trying to bring 3D prints to my desired level of finish, a point where you wouldn’t know a piece was 3D printed if you ran your finger on it, or looked at a paint job and didn’t see the obvious layer lines.

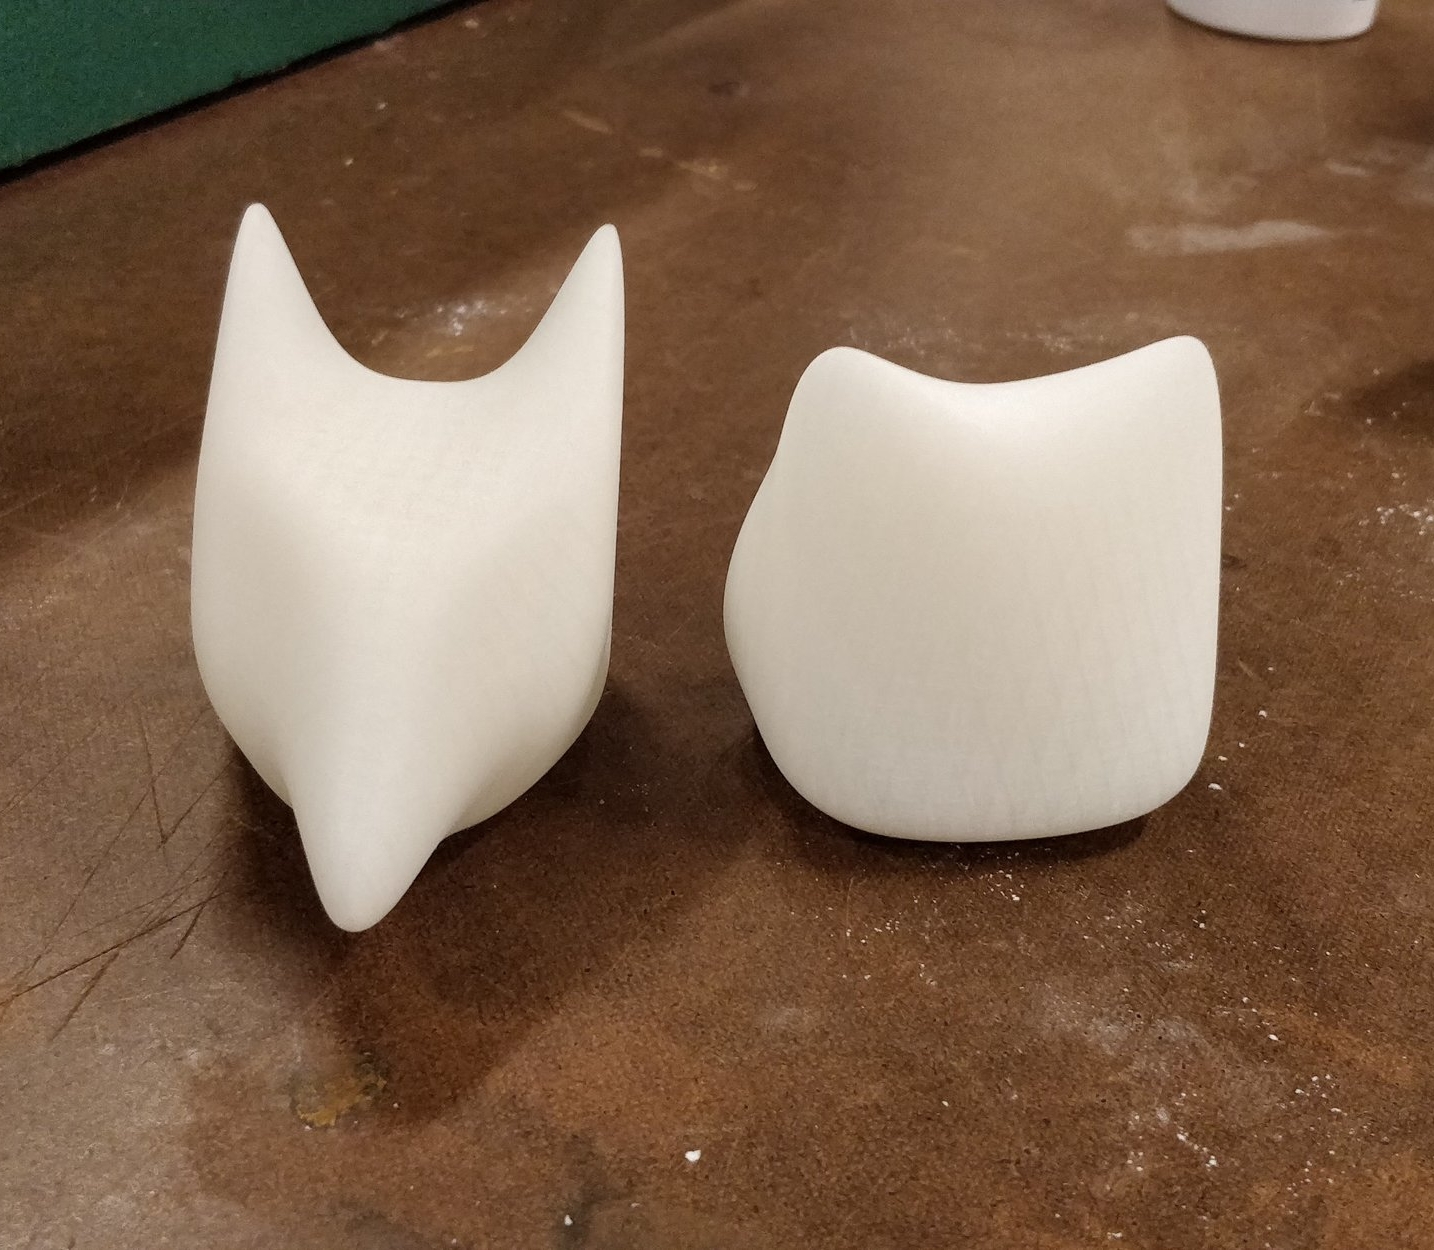
Unsurprisingly, that means that I spent most of this week sanding, and priming, and sanding, and priming again (as I detailed in “The Zen of Sanding”). I started with very low grit, 80, to remove all the supports, rough out the adhesion plate and get rid of all the excess material. I moved up to 220 as a first pass to smooth out the print lines - this proved to be the most important pass as all subsequent sanding will rely on the quality of this run and smoothing the print surface as much as possible.

Next I used 440, 660 and 800 to incrementally smooth out the surface of the print. After all the sanding was done, the surface was really smooth to the touch and the scan lines, while still visible, were smoothed. I then repeated the process for all the prints. All 12 of them.

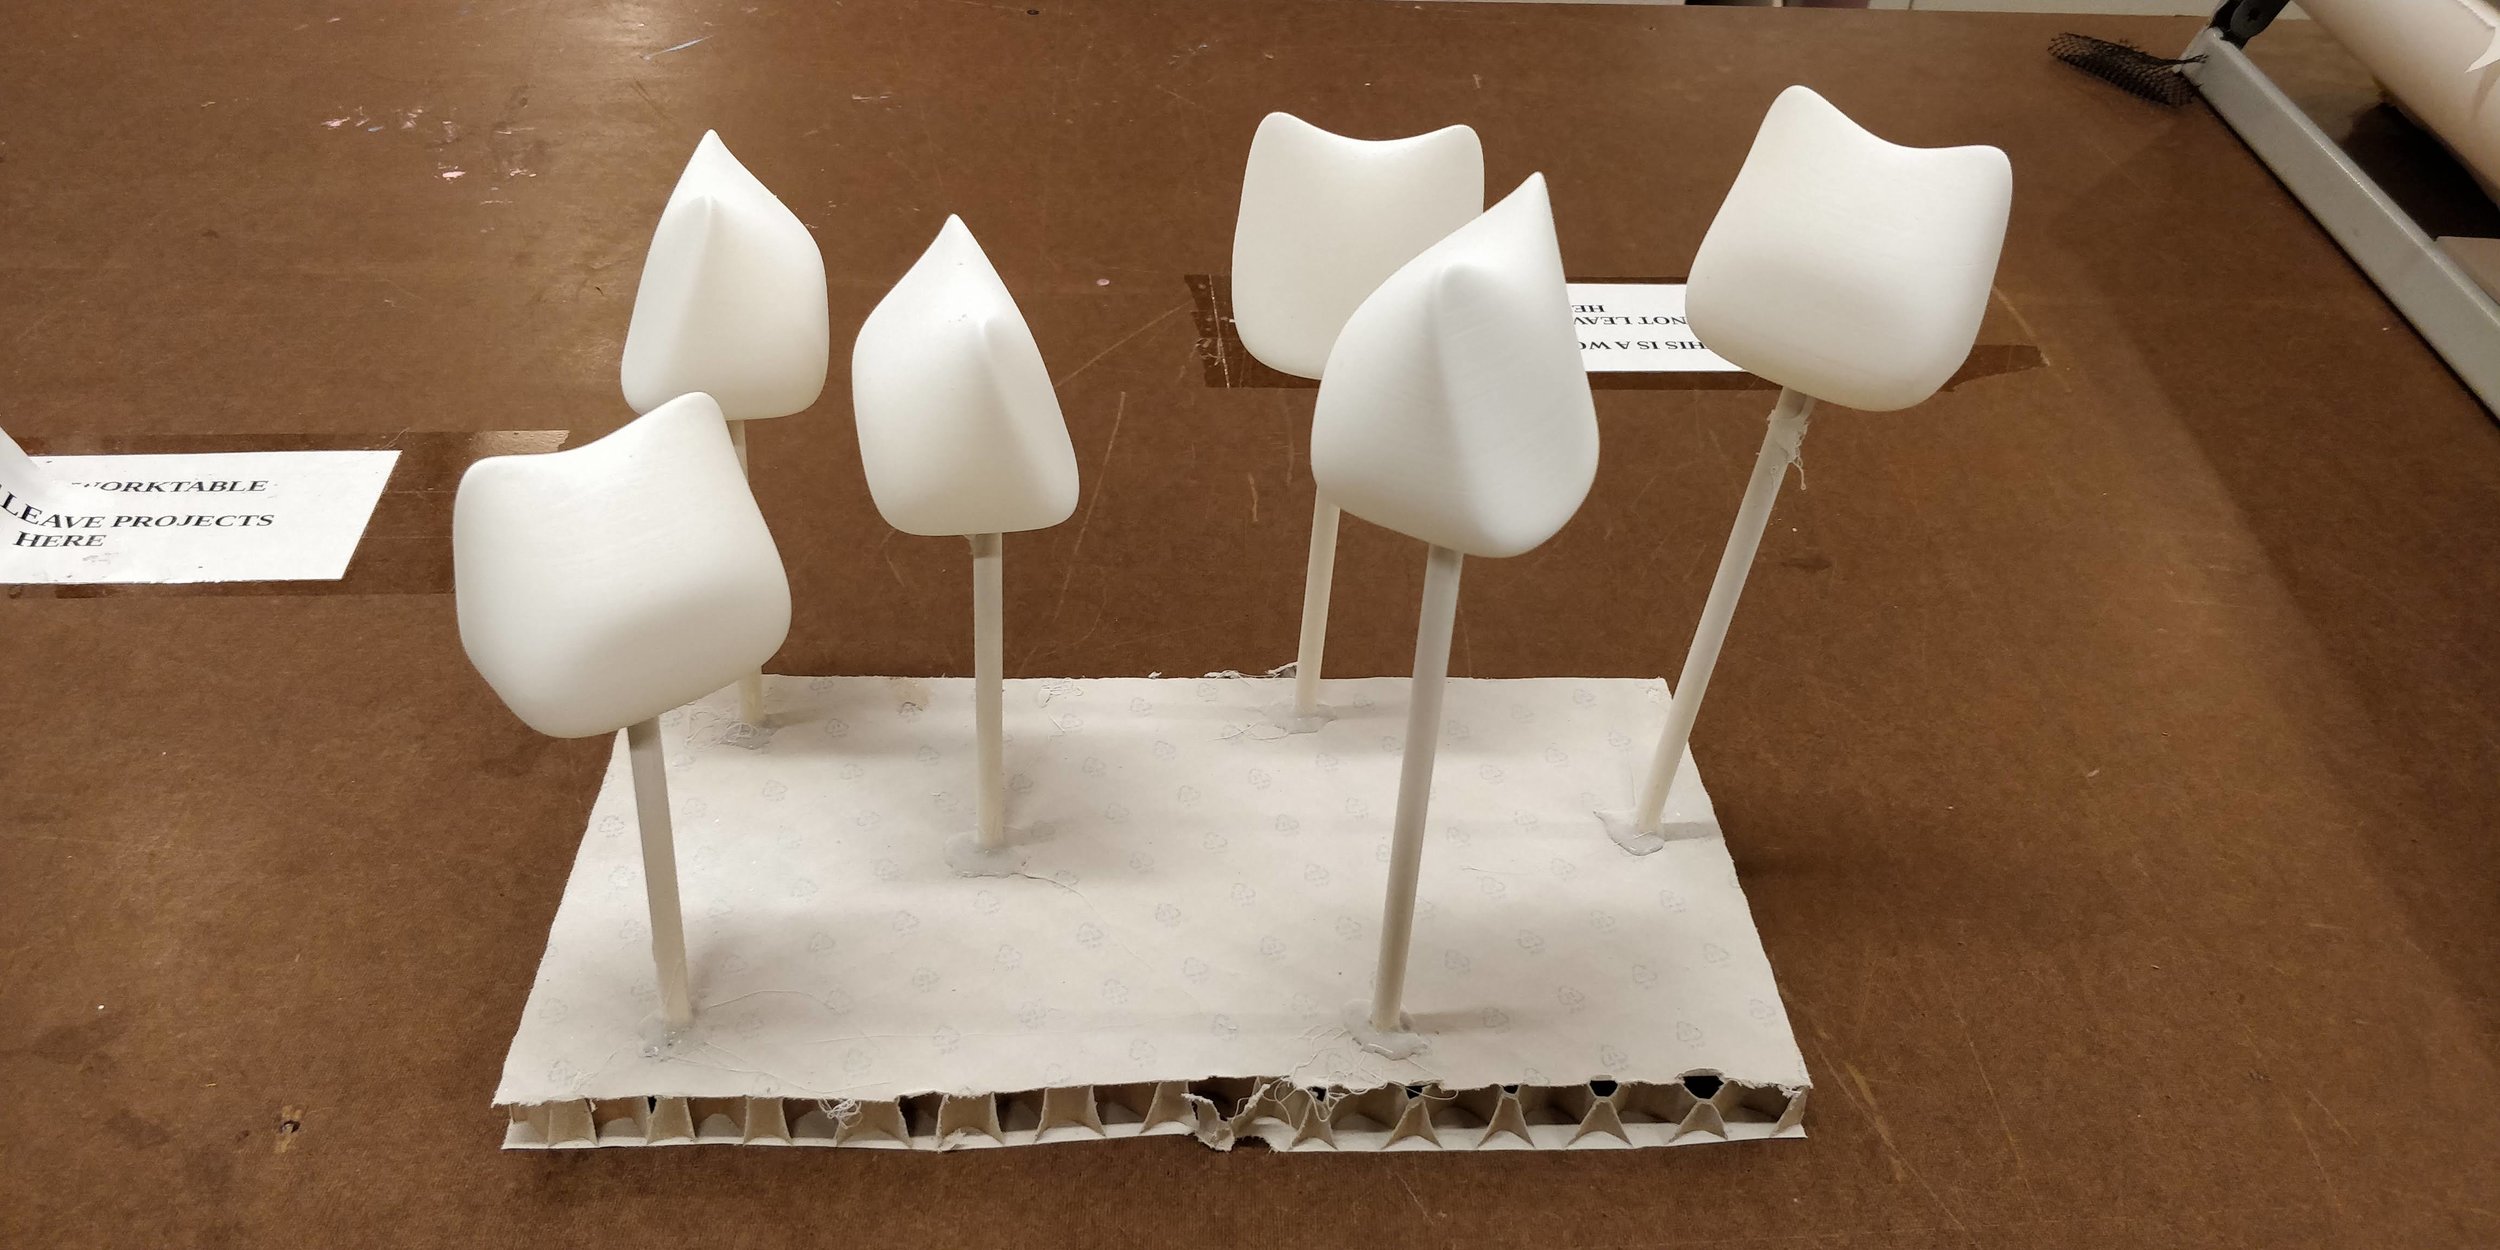
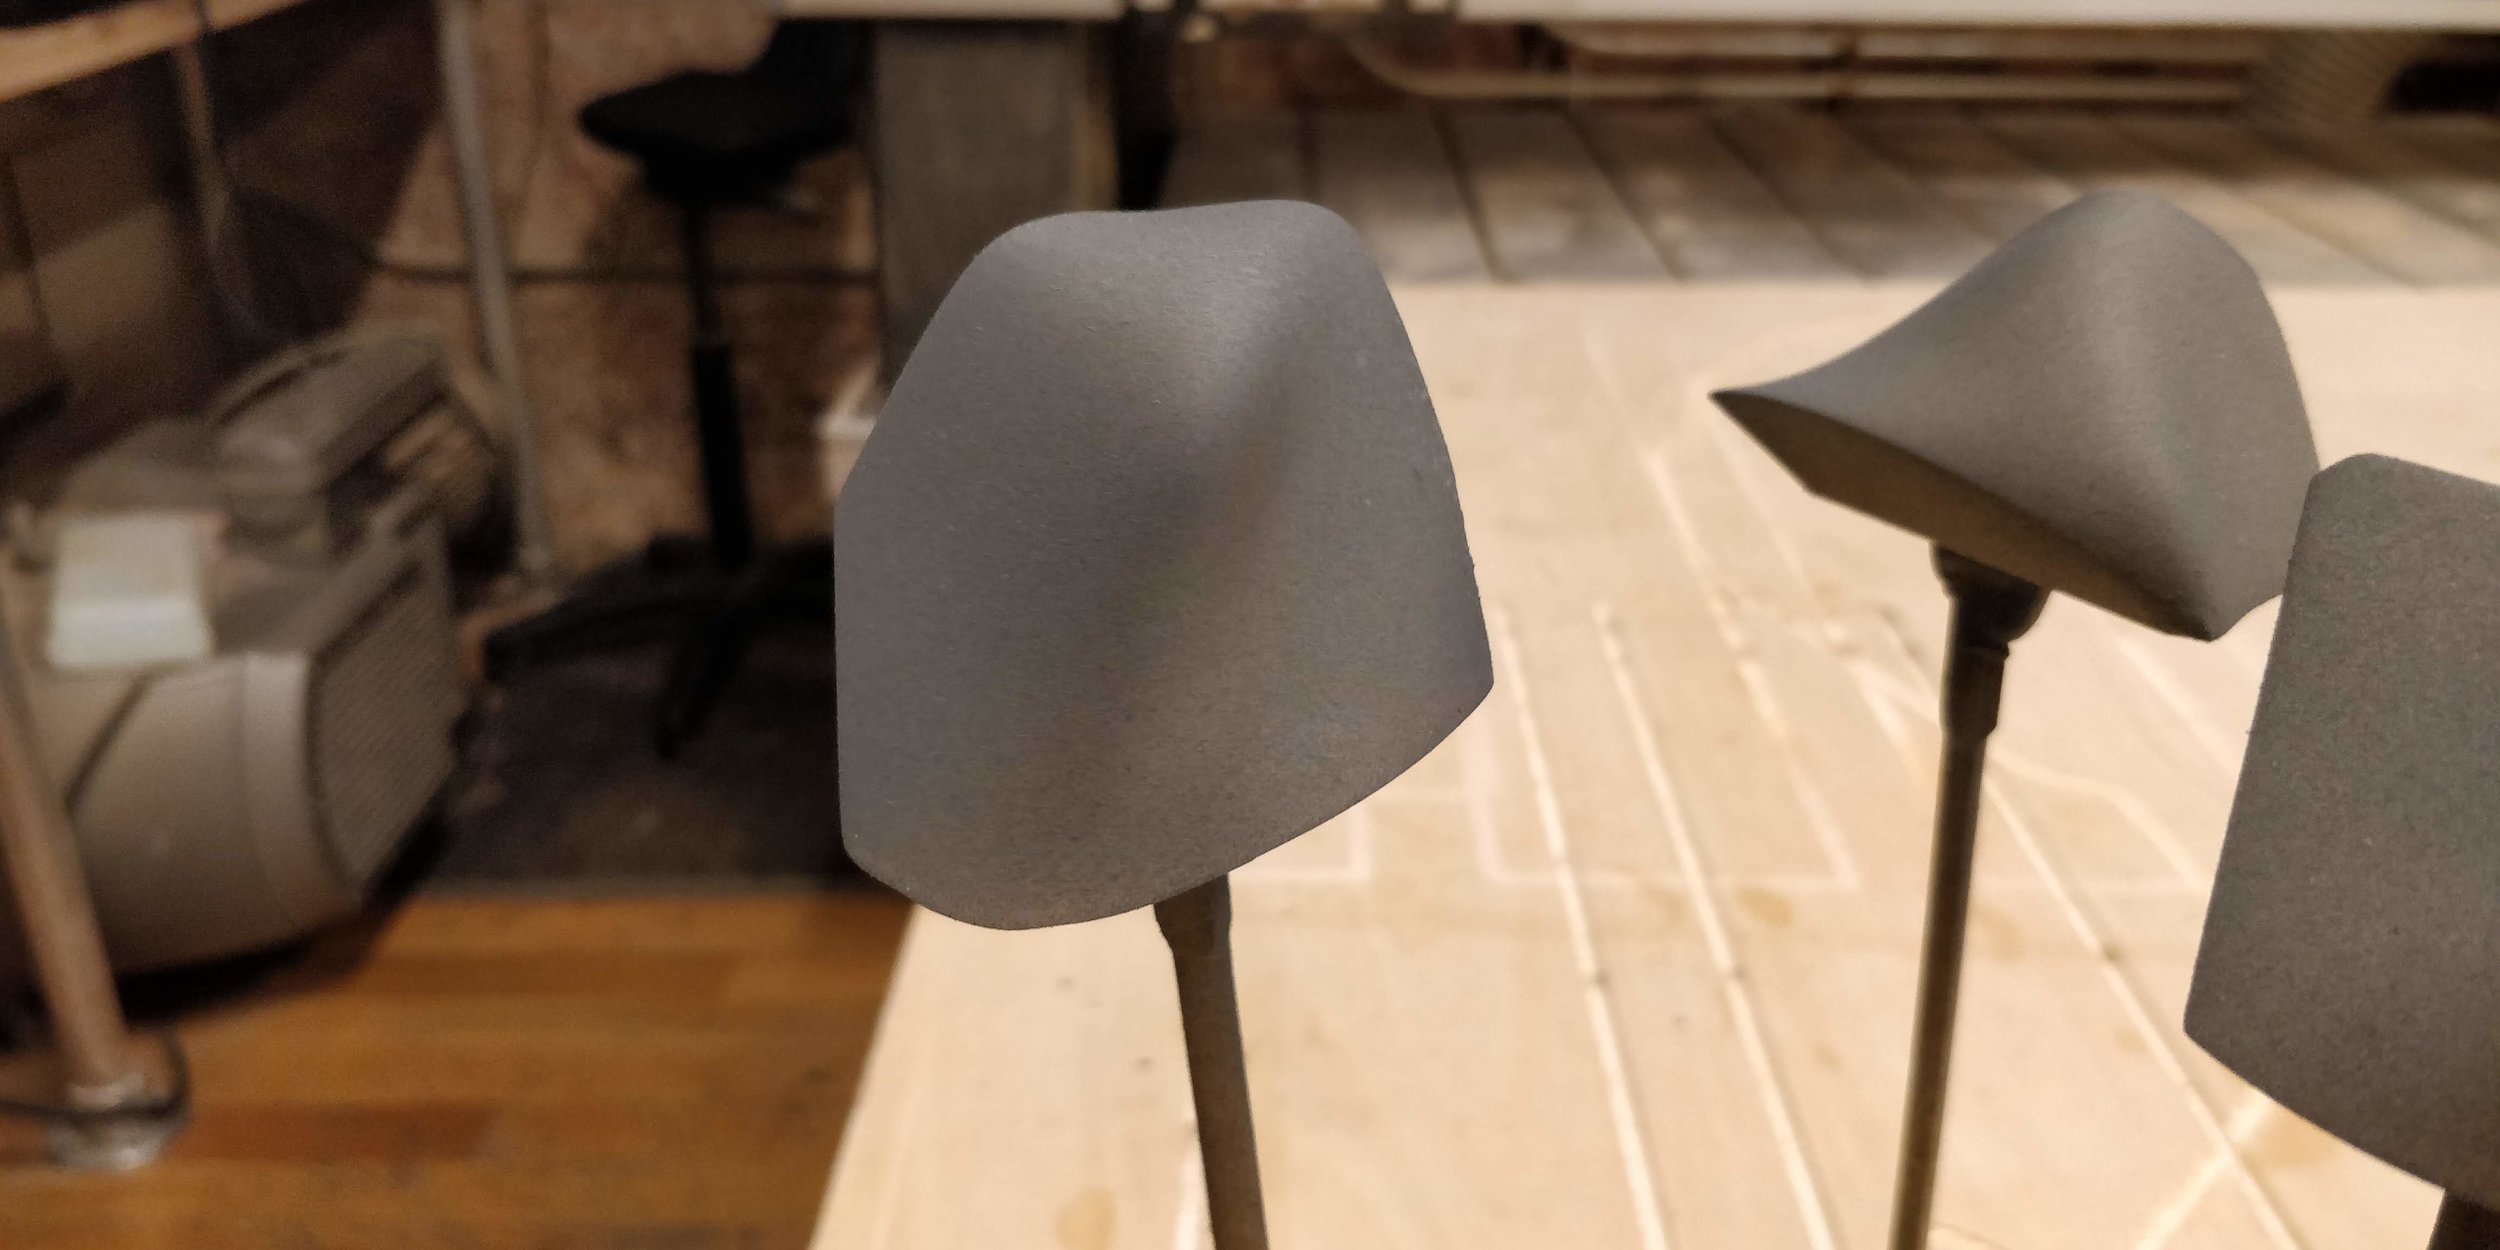
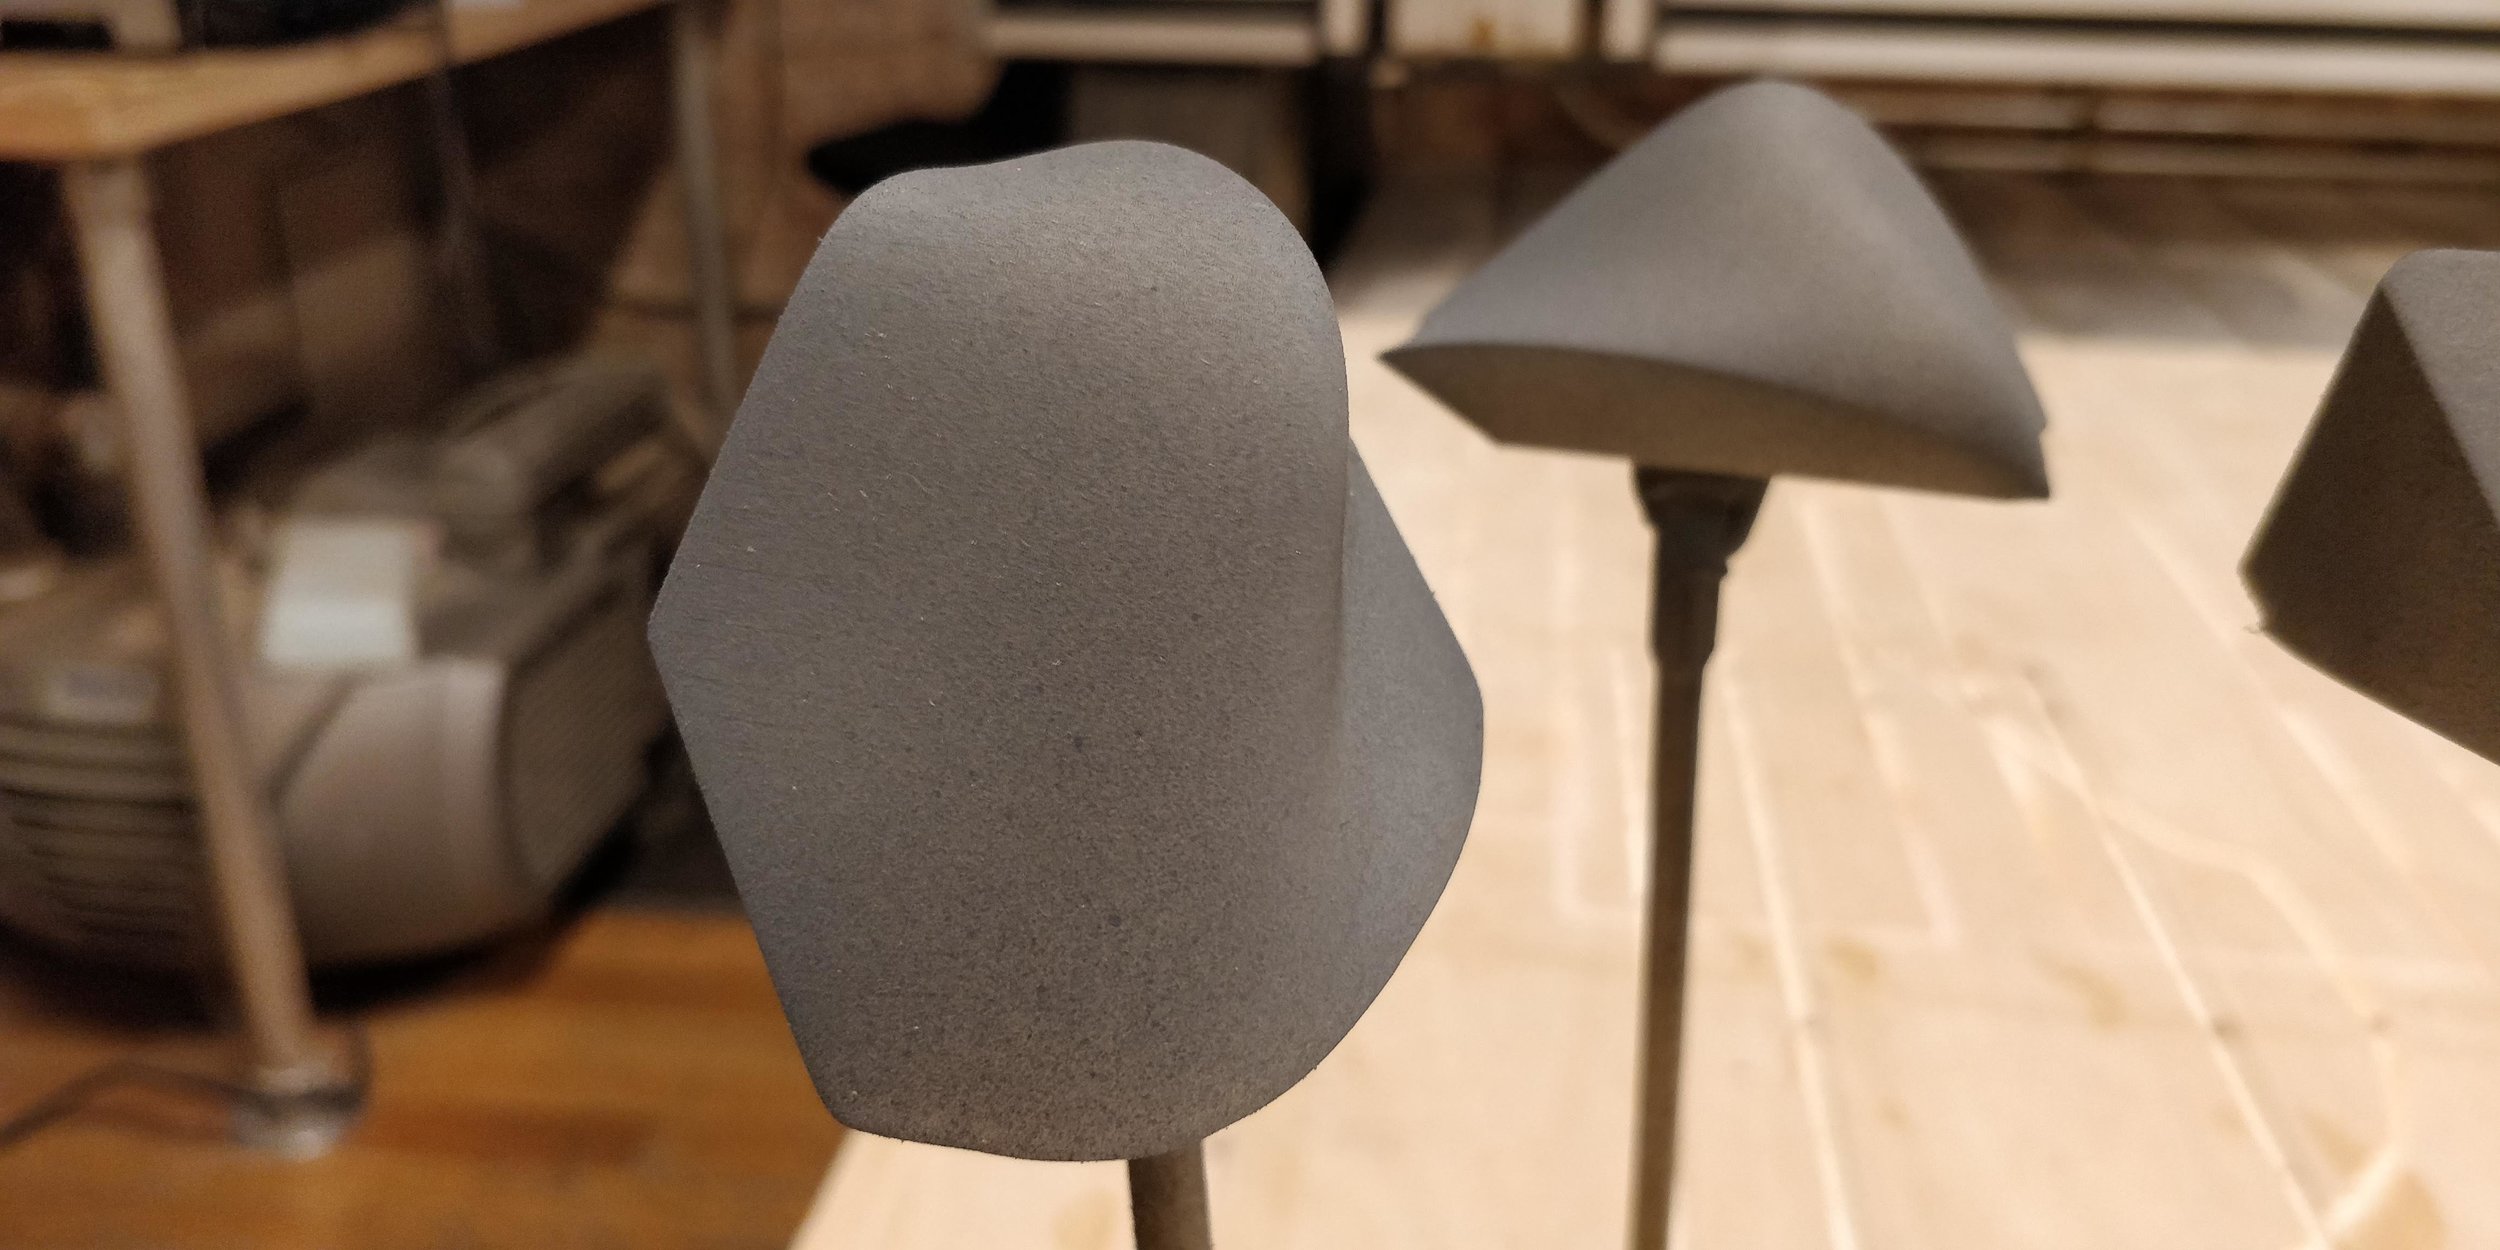
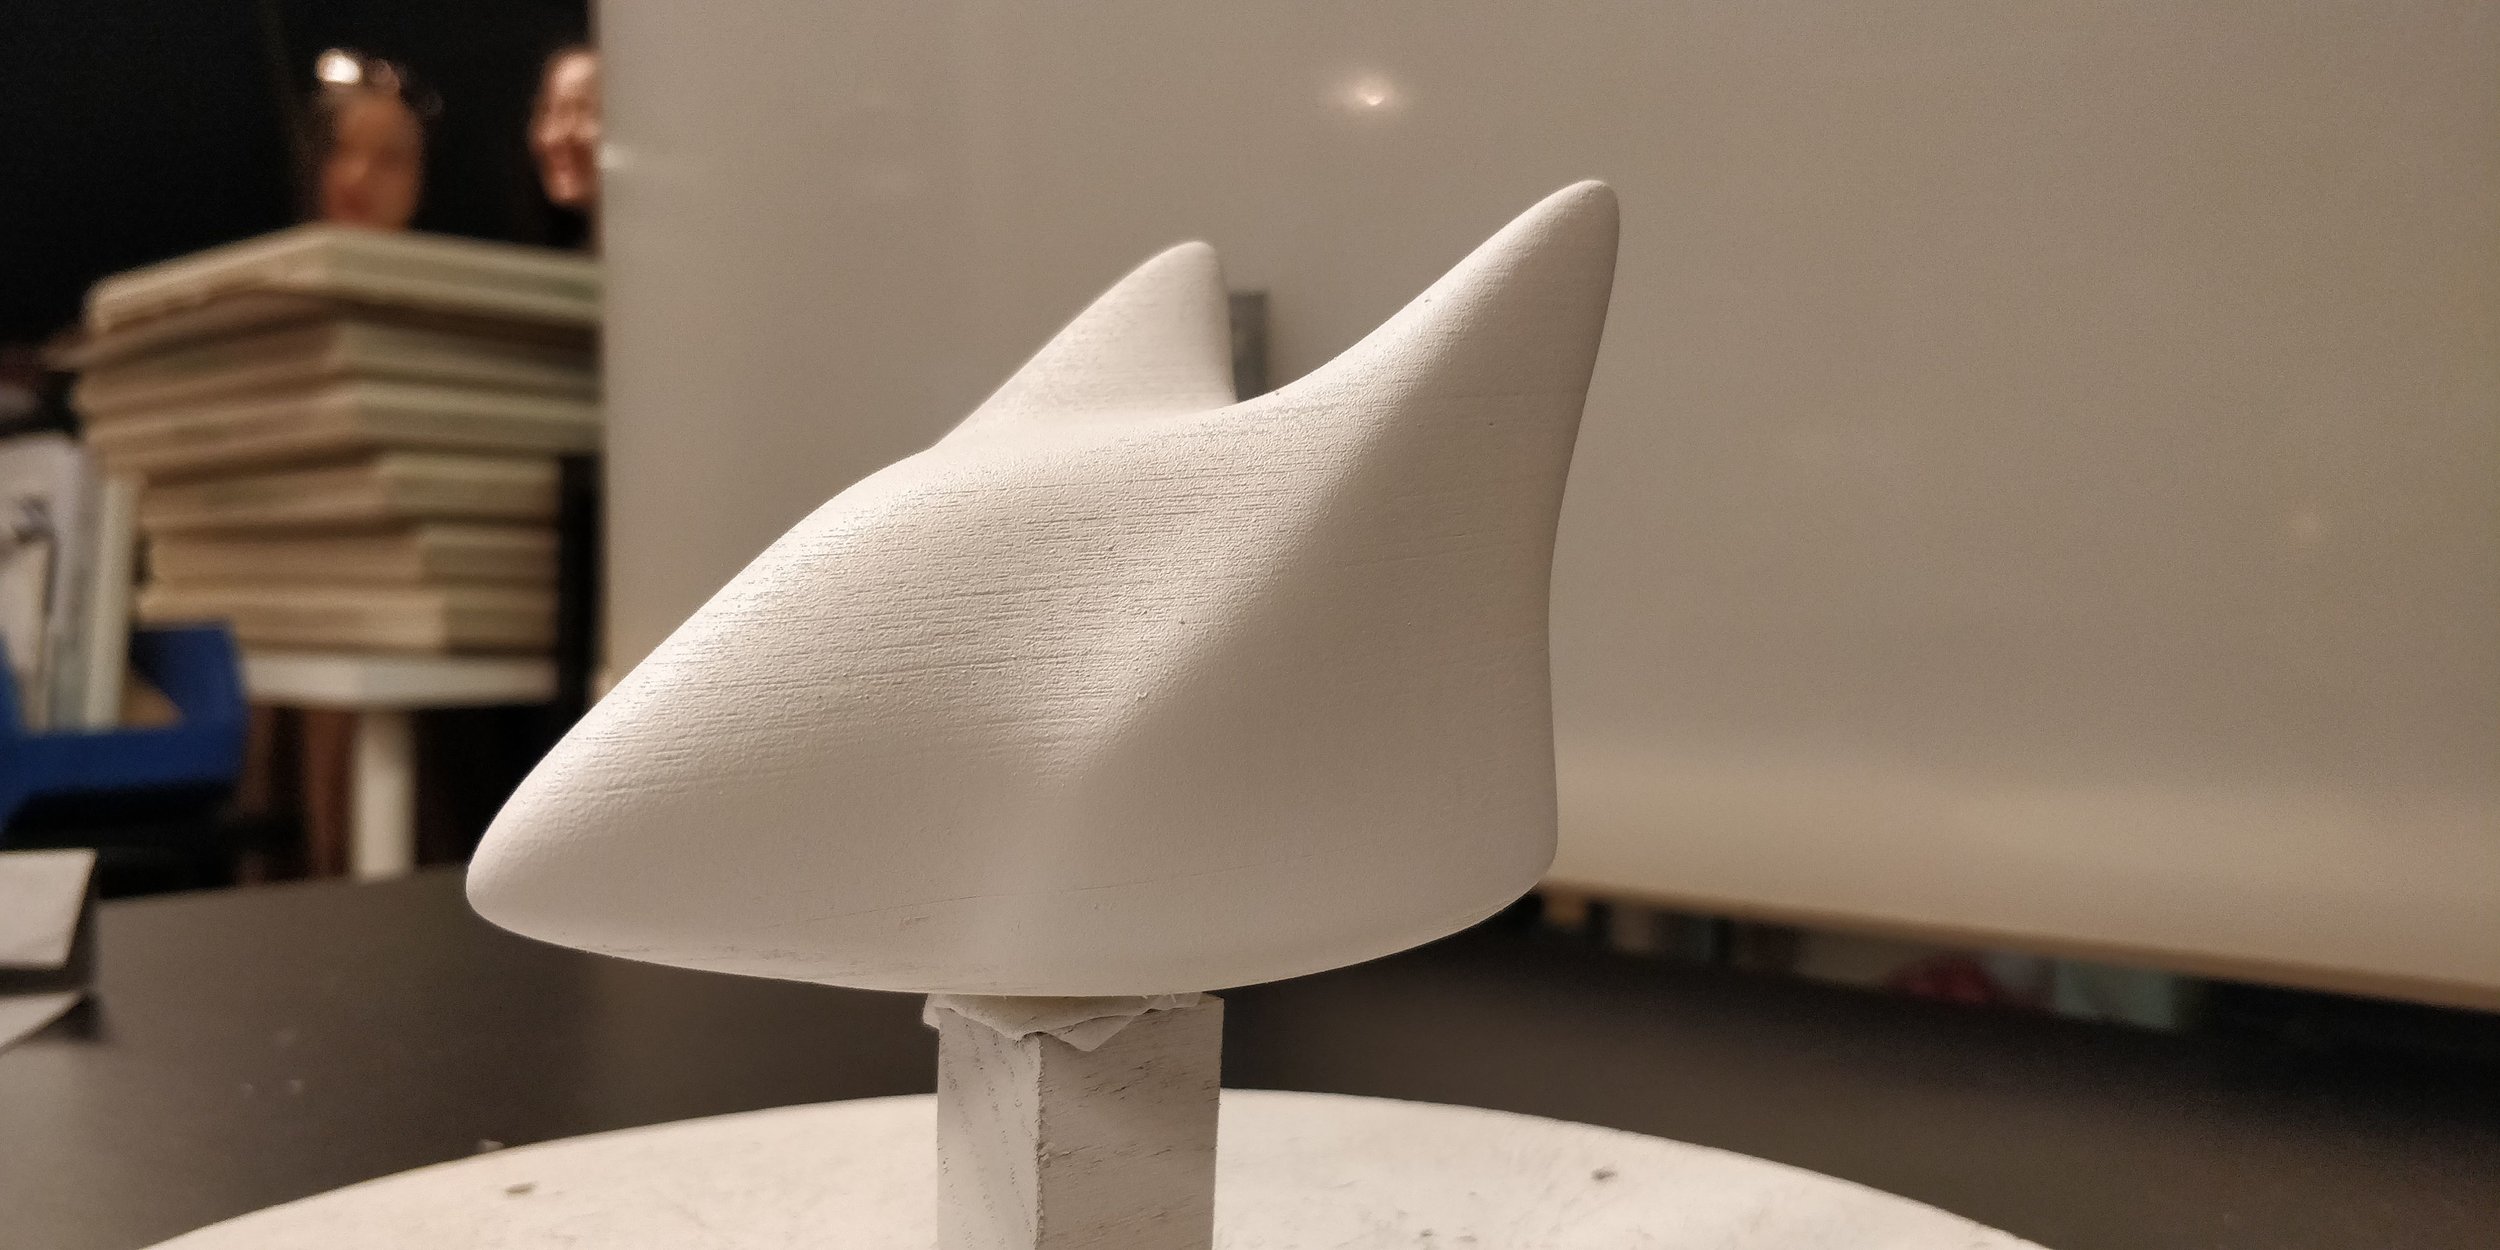
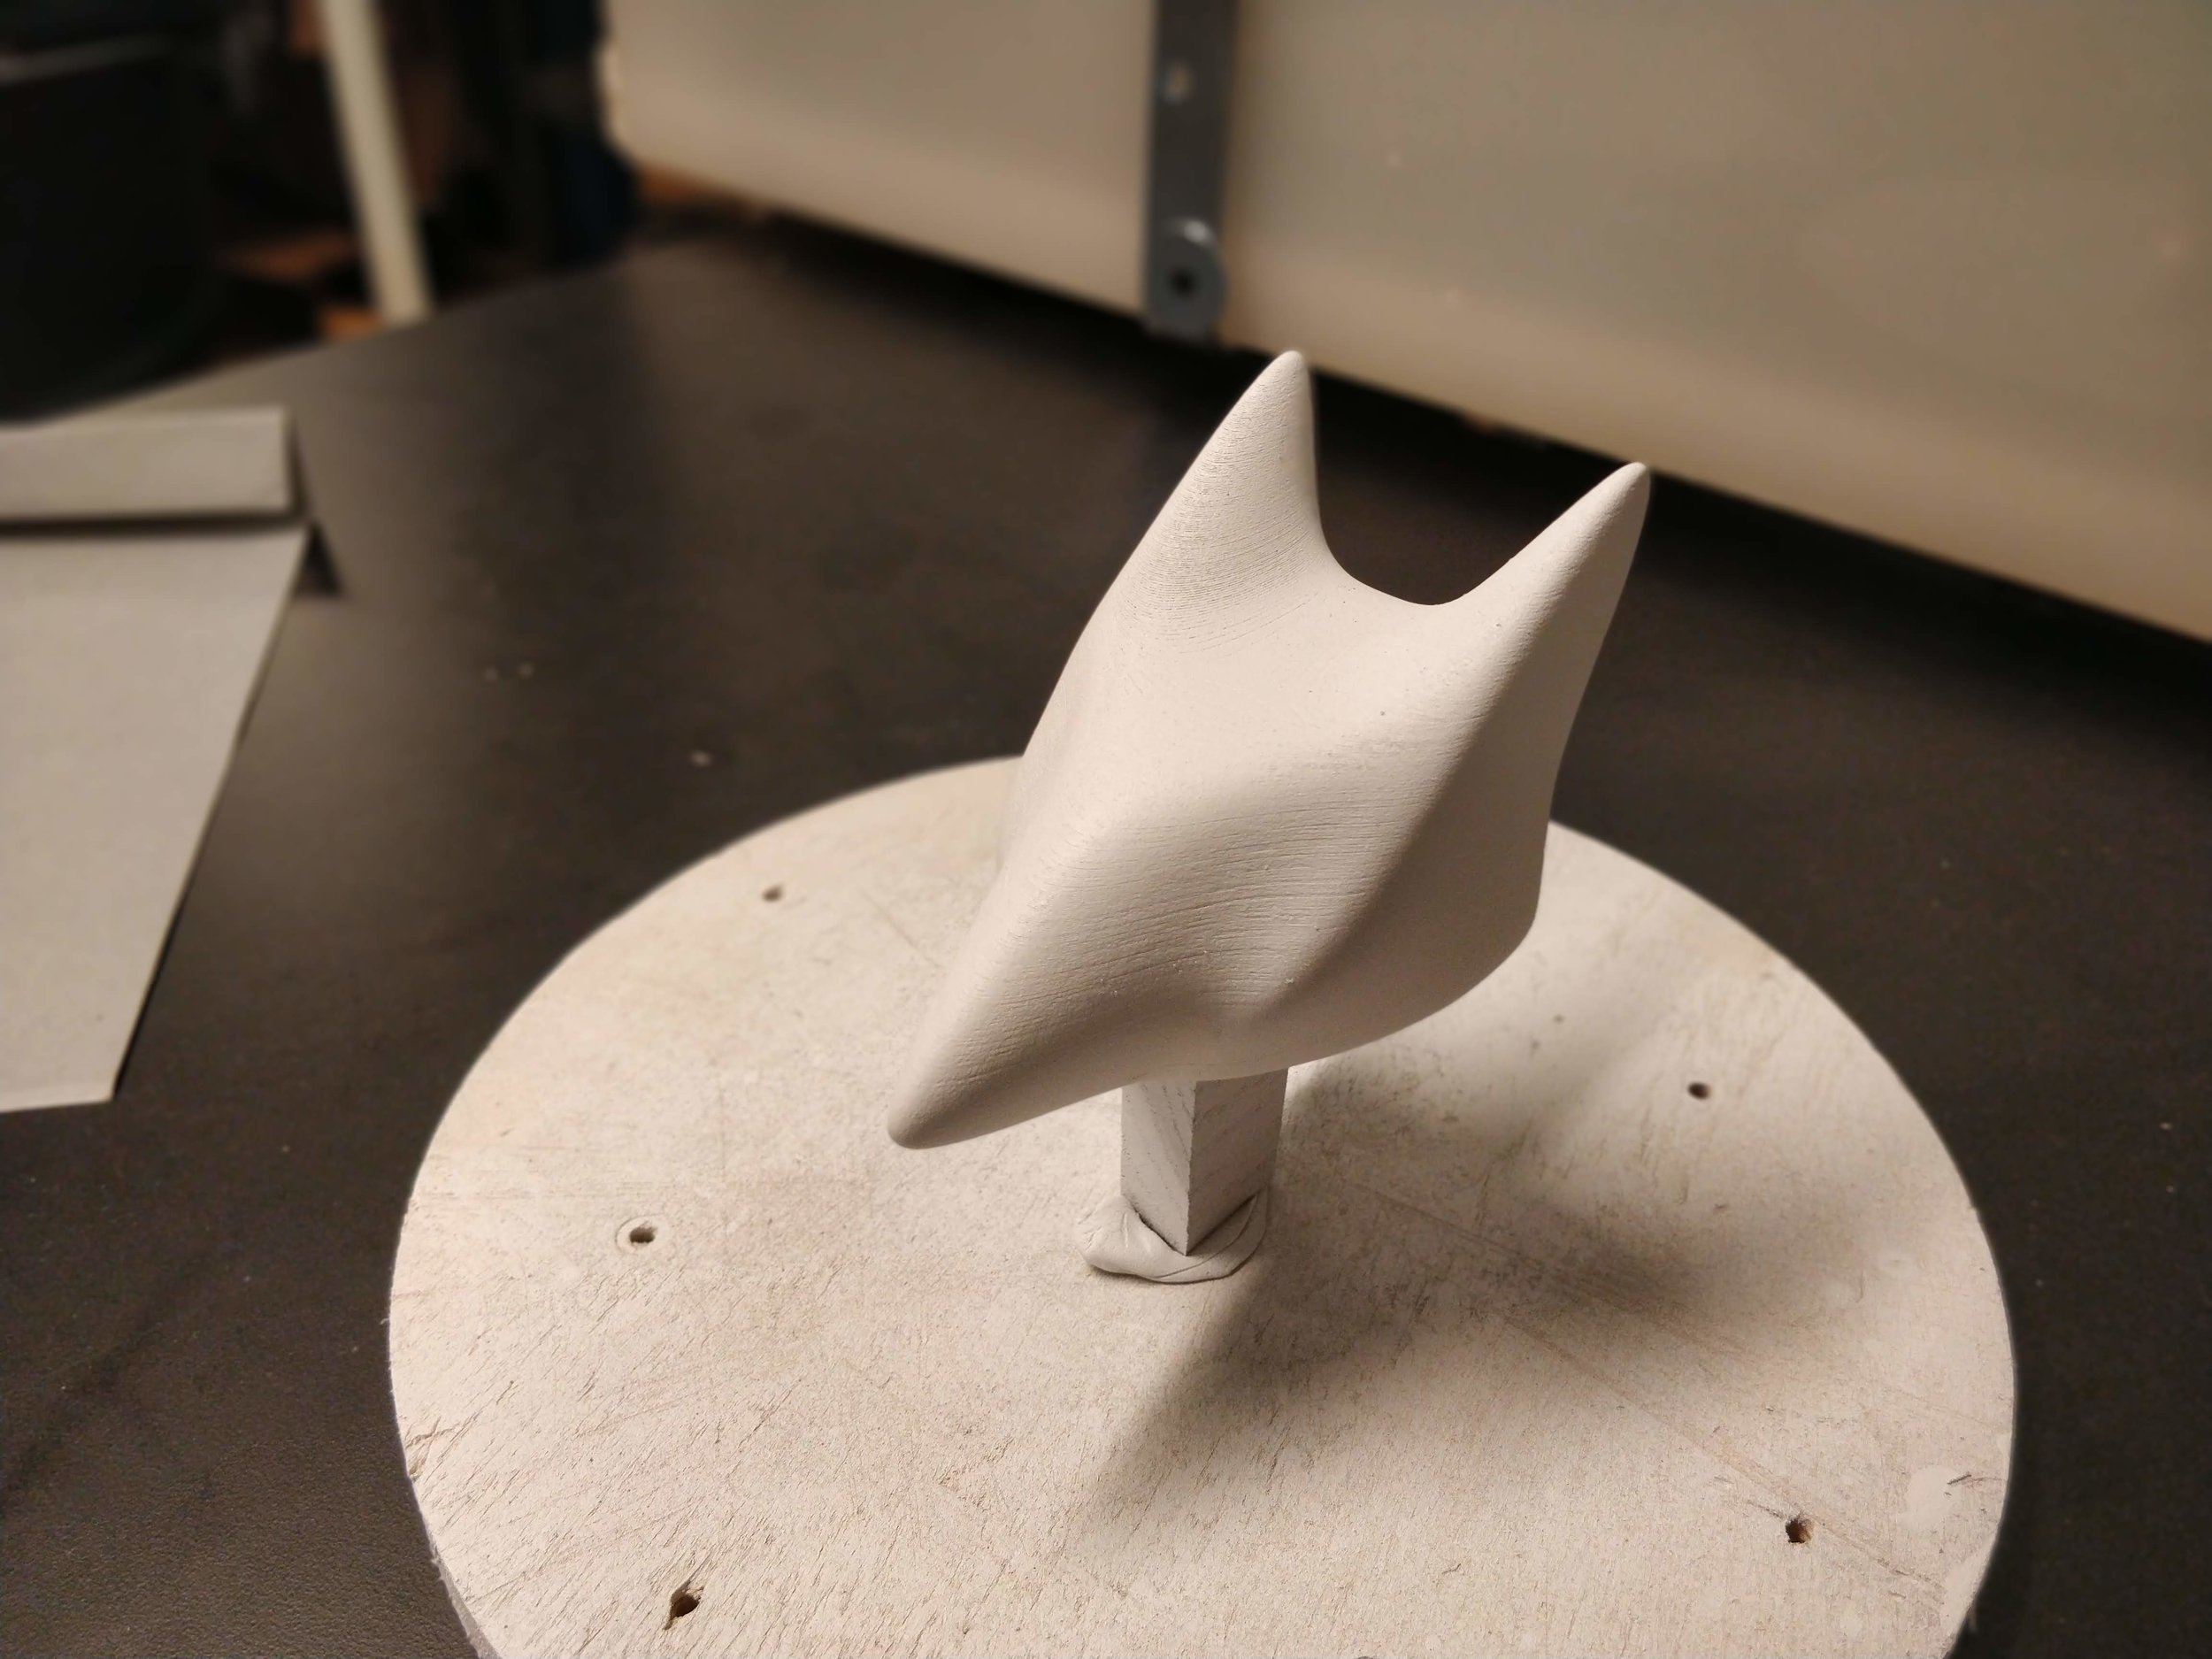
Then came time to prime them white. I stuck to the Rustoleom Plastic Primer and cleaned up the shop’s paint booth. I made a makeshift painting rack that could fit all the toys on two plates so that I could quickly rotate them. I used as light coats of paint as my heavy hand would allow and used a blow dryer in between coats to dry the paint. I didn’t want to rush the final sculpts so the whole painting process took about three hours. In the end, they came out looking pretty smooth with mostly paint texture on the surface, rather than 3D print lines.

The final step was to lightly sand the primer, and they’d be ready for decoration. I was hoping to get another coat of primer in after sanding but was running out of time to hand them out. I used a 1200 grit sand paper and tried to only brush it against the paint to not rub it off completely.

Packaging

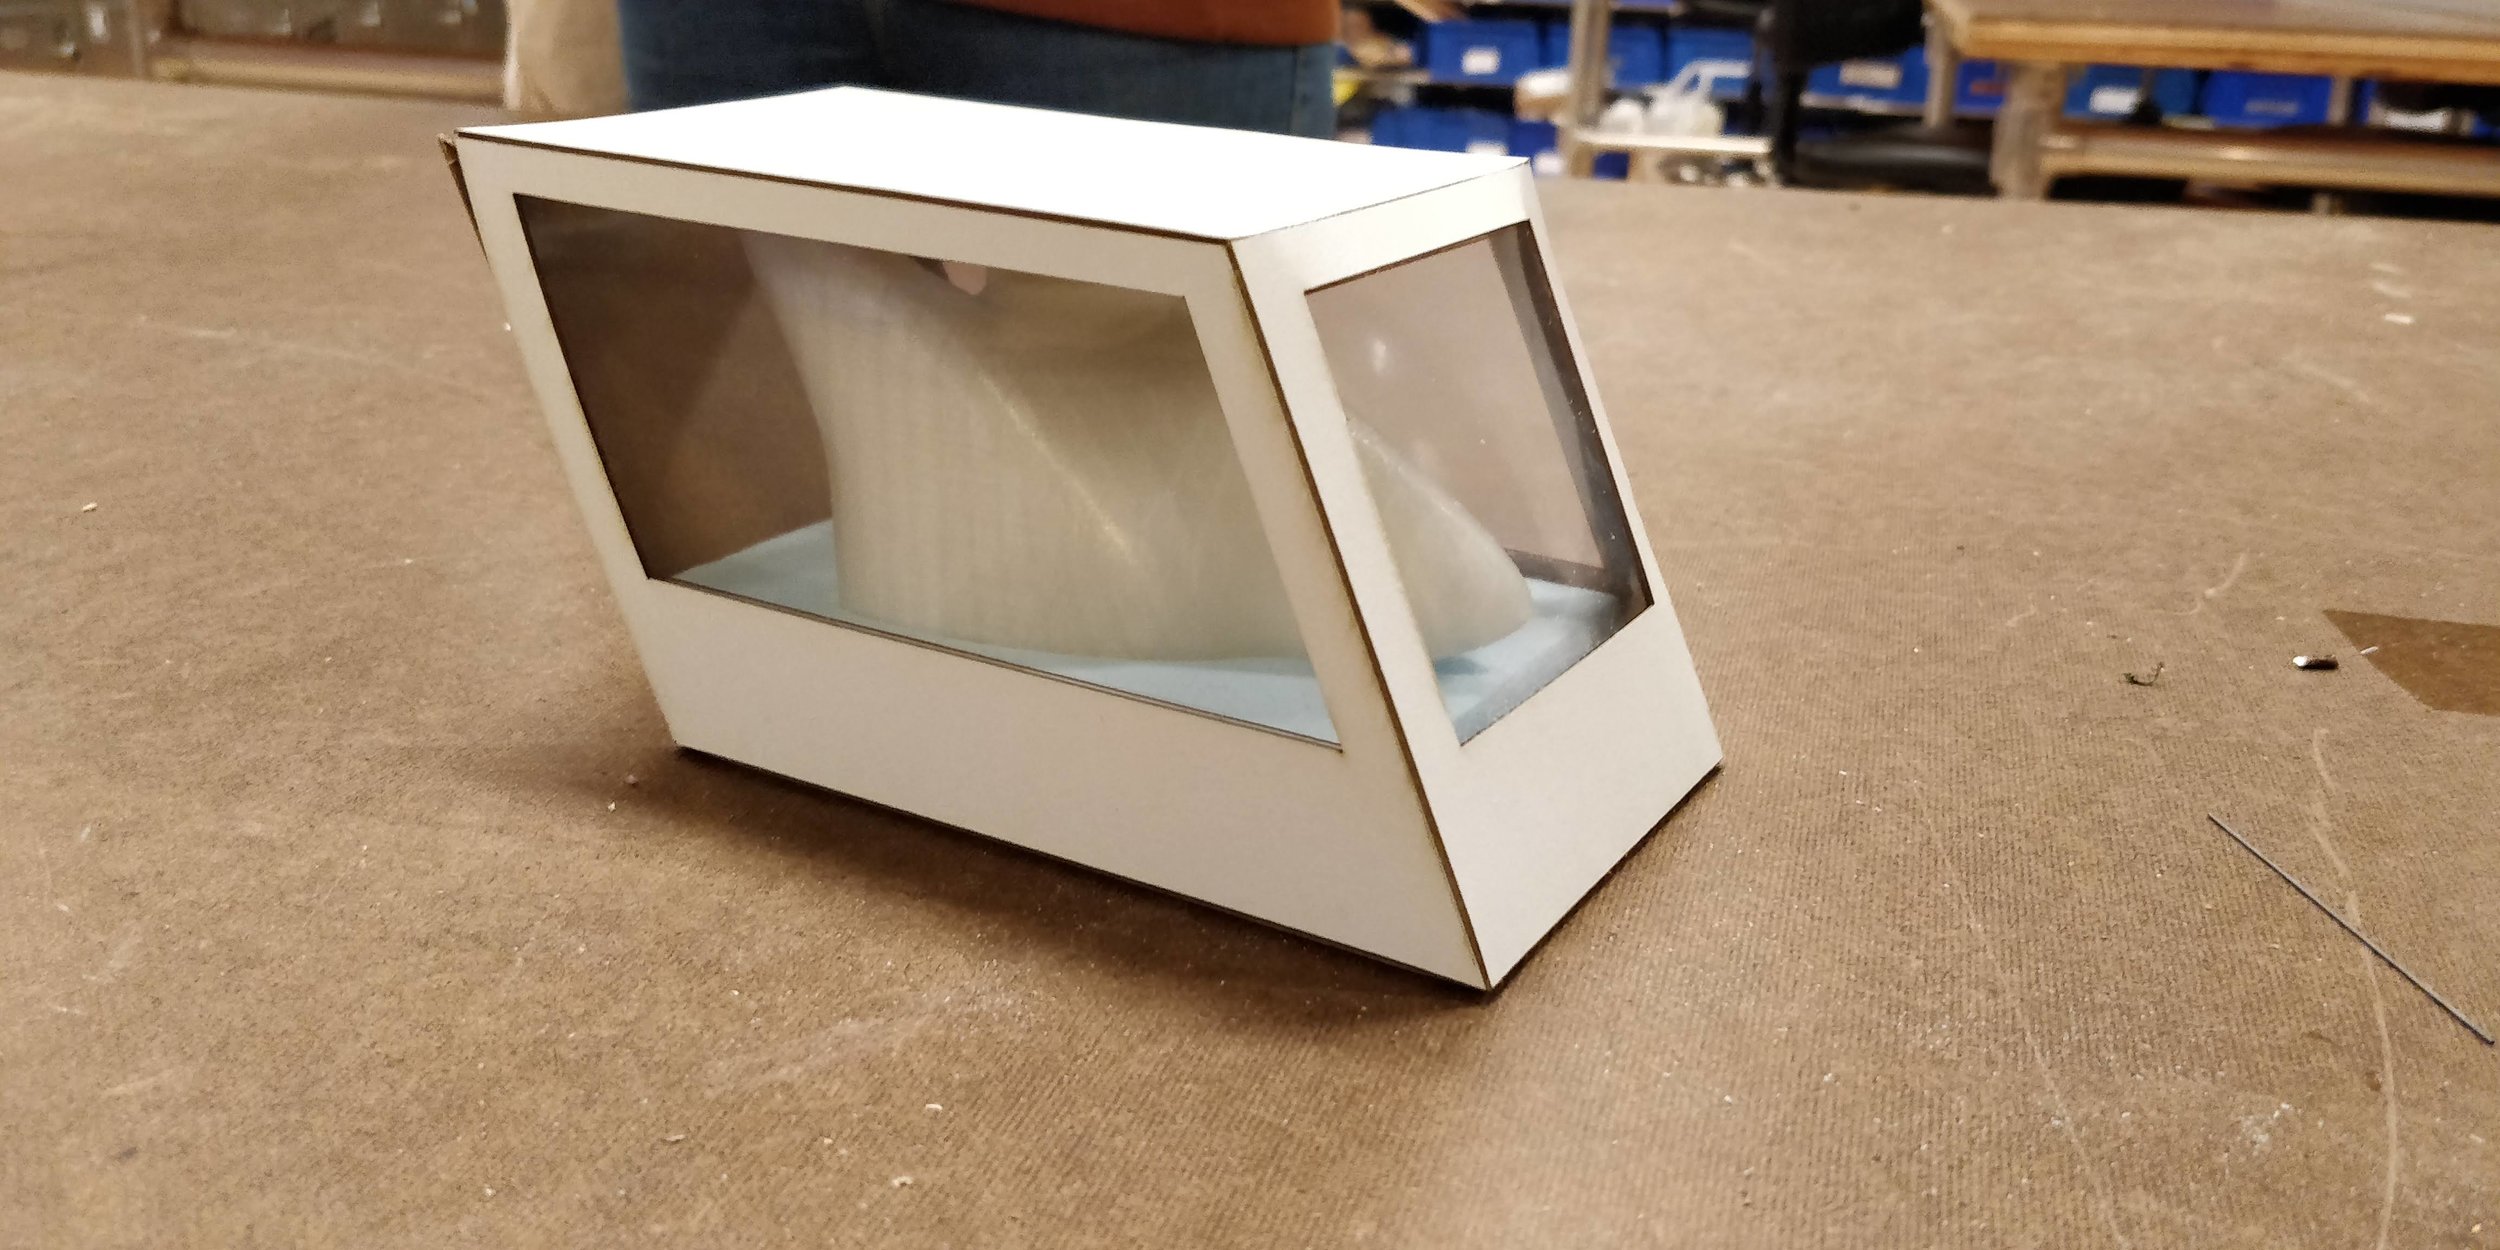
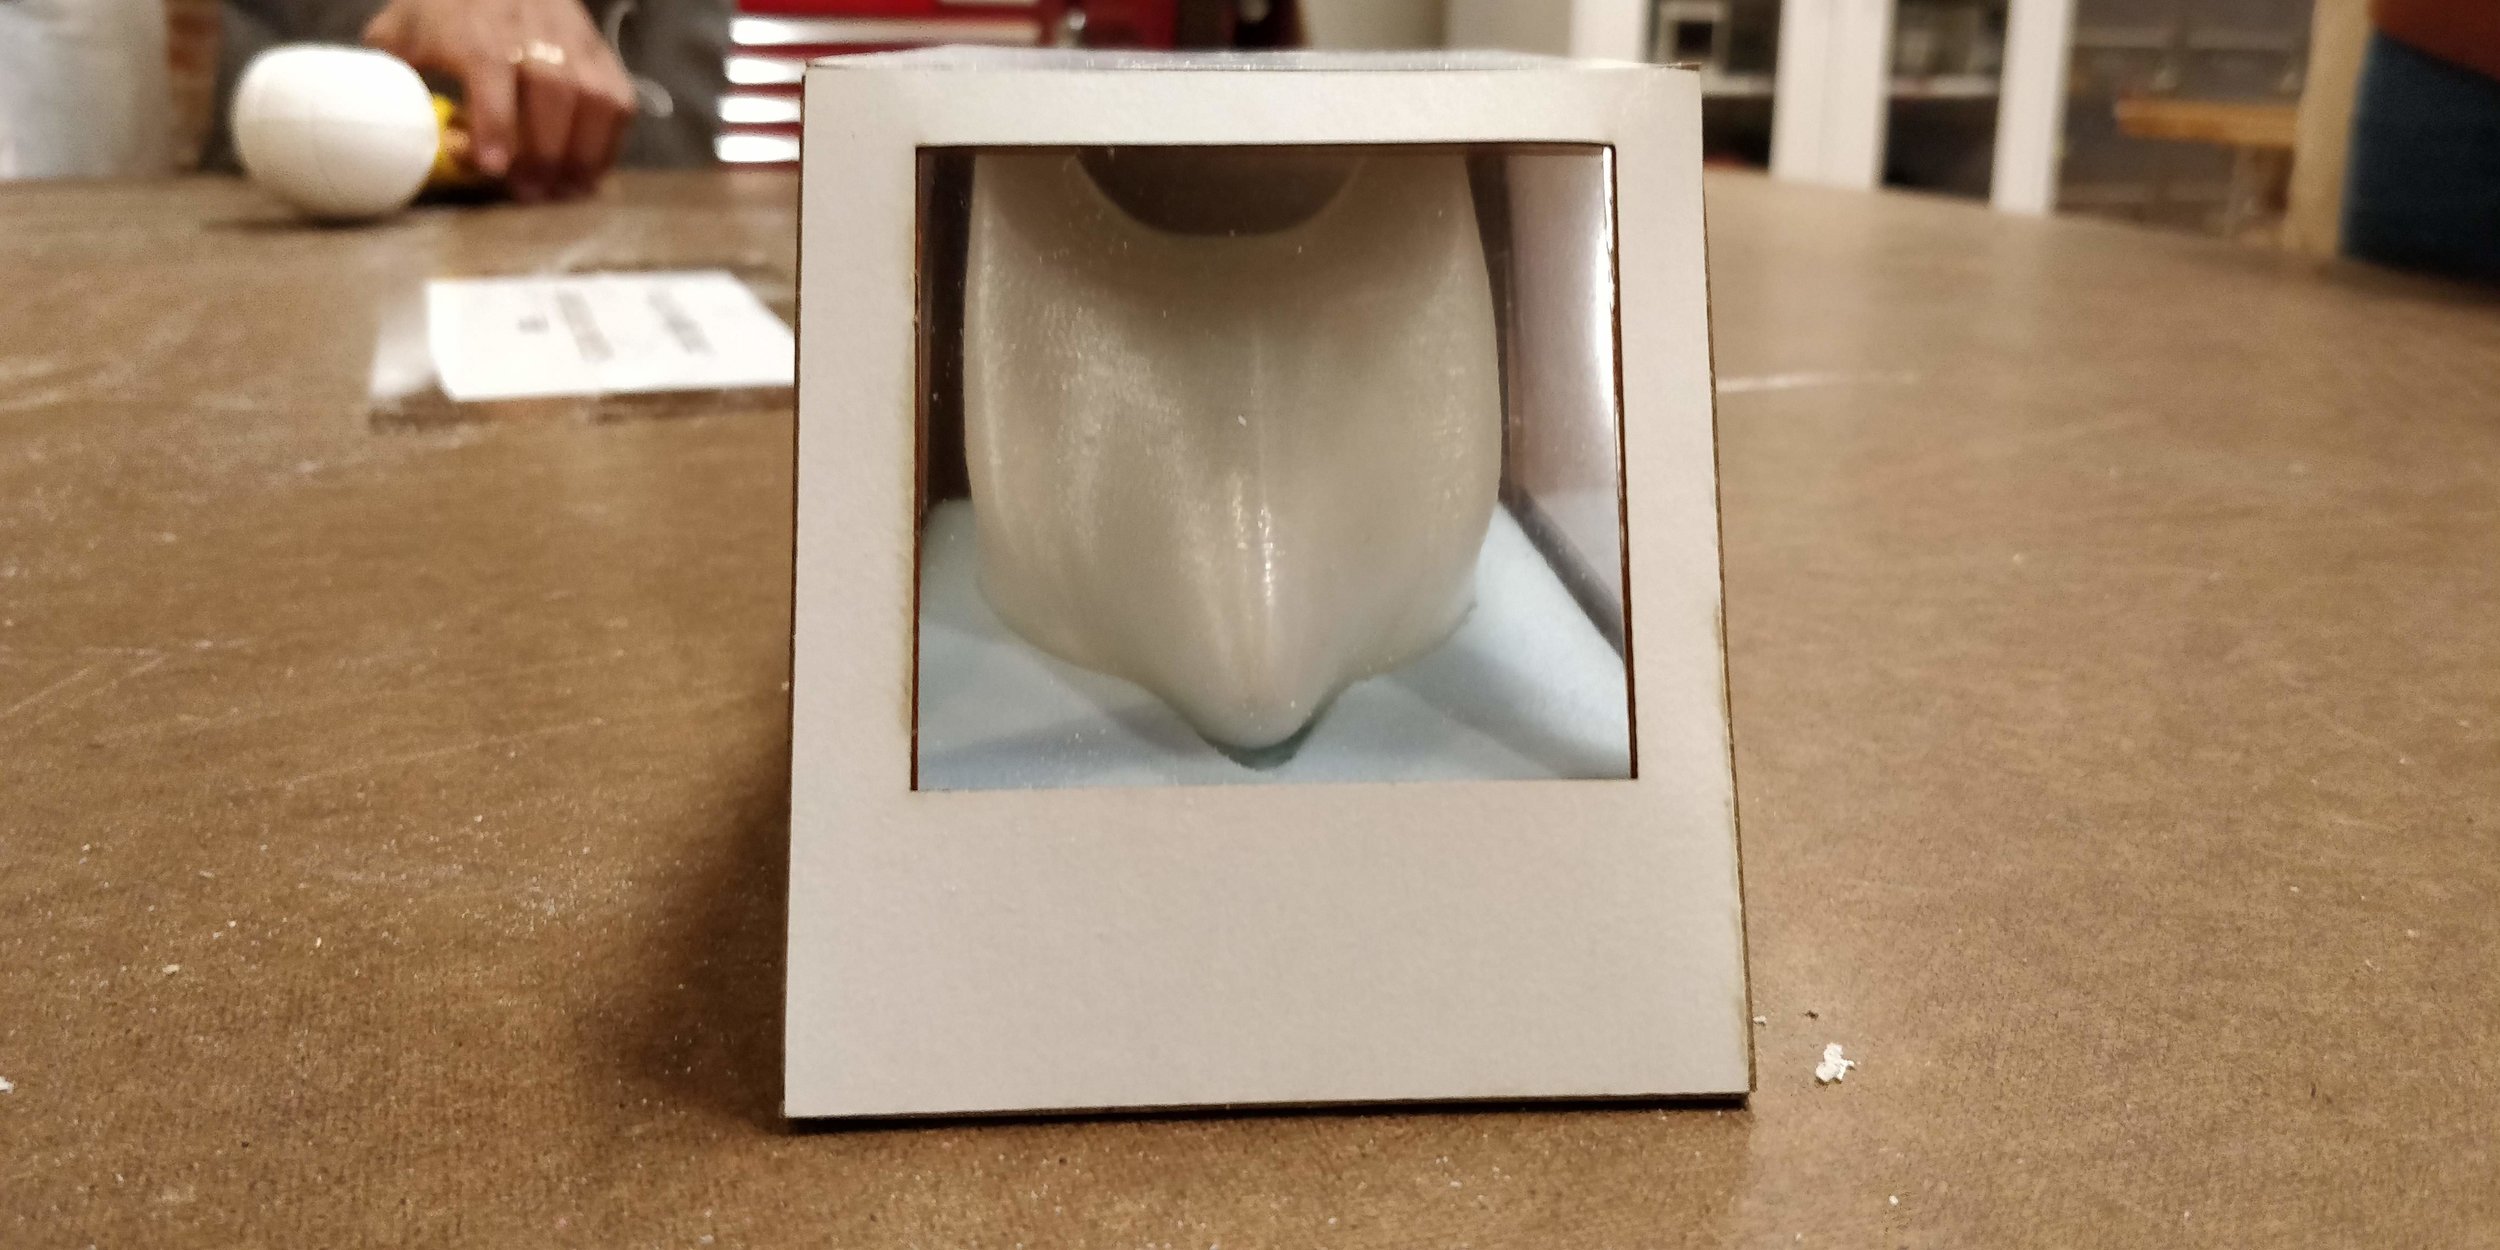
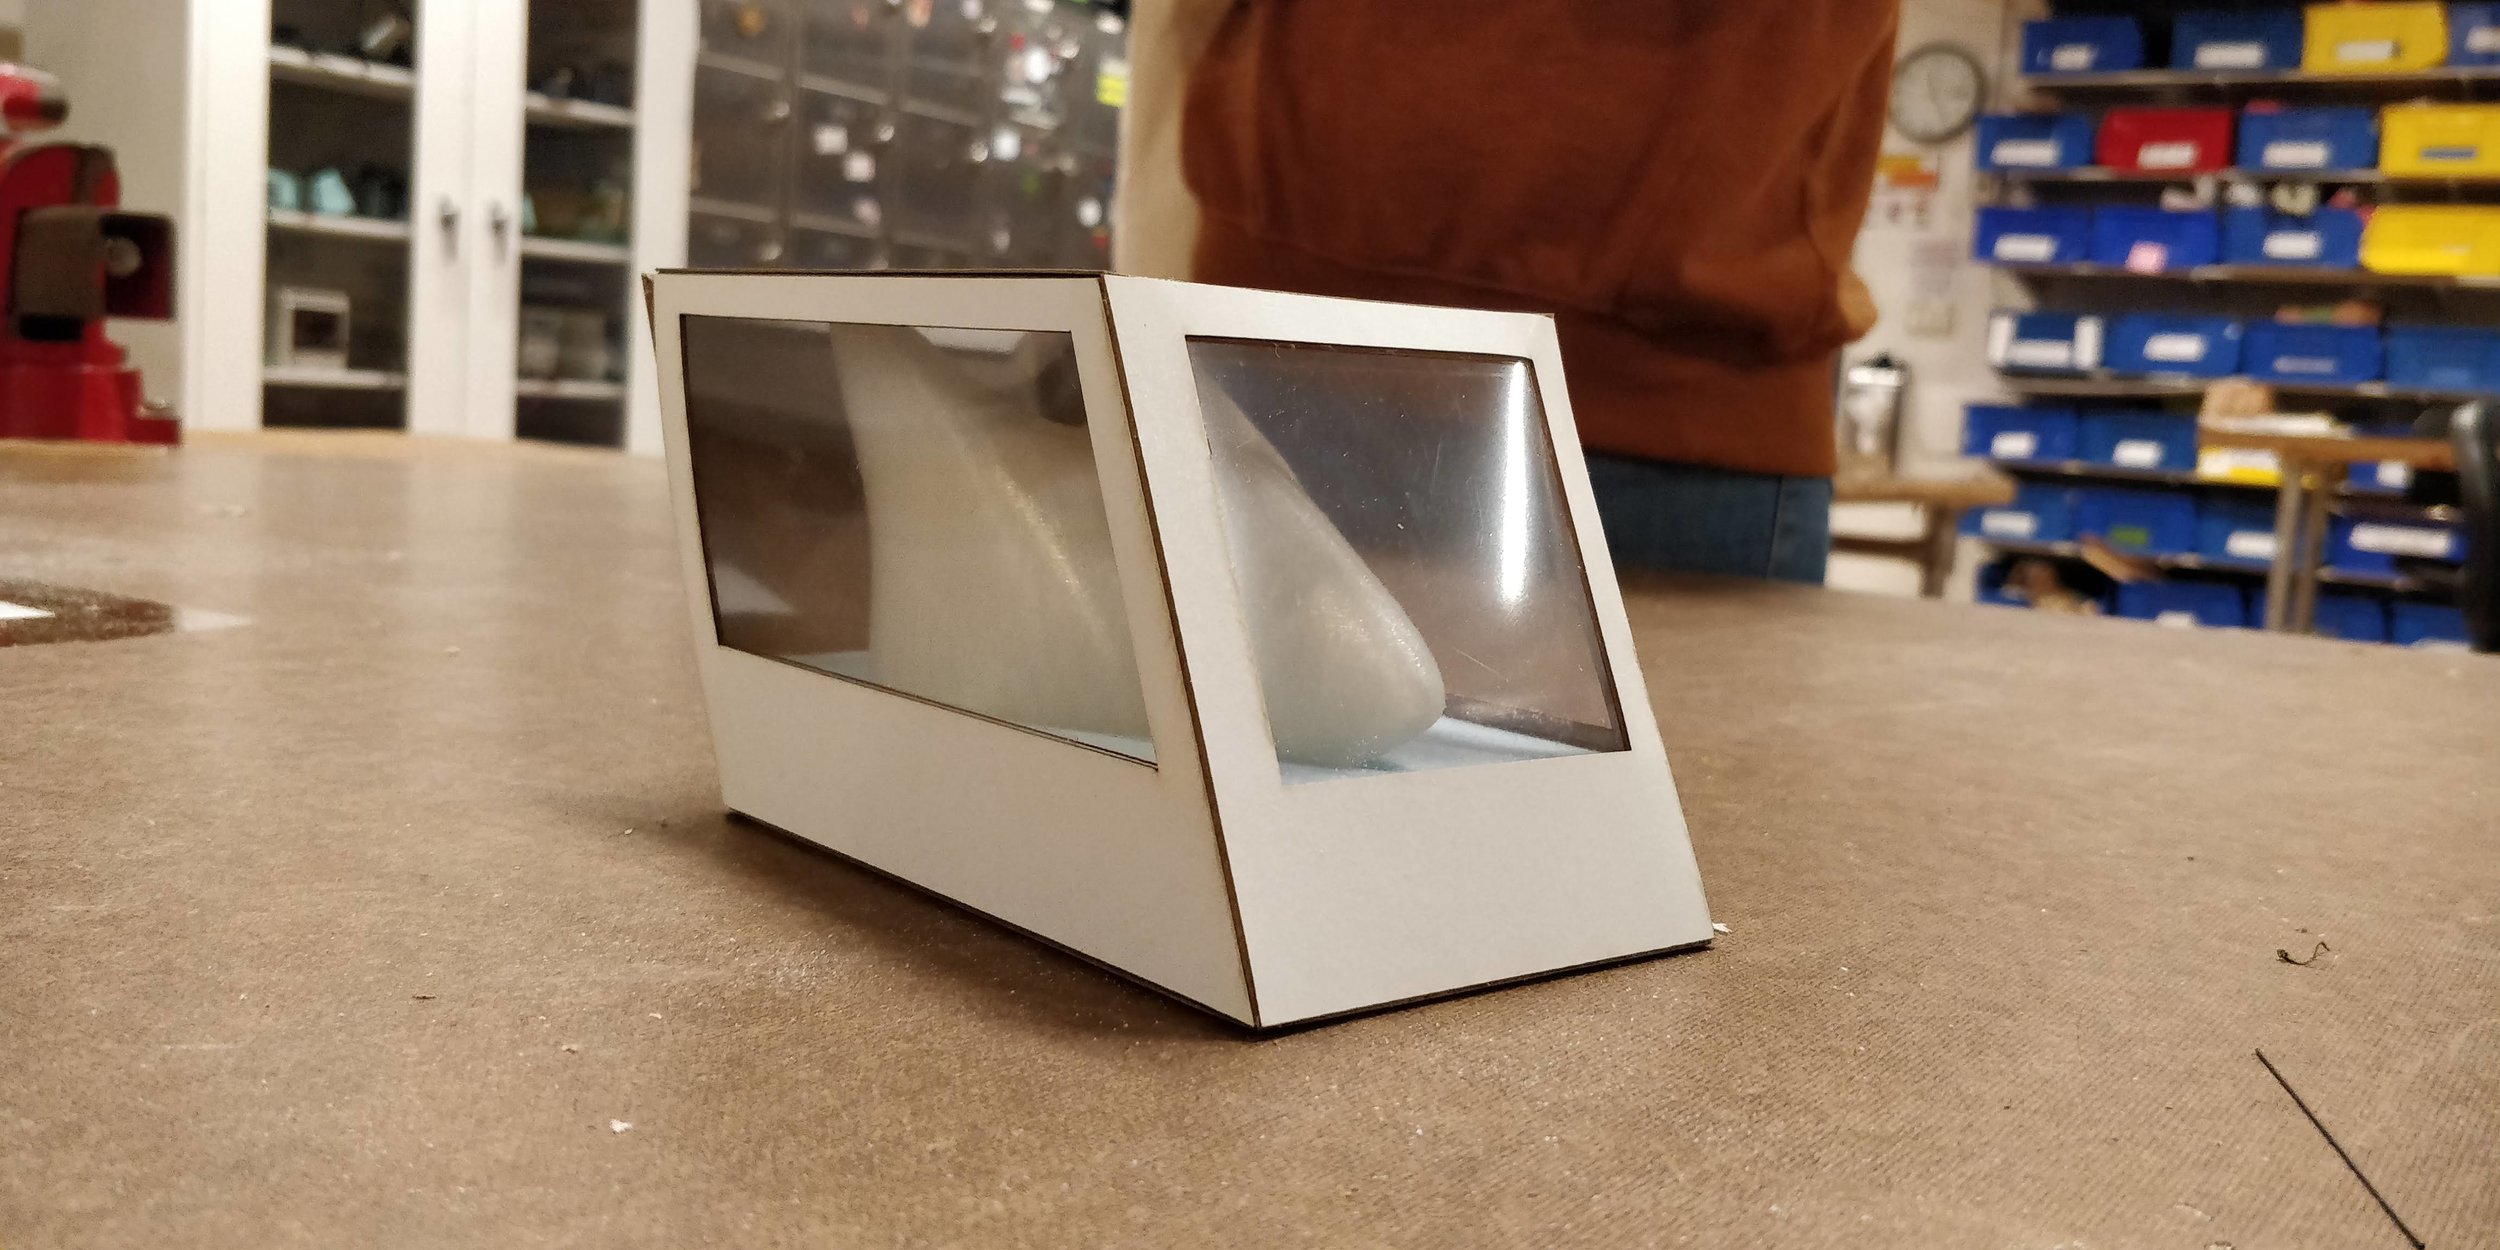
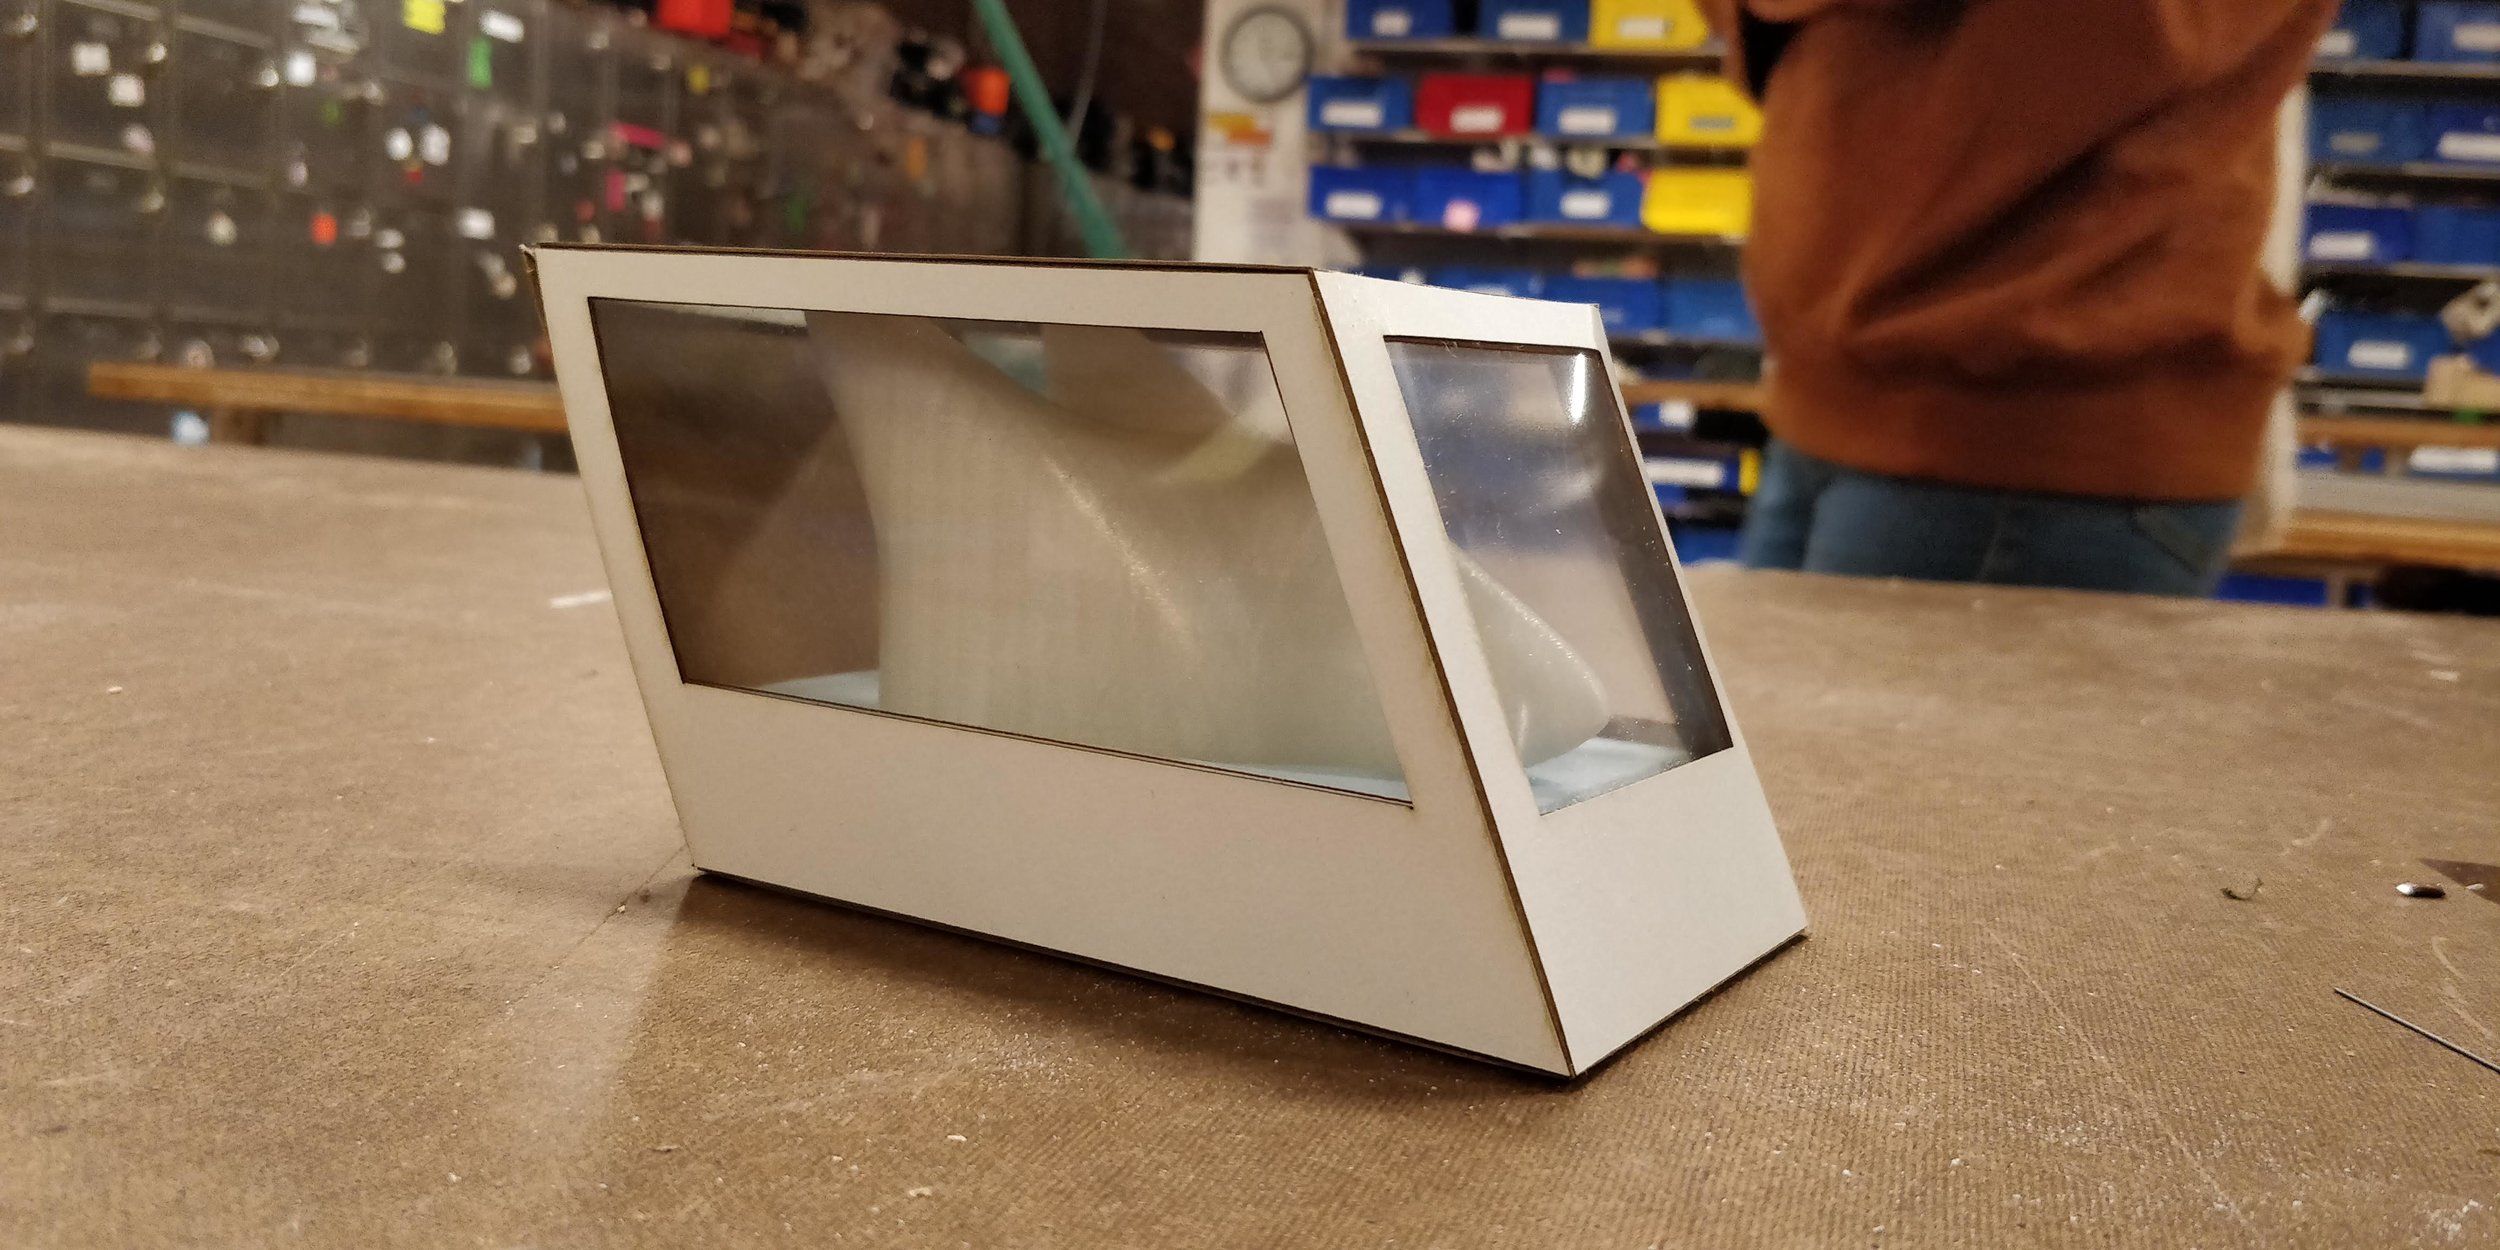
I started to design packaging for the toys, focusing on the fox first.I wanted to give each package a sense of the character’s back story or attitude and, since the fox is modeled after the Japanese Bullet Train, I decided to give the packaging some speed.

I started with a simple box and pulled it backwards before unwrapping it, this made it look like a cart speeding forward. I initially wanted to print on the walls but decided to go with windows instead to complete the look and expose the toy.
The Zen of Sanding

This week was all about finishing and painting, and I decided to take the time to try and get a decent finished result from 3D prints. After jumping straight to priming in previous weeks, I took some more time to prep the prints and smooth out the PLA surface before painting.
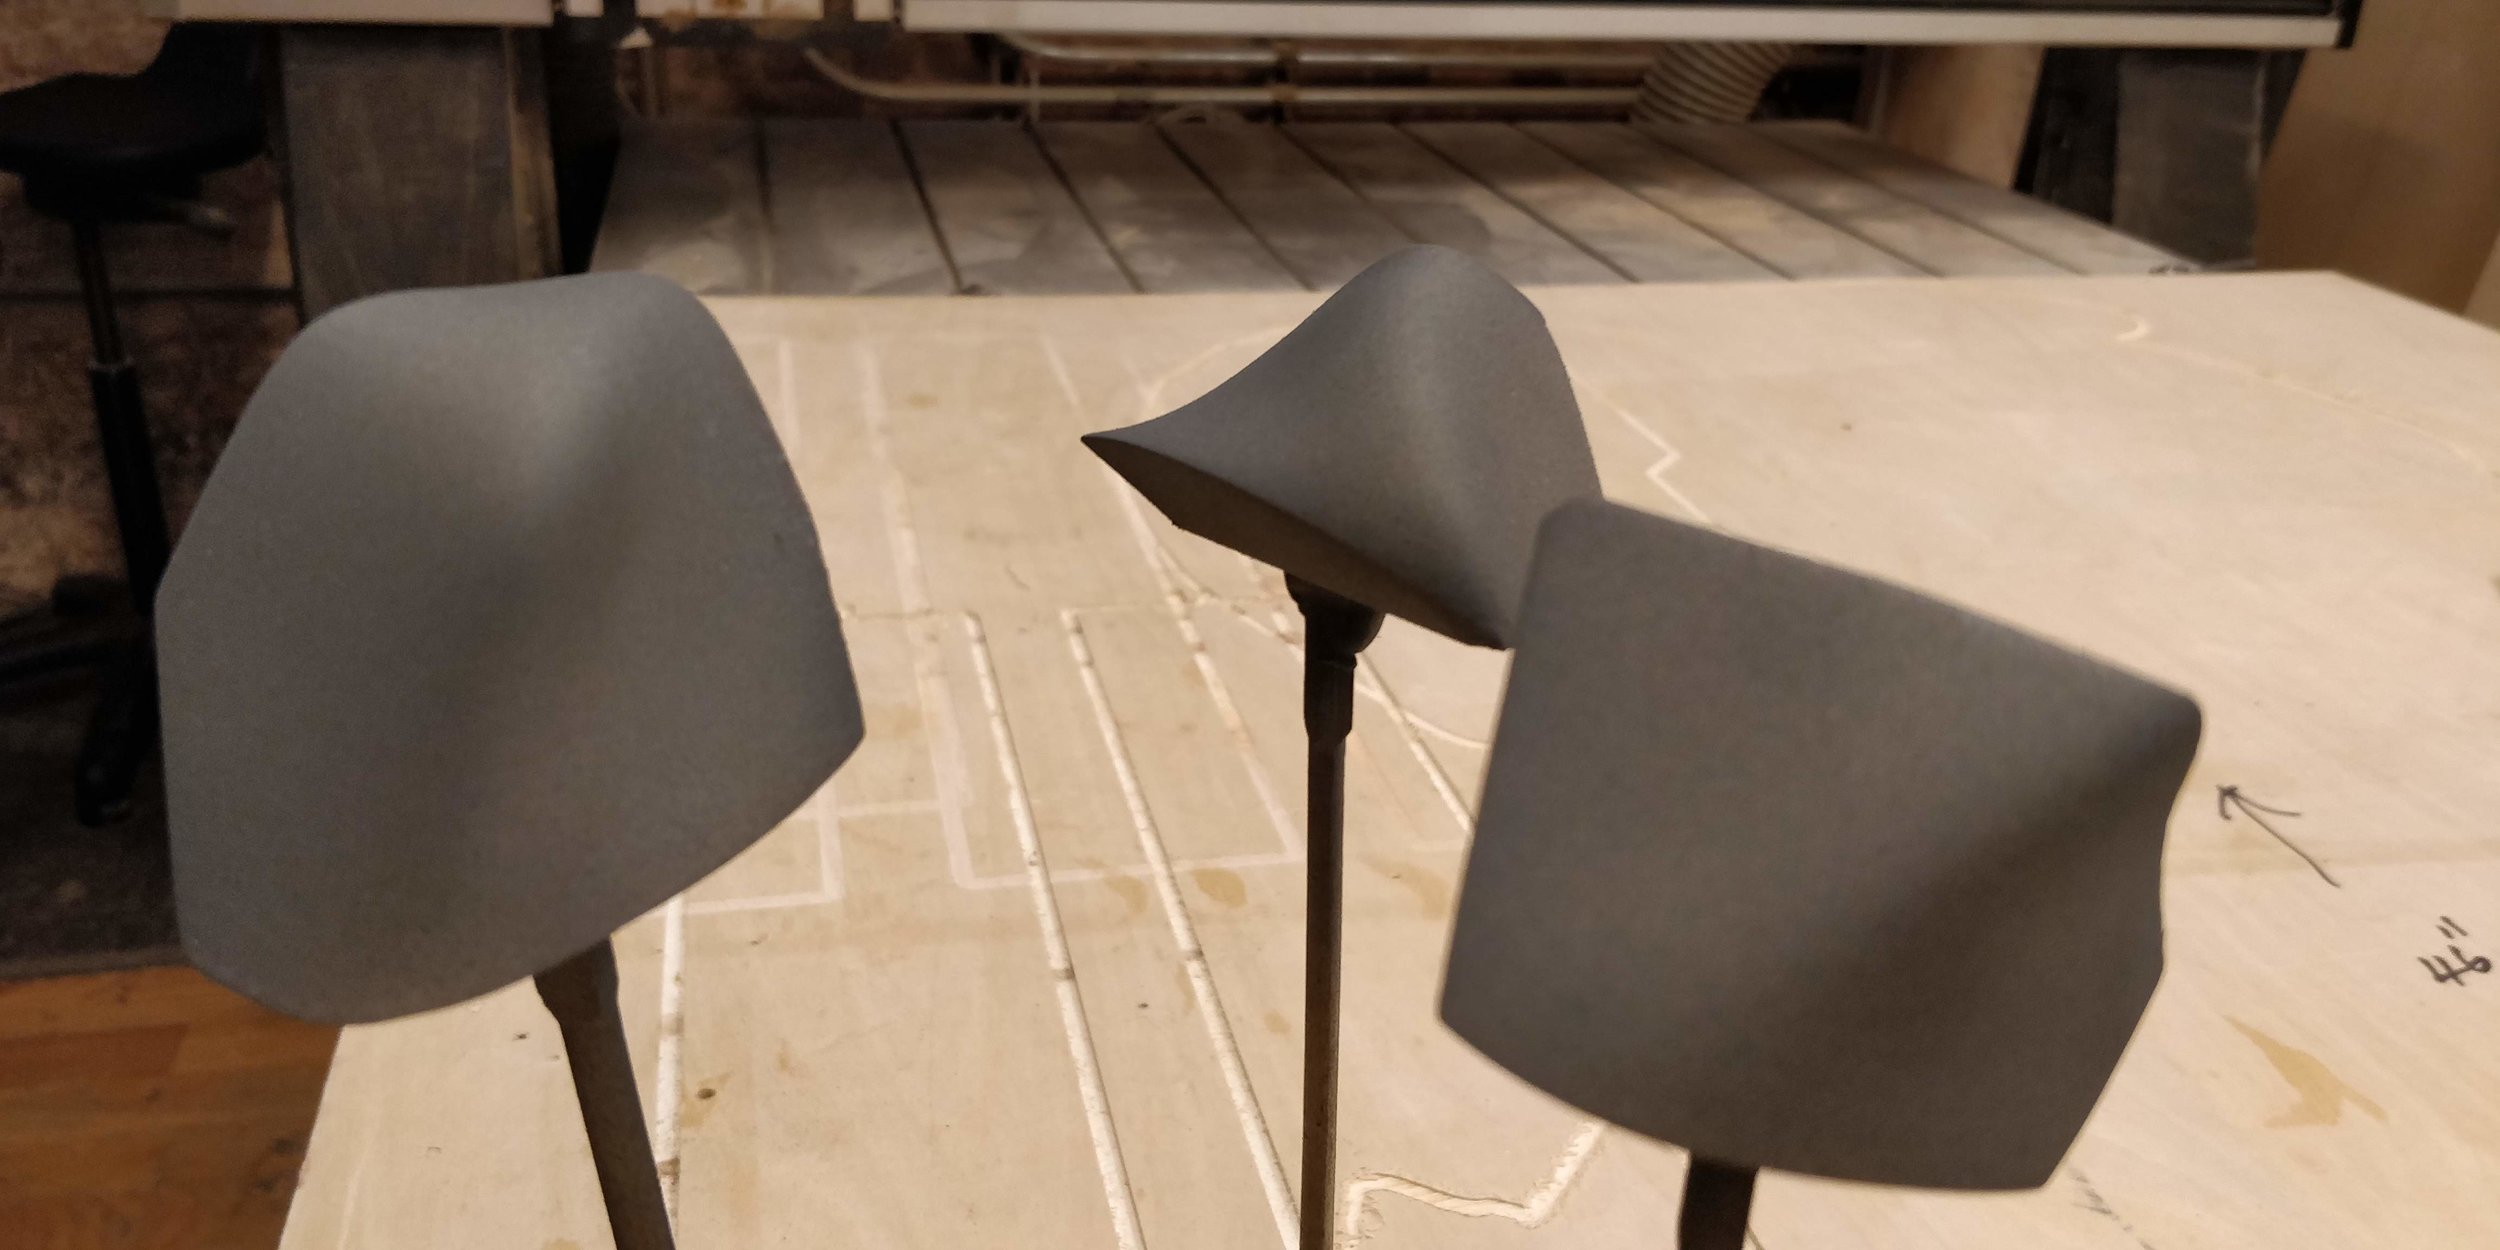
I started by doing a quick sanding test using 220 grit sand paper. The shapes I was sanding were quite smooth and flat so it was easy to sand them off quite well and get a nice, clean surface. At that stage, I just wanted to quickly go through sanding and priming to get a sense for the process. For this test, I used a gray unlabeled primer from the cabinet and applied a few thin coats in the spray booth.

Though initially things looked promising, a few issues became apparent:

  1. ITPs paint booth is in a wood shop (literally the worst possible location) and must be cleaned and vacuumed before every paint job. The dust and degree floating in the air stick to the paint and ruin the smooth surface.

  2. Simple primer doesn’t stick to PLA and was easily brushed off even after the paint has been drying for hours.

  3. I didn’t sand enough…

I printed the complete sculpts on thicker wall settings, giving me more room to sand the rough surfaces with multiple runs of higher grits. I started with a coarse 80 to remove the supports and bottom adhesion, moved up to 120 to clean up the print ridges, silicone 220 to smooth out corners with the sand paper curved around my finger, and 380 + 440 to get a clean final sand for a smooth surface.

I must say that I was very pleasantly surprised with the results of the sanding, even though the process took a while it was very rewarding to run my finger against the sculpt surface and feel it smooth out a bit more with every pass. Friends who looked at the final pieces couldn’t believe a 3D print can be so polished and smooth.

Since I put a lot of effort into sanding I didn’t want to mess up the paint job again and went to Ace for some guidance. They recommended a special plastic white primer so I got a can and headed to the shop. After cleaning the booth I started applying several light layers, blow drying the paint before moving to the next one. Over all, I applied 6 layers of primer, and this is the result:

I really love how the primer layer came out, even though you can still see the print lines, they give the sculpt a sense of speed and forward movement, making the fox head look almost like sonic the hedgehog!

I’m going to try and spend more time sanding the next batch of sculpts and try to achieve a completely smooth surface, I hope a second color paint job after the primer will fill in the cracks as well.

Materials, composition, and things that go wrong

This week was the dreaded “Amazon is late, 3D printer is busted, I don’t know how to CNC and it’s 3AM" already” week, but I pushed through and made progress on two techniques I intend to combine for the final art toy pieces I’m making.

Digital Kintsugi

The concept for the toys I’m designing is “ownership and emotional connection through repair”. The digitally designed figures are (digitally) broken and the owners must put them back together, making them both unique and more beautiful. This approach is very much inspired by the Japanese tradition of Kintsugi - carefully repairing broken homeware with gold paint, making them more beautiful than the original.

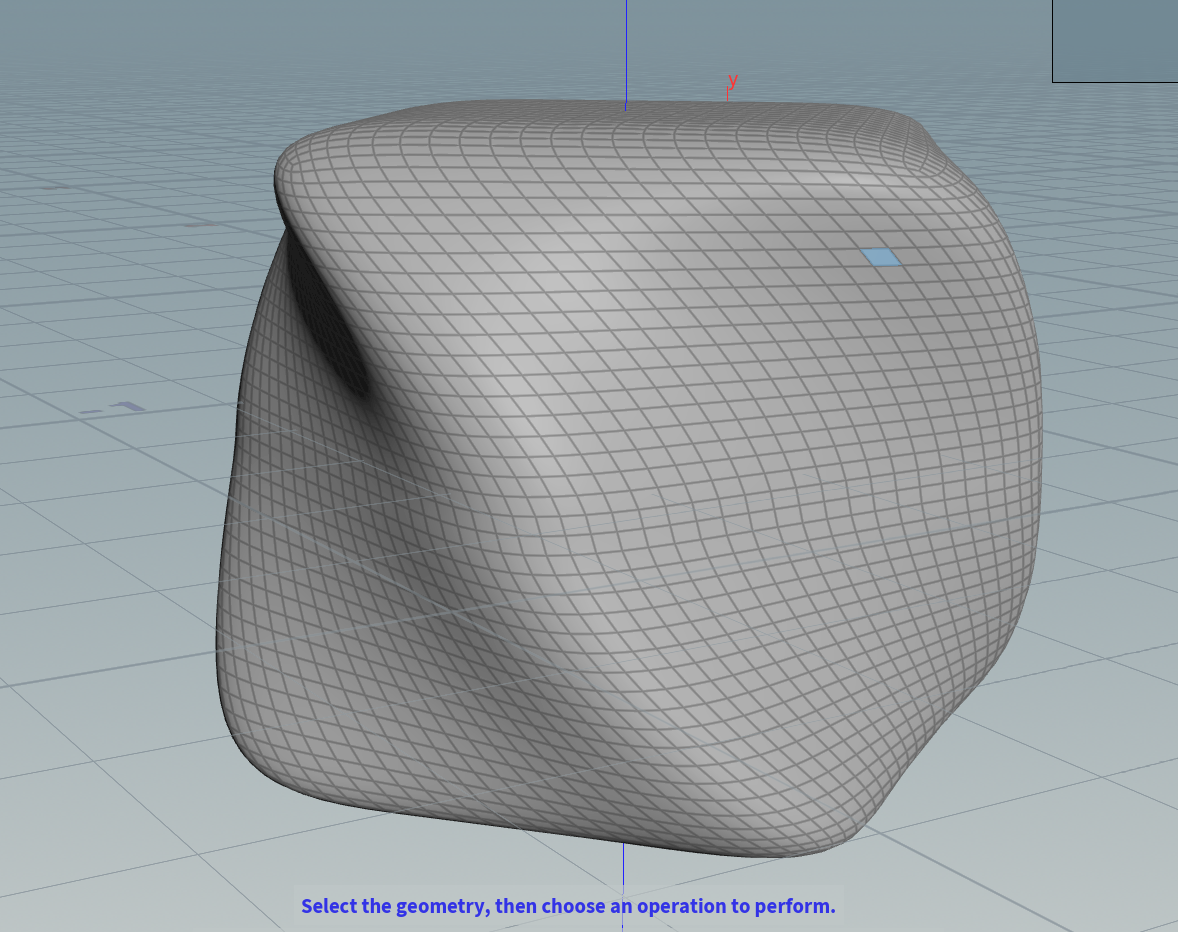
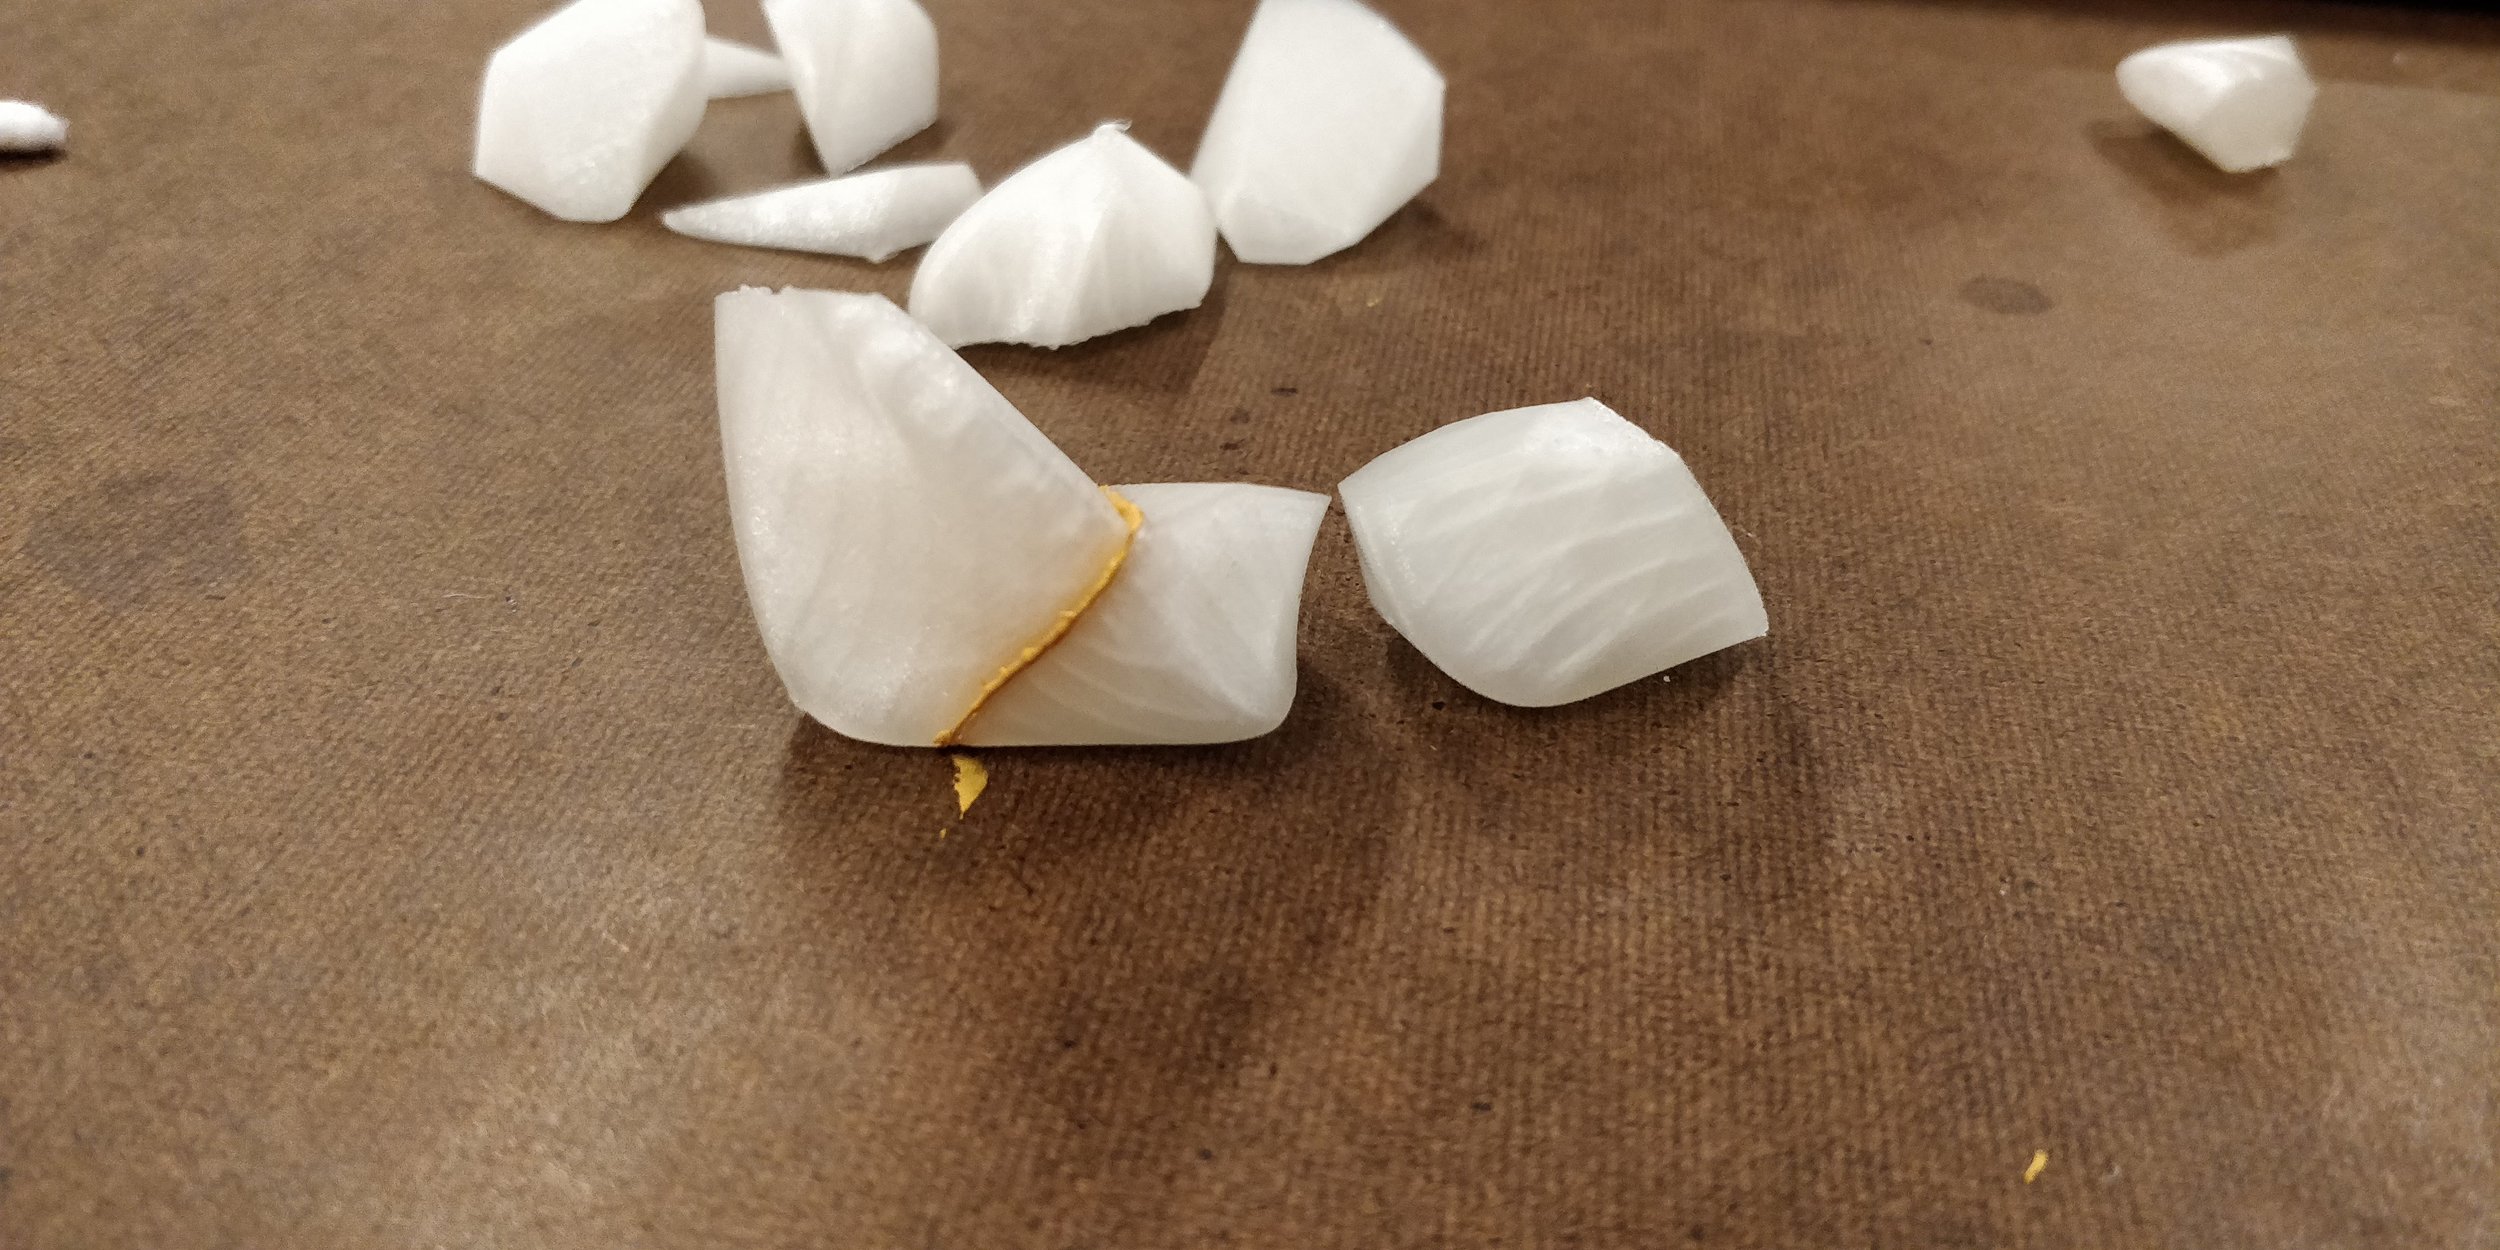
I designed a very basic shape in Houdini and broke it, then separated each piece and 3d printed all of them. Despite setting the print for quick-n-dirty settings, the edges came out quite smooth.

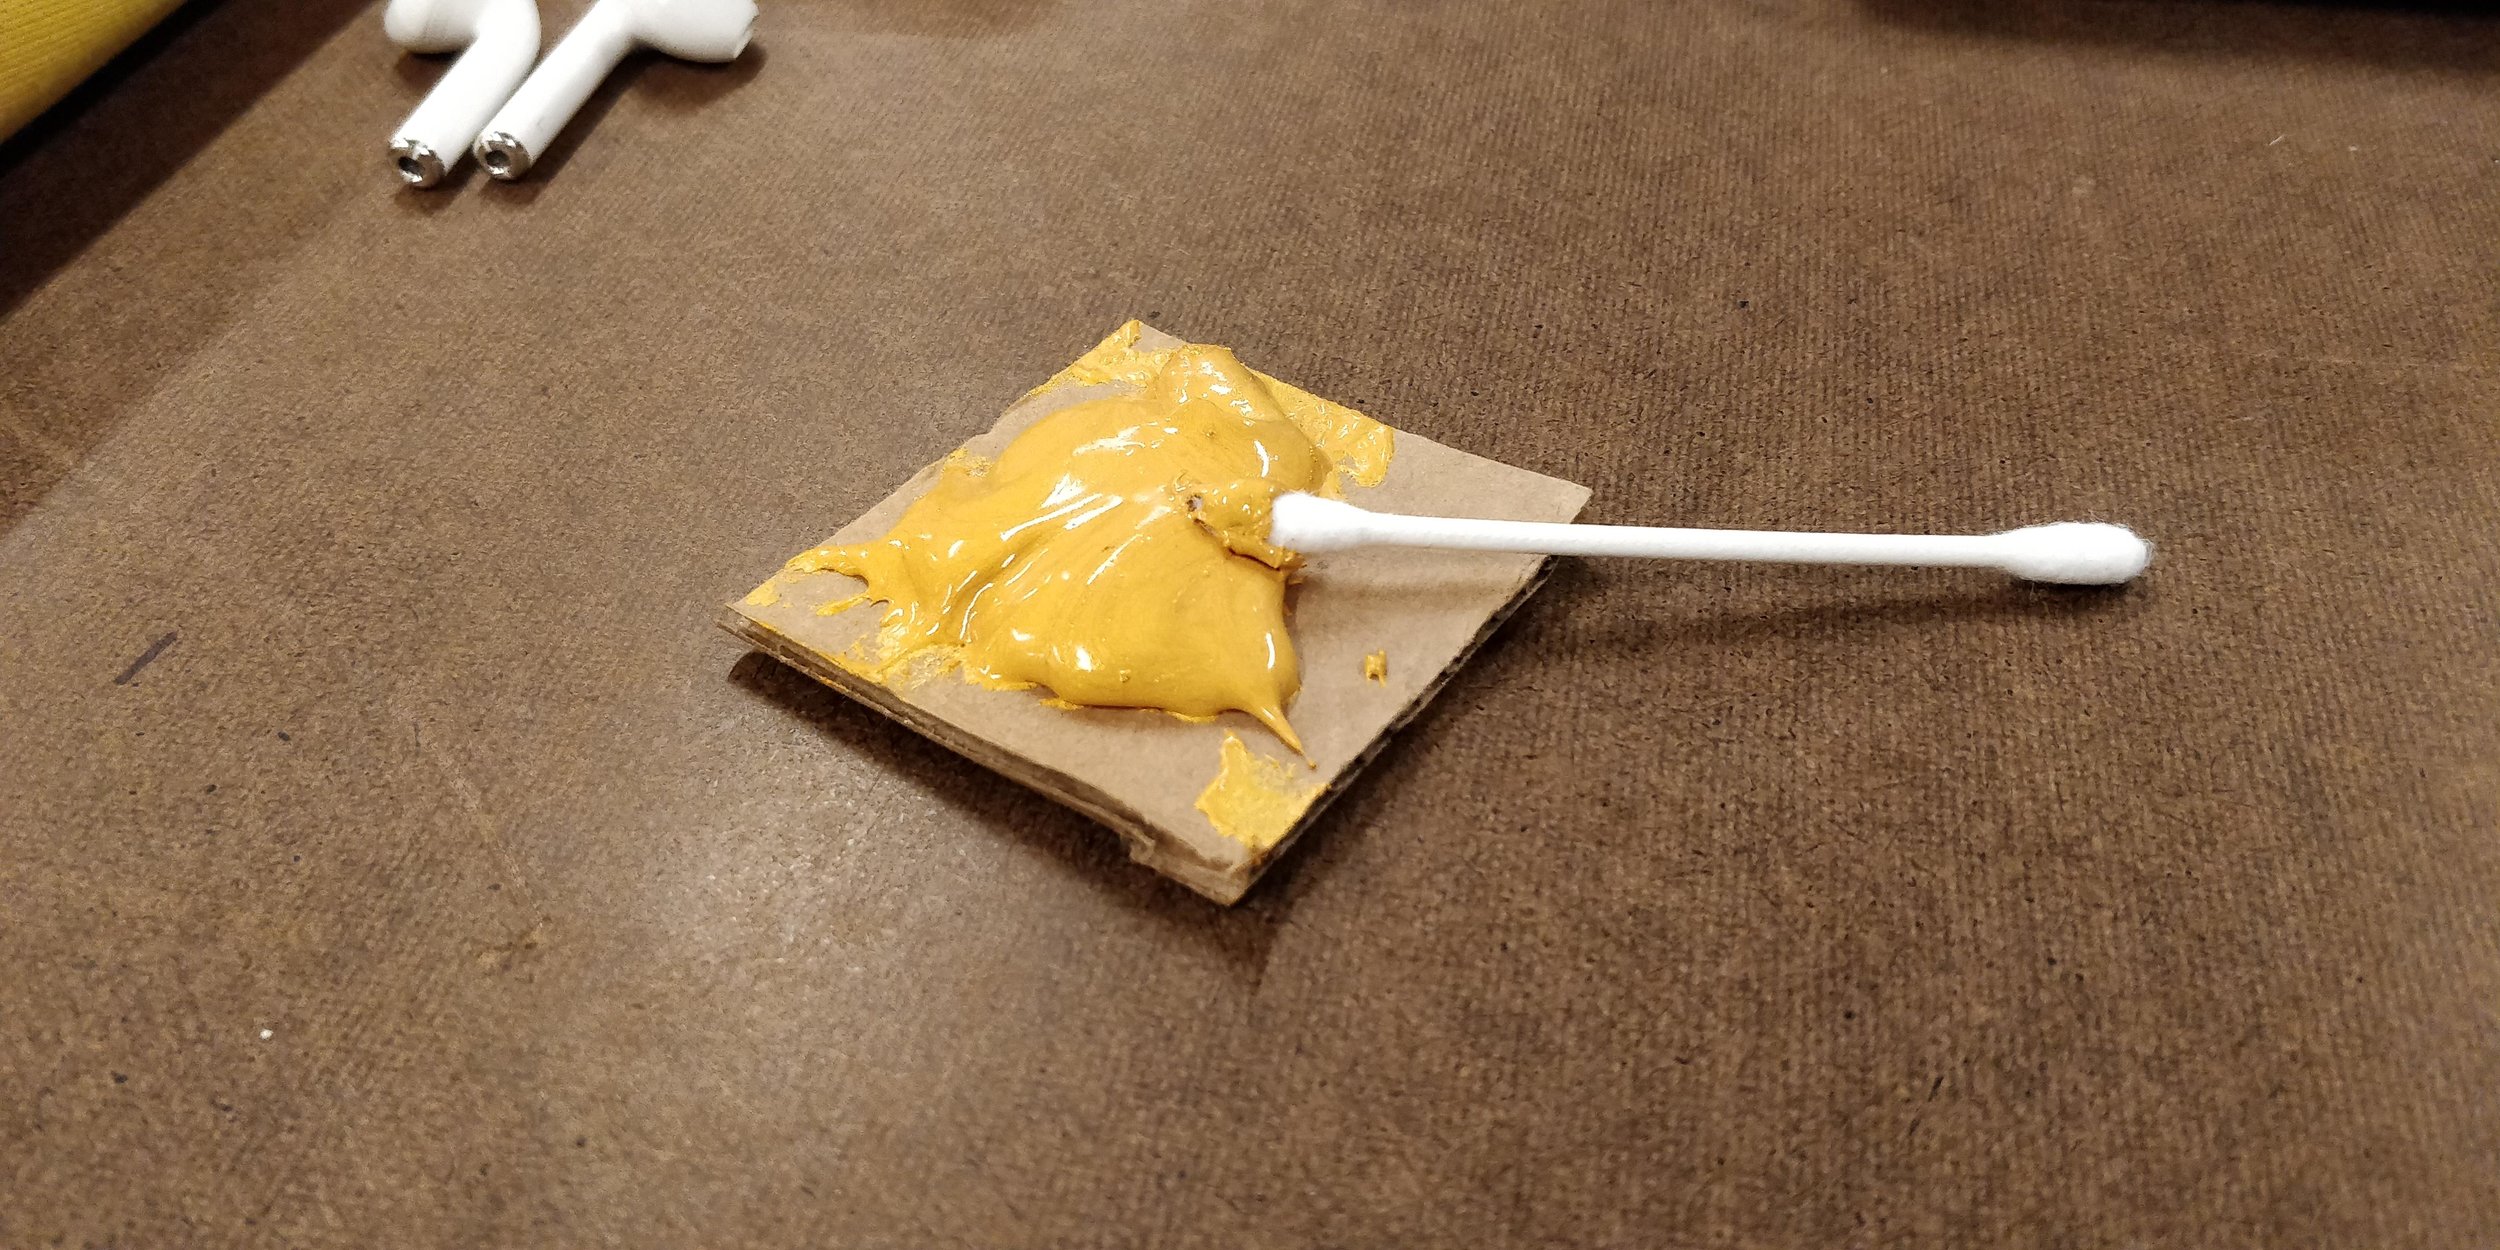
I then moved on to the repair step and wanted to find a way to prototype the Kintsugi look without having to use real good paint. I mixed plastic glue with gold Mica powder and after the powder dissolved the glue looked shiny and consistent. I then followed the model in reverse and glues all the pieces back together.

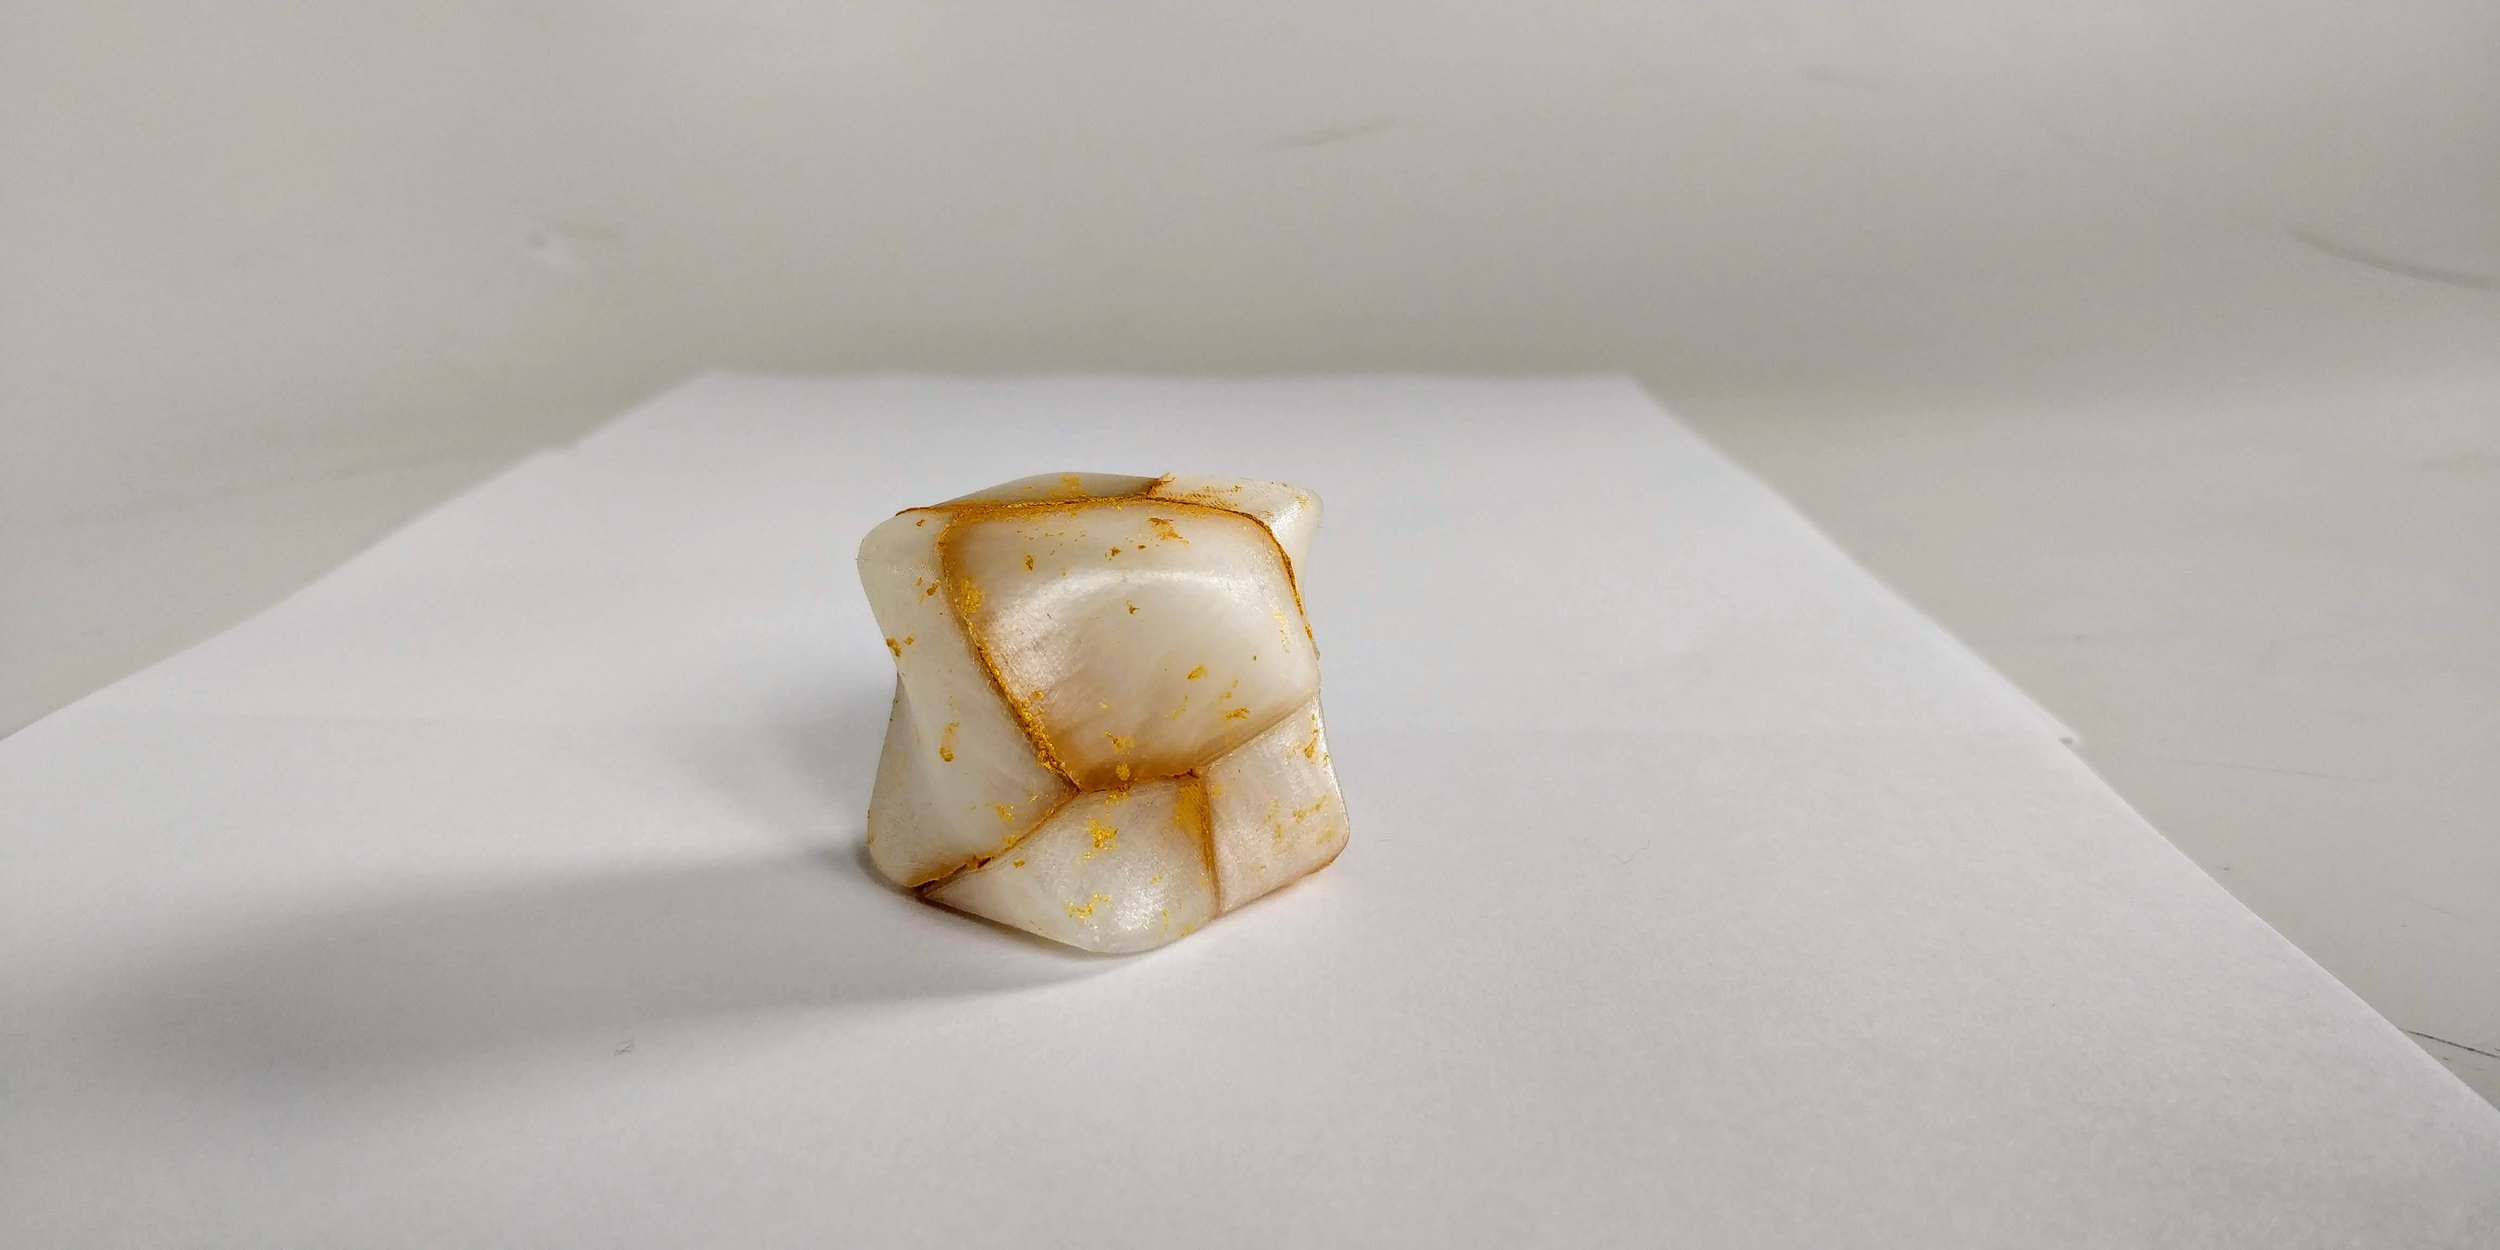
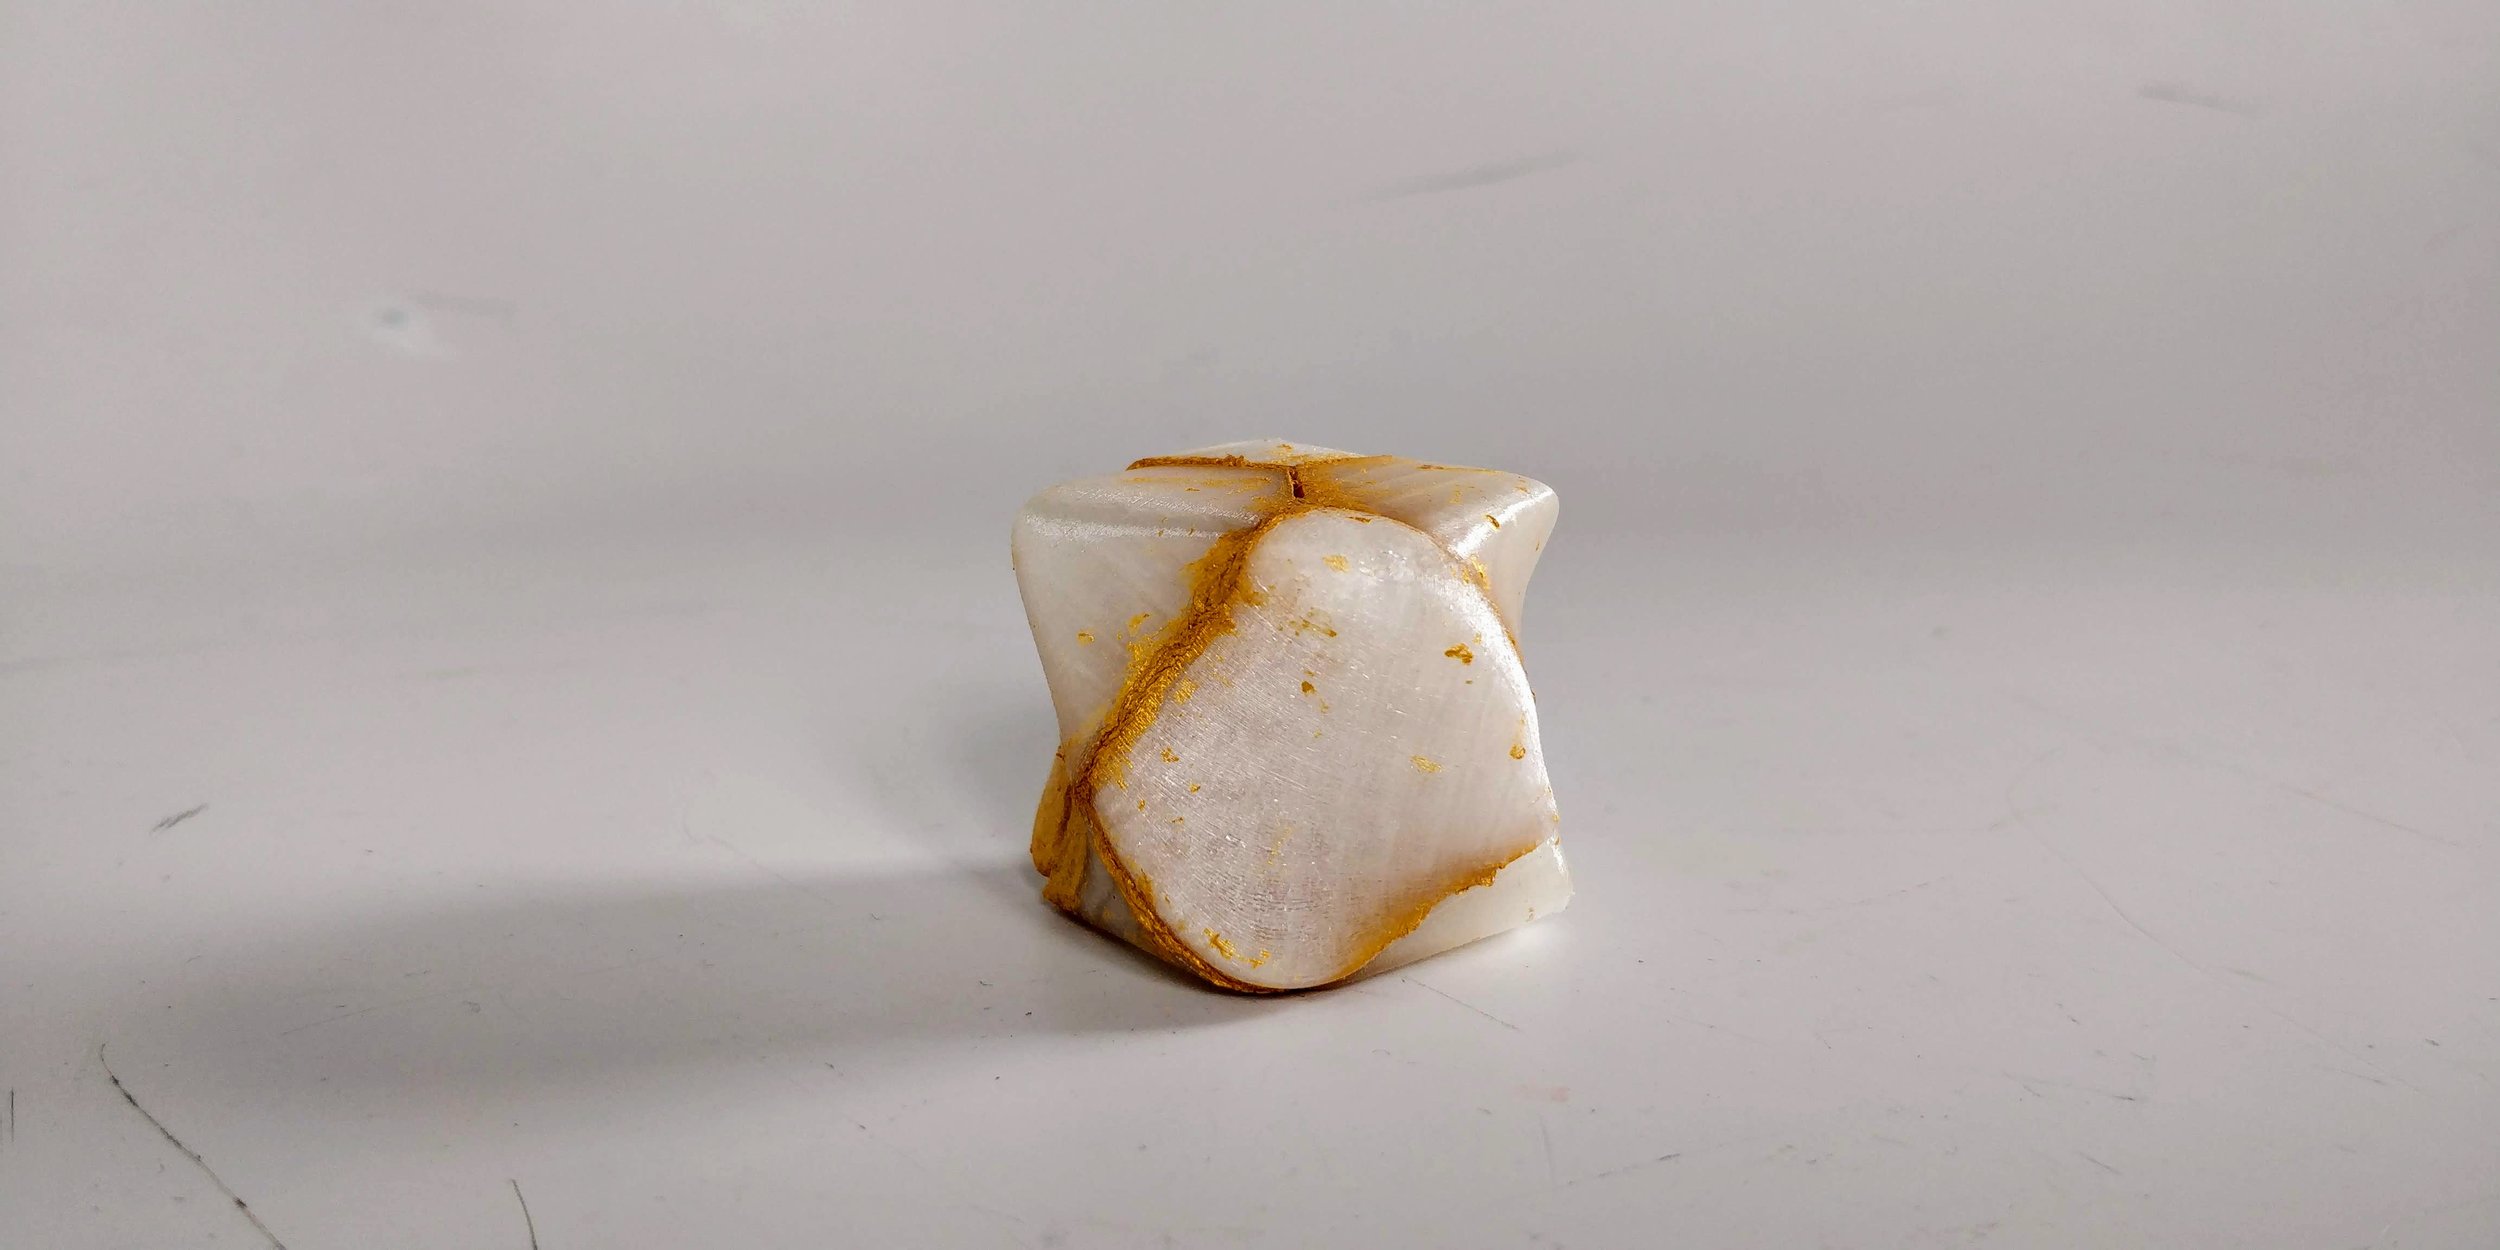
I was more concerned about testing whether the 3d printed parts will come together well rather than doing a clean job so I ended up getting gold glue all over the place (including my new black pants) but it worked out (!) and I made my first digital Kintsugi piece. While there’s a lot of room for finessing and refinement, I’m super excited about this new combination of traditional craft and digital fabrication, and the concept of manually repairing broken digital items.


Layered Acrylic and working with additive-subtraction(?)

Inspired by the beautiful wooden pieces we saw made of layered skateboards, I was inspired to try out techniques for adding color to material before the subtraction process, and not just as a finishing or painting step. I wanted to layer acrylic of different colors and mill the character parts out of the colorfully grading blocks.

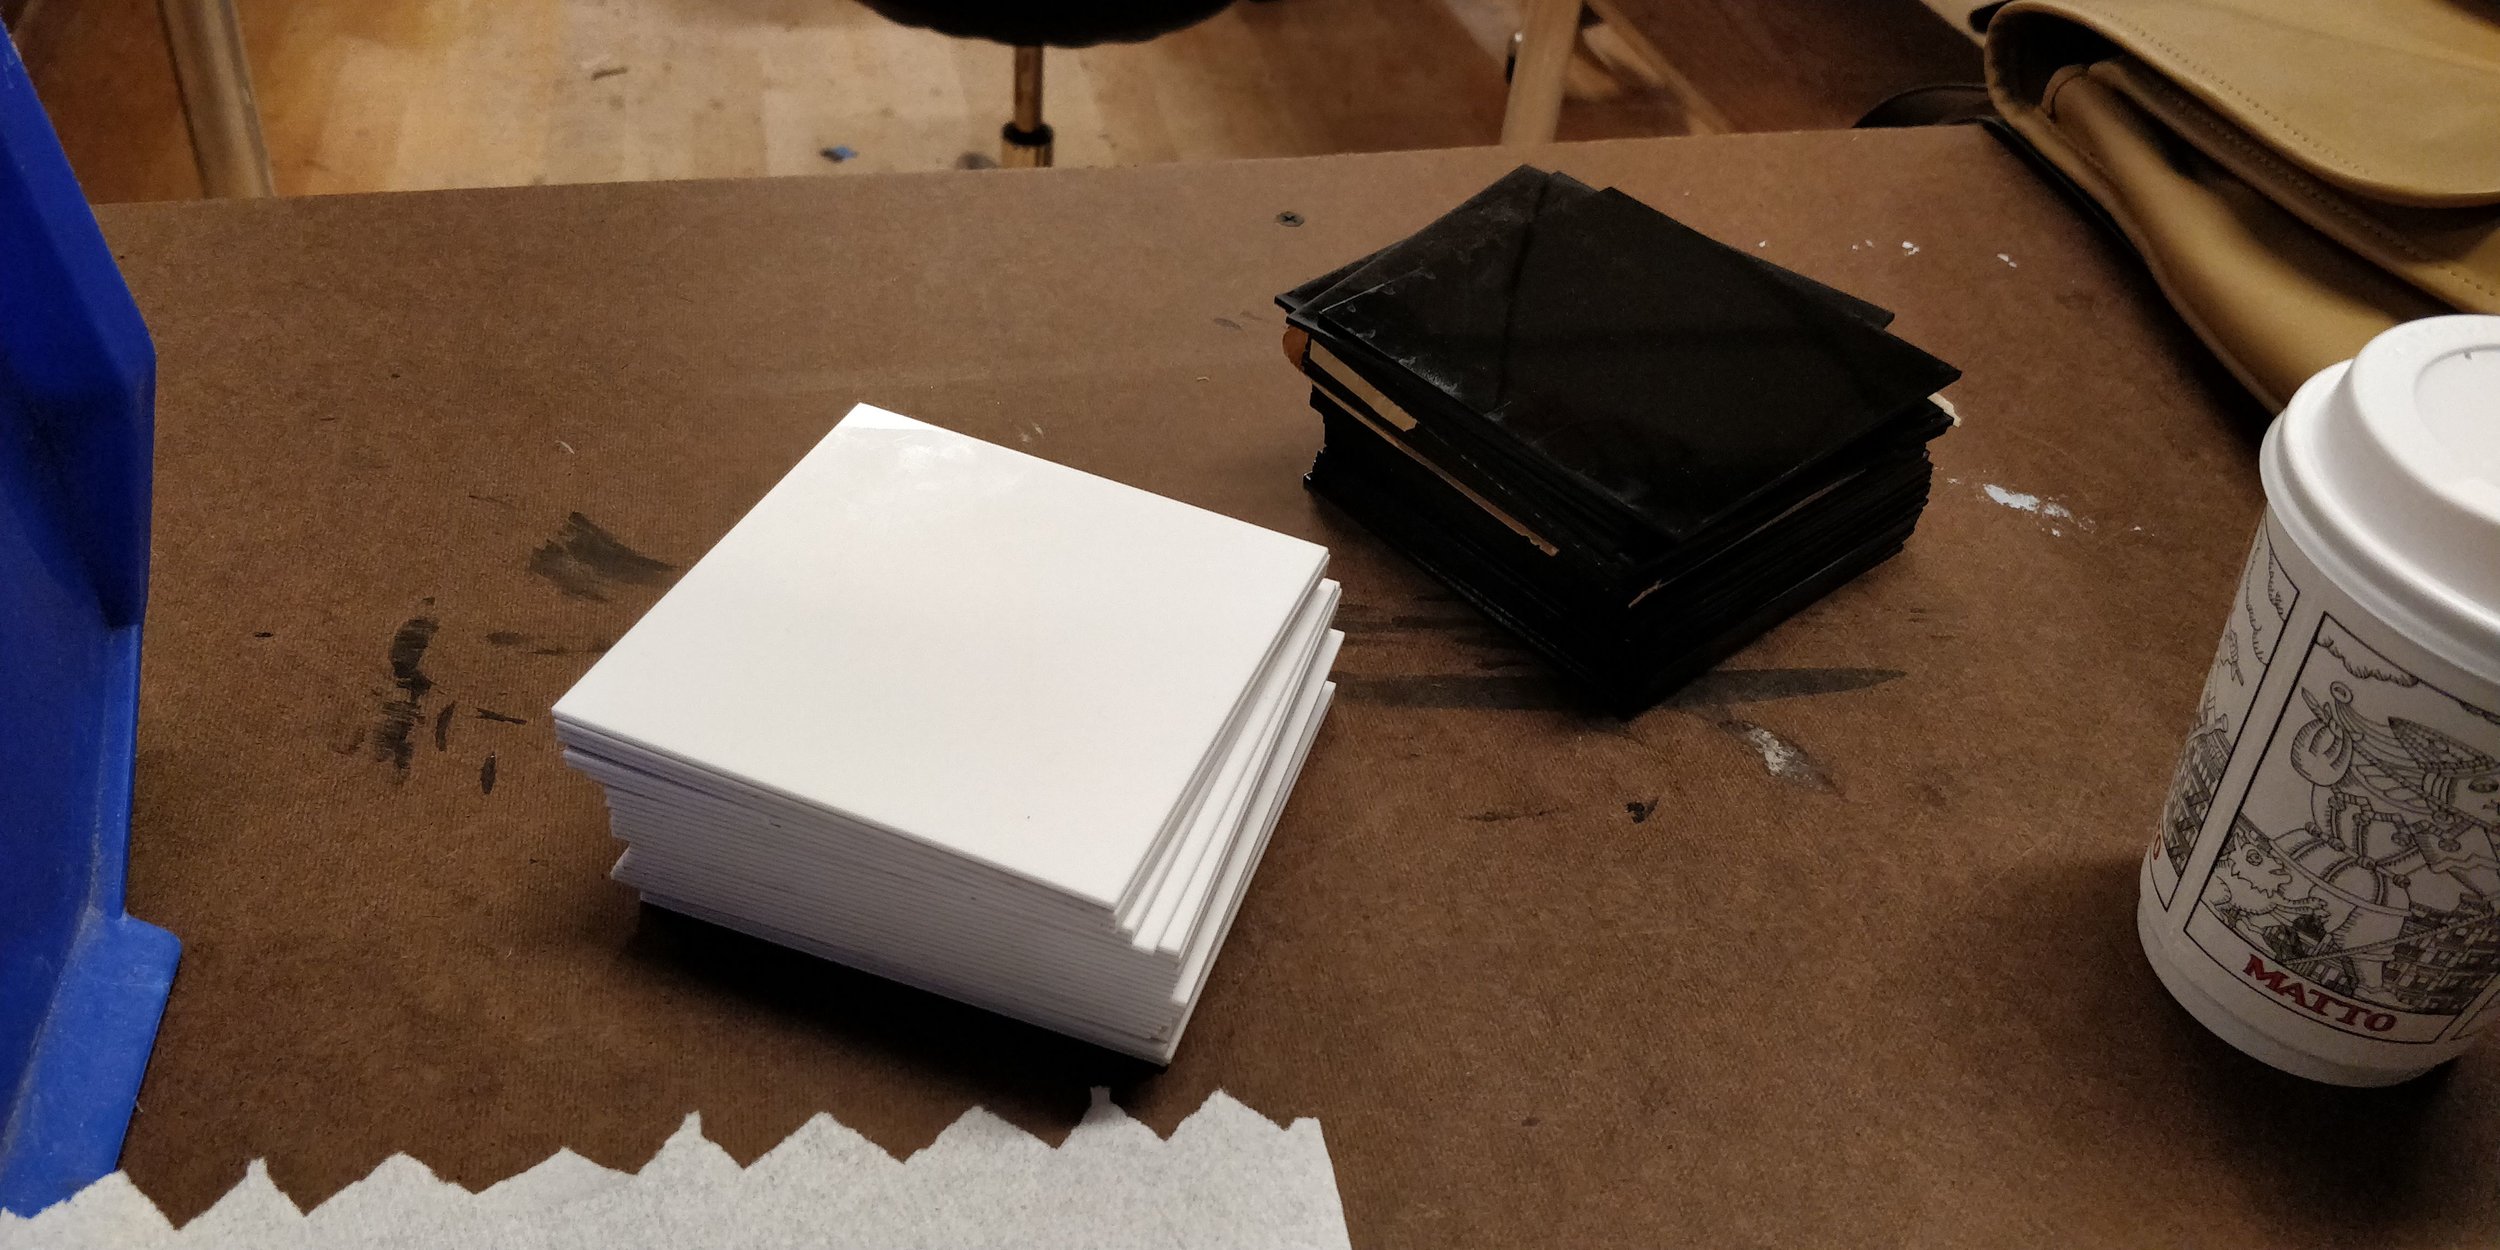
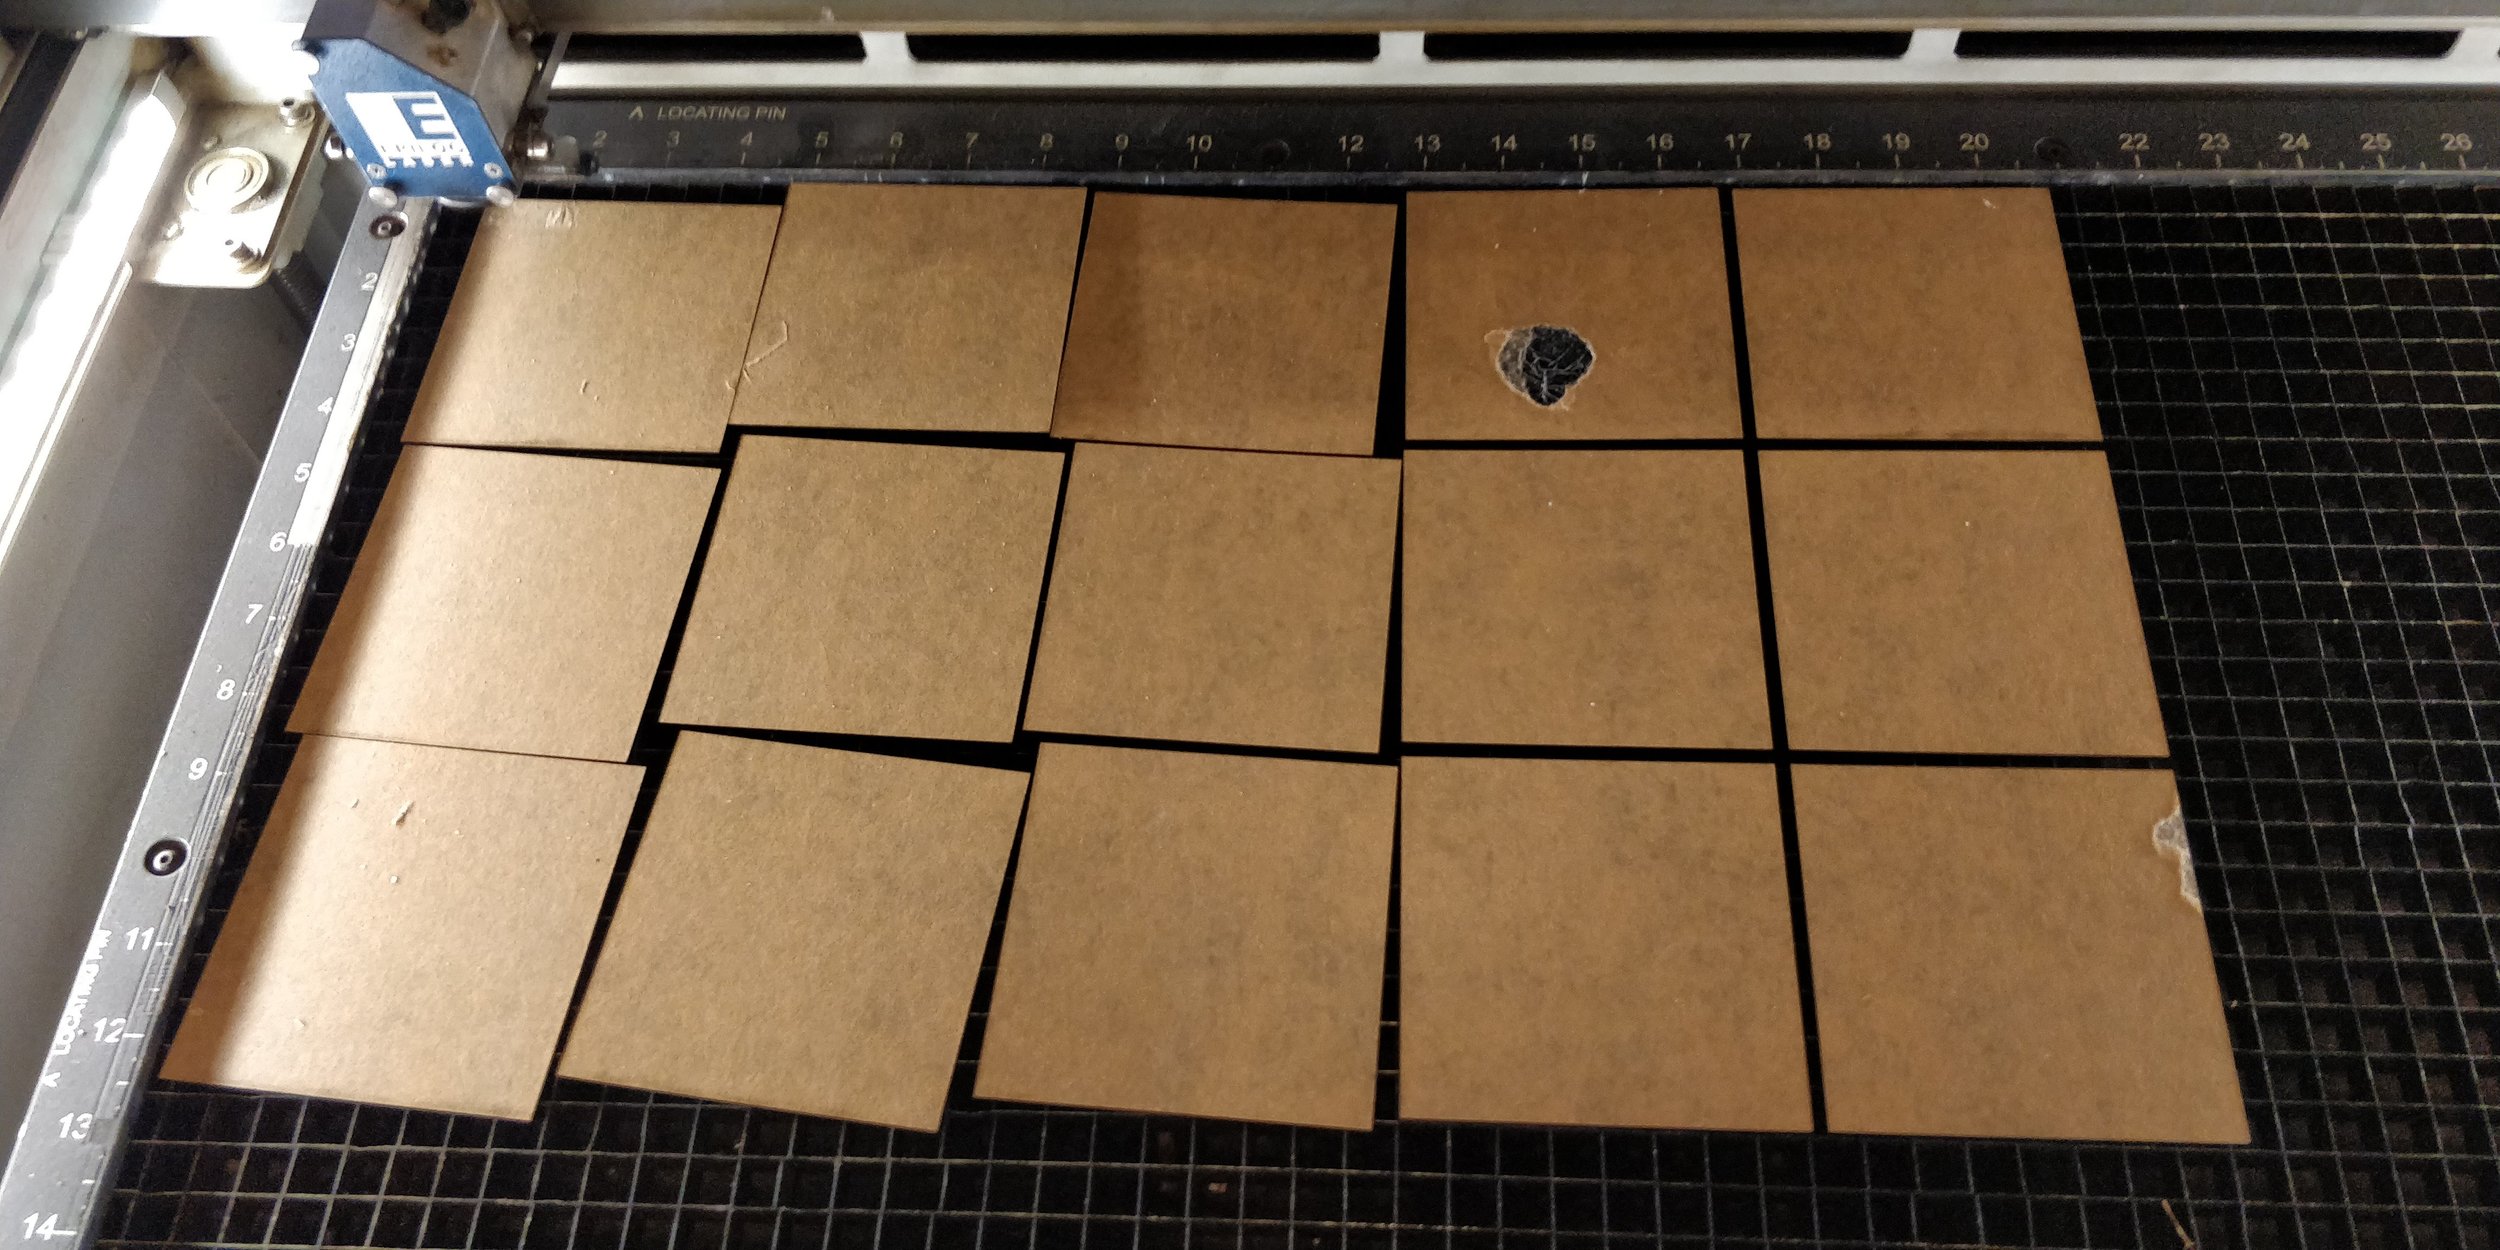
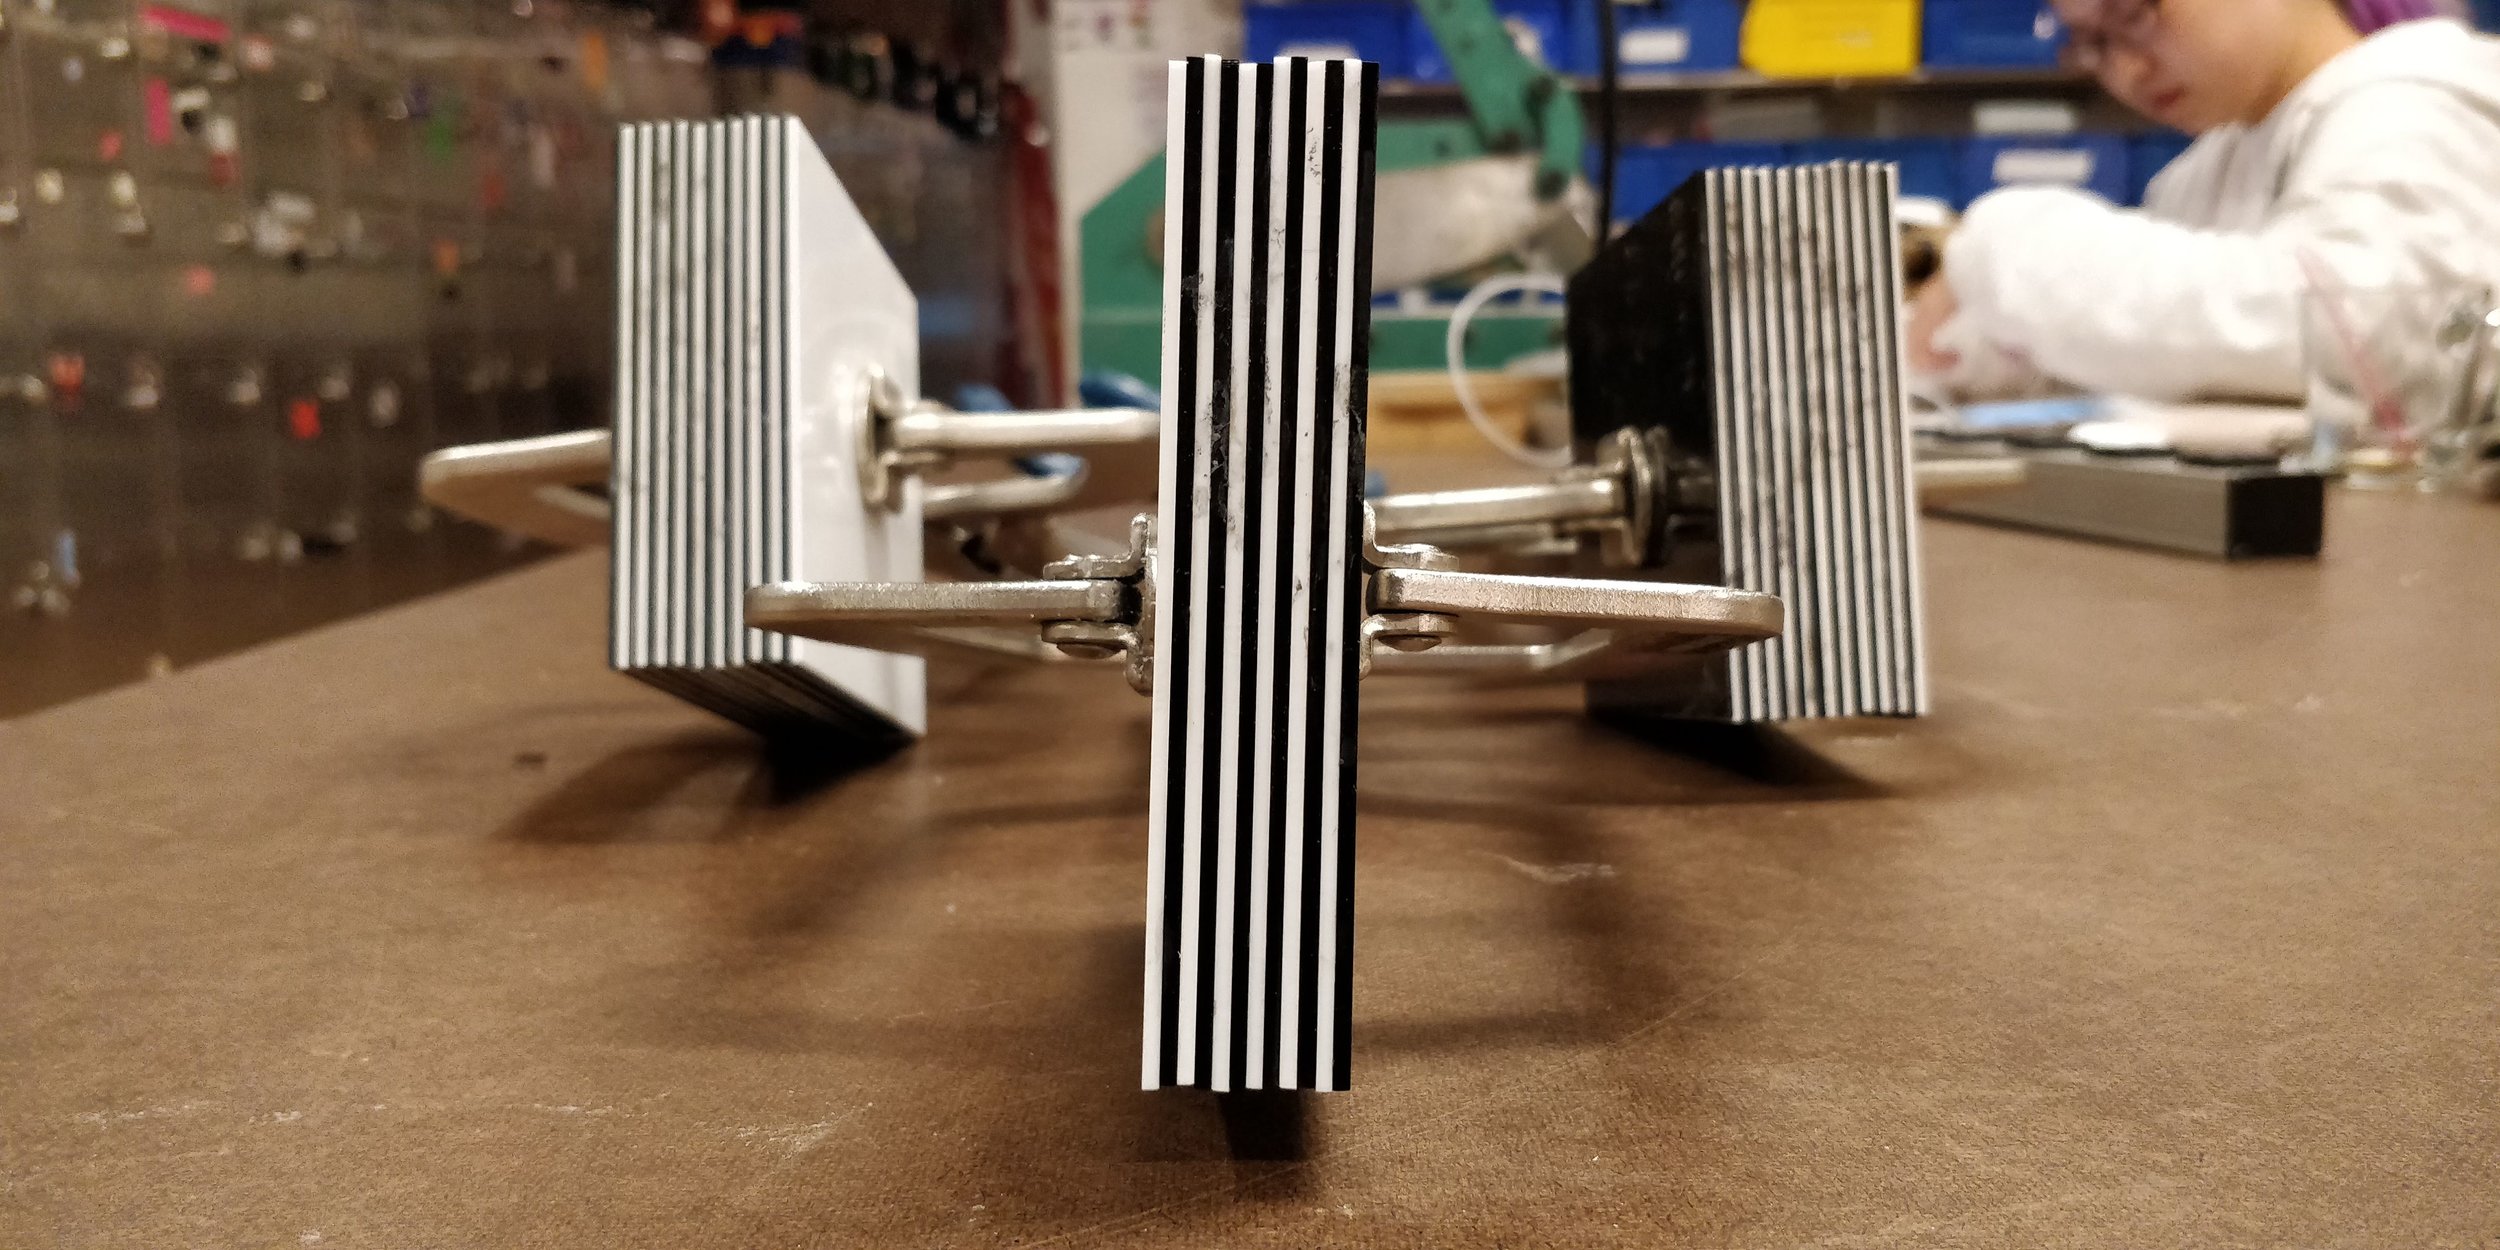
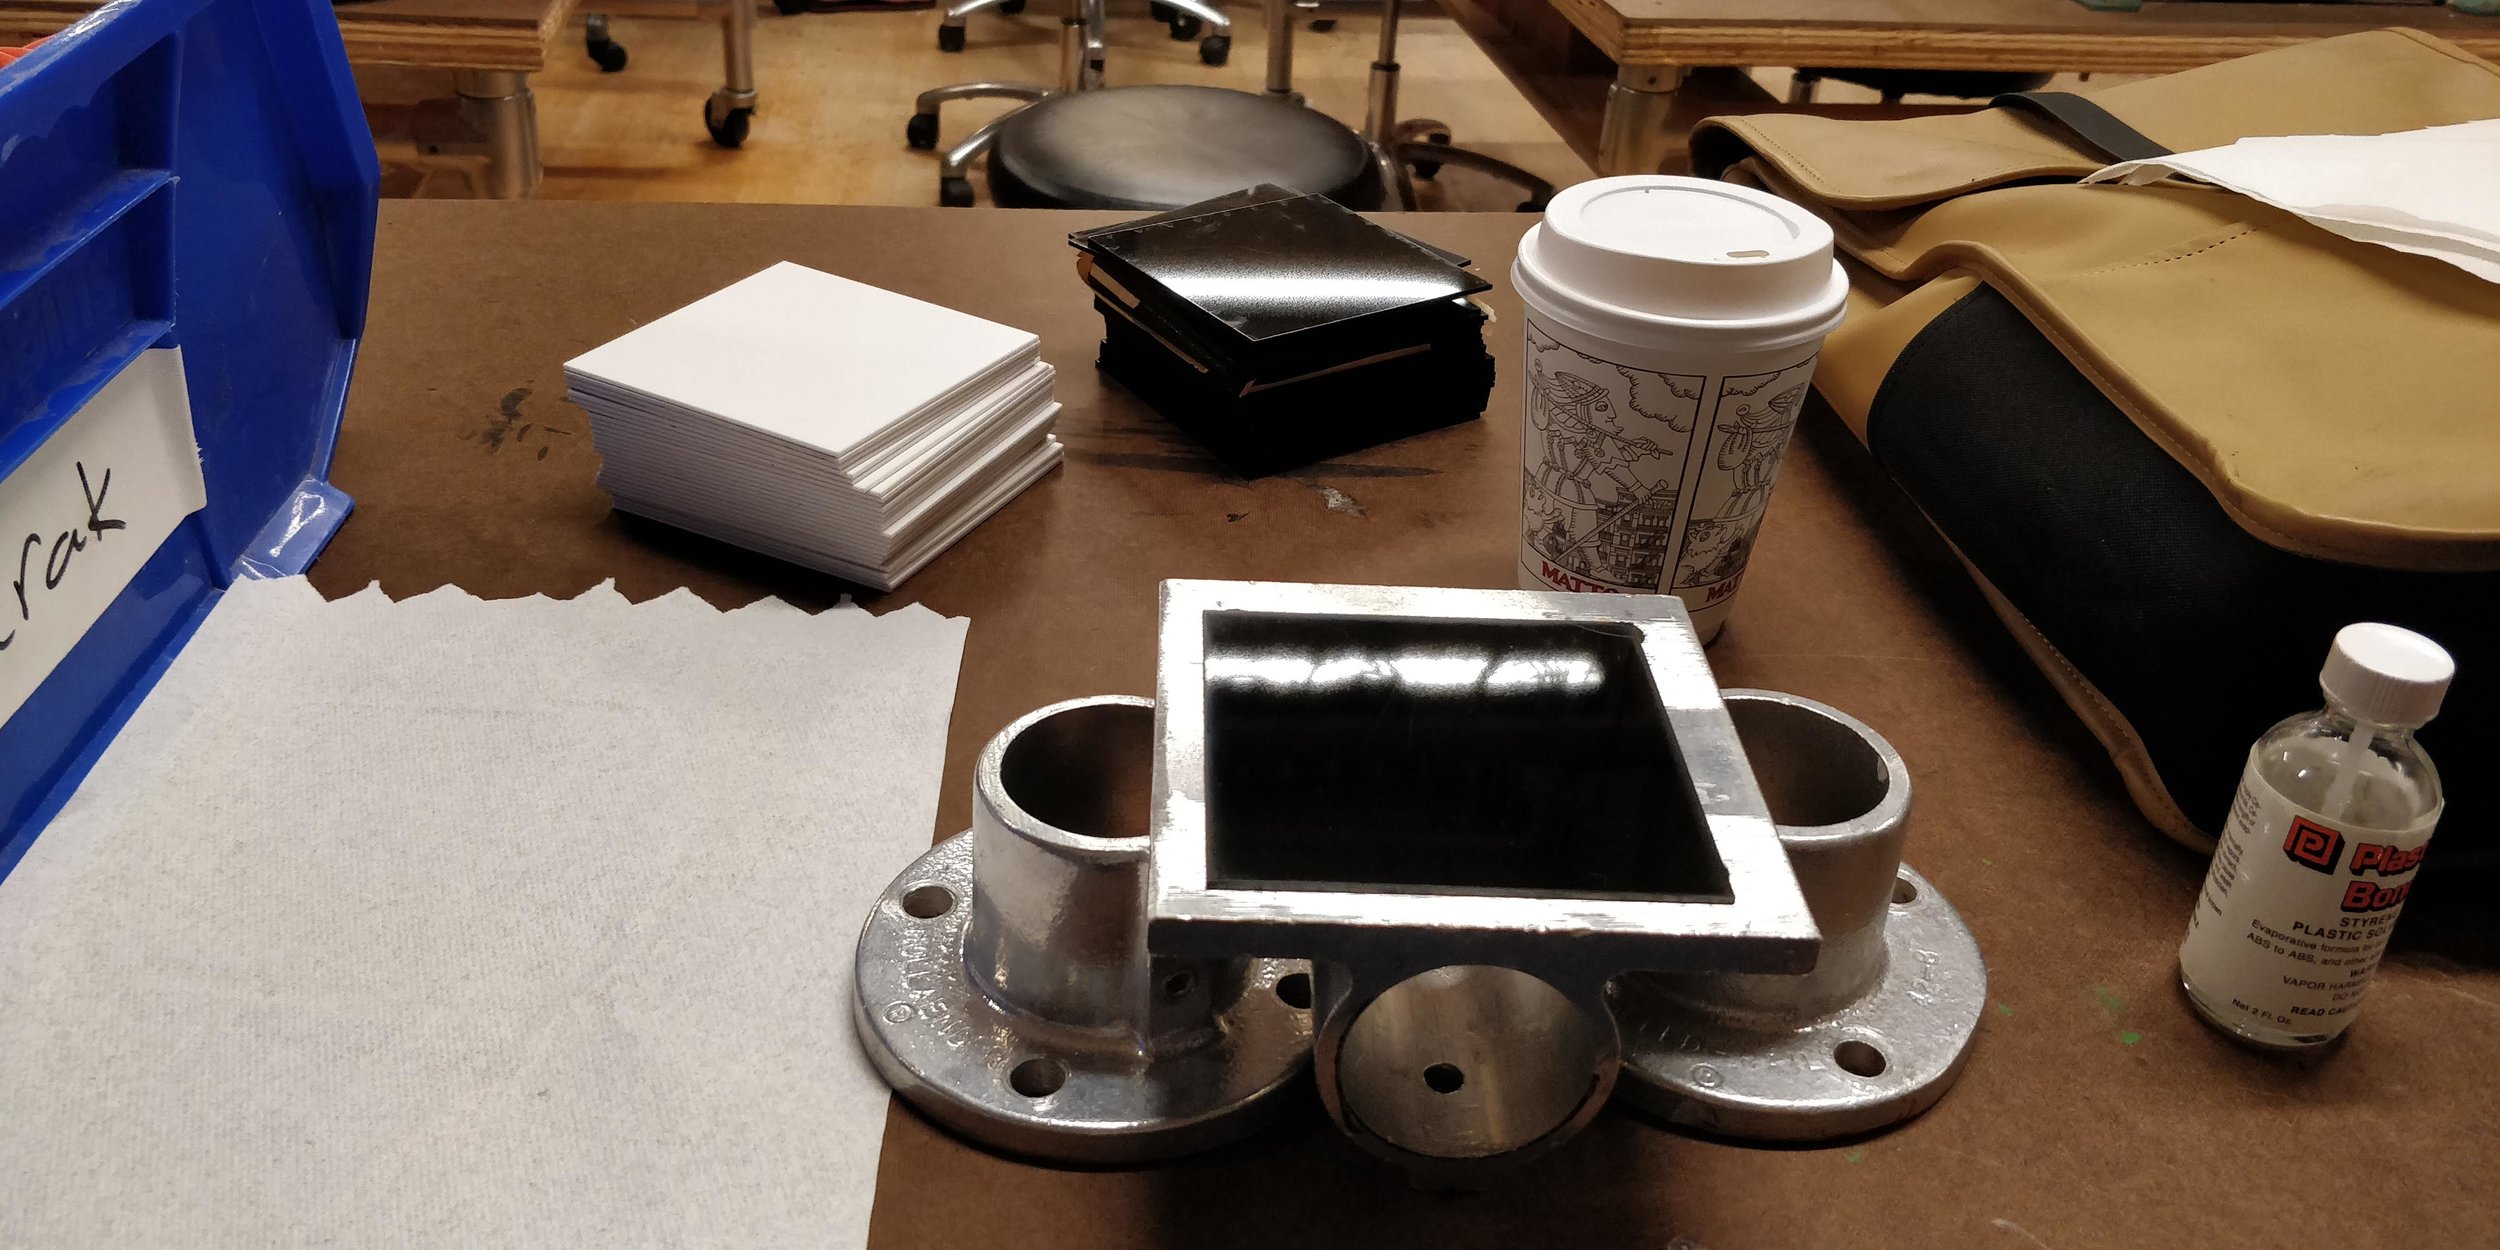
To begin with, I cut 1/16” sheets of acrylic to 4x4” squares in black and white, then applied acrylic adhesive to each layer and quickly glued black and white layers in sequence. I made a total of 3 blocks, 2 tall and one short and clamped them to dry over night. The next morning, I released the blocks and all the knocking sounds and looseness in the material disappeared - it felt like a solid chunk of acrylic.

Unfortunately, I didn’t get my Other Mill bits in time so I couldn’t proceed with the milling, but I learned some cool modeling techniques in Fusion 360, and how to use the CAM module that comes with it. More on this front next week!


Side quest - Other Mill fans

Finally, in preparation for milling the acrylic, I stumbled upon a blog post on Bantam Tools’ website, showing how to make small 3d printed fans that can be mounted on the router bits of an Other Mill, these fans can clear out milled material and make for a cleaner process and smoother finished product. I made a few right away and stashed them until I actually know how to use the Other Mill.

IMG_20180923_190119.jpg

VR Character design experiments

I’ve been experimenting with different approaches to character design, from more abstract form to kit bashing and procedural modeling to create different poses, convert different emotions and make characters that are highly stylized but are still relatable.

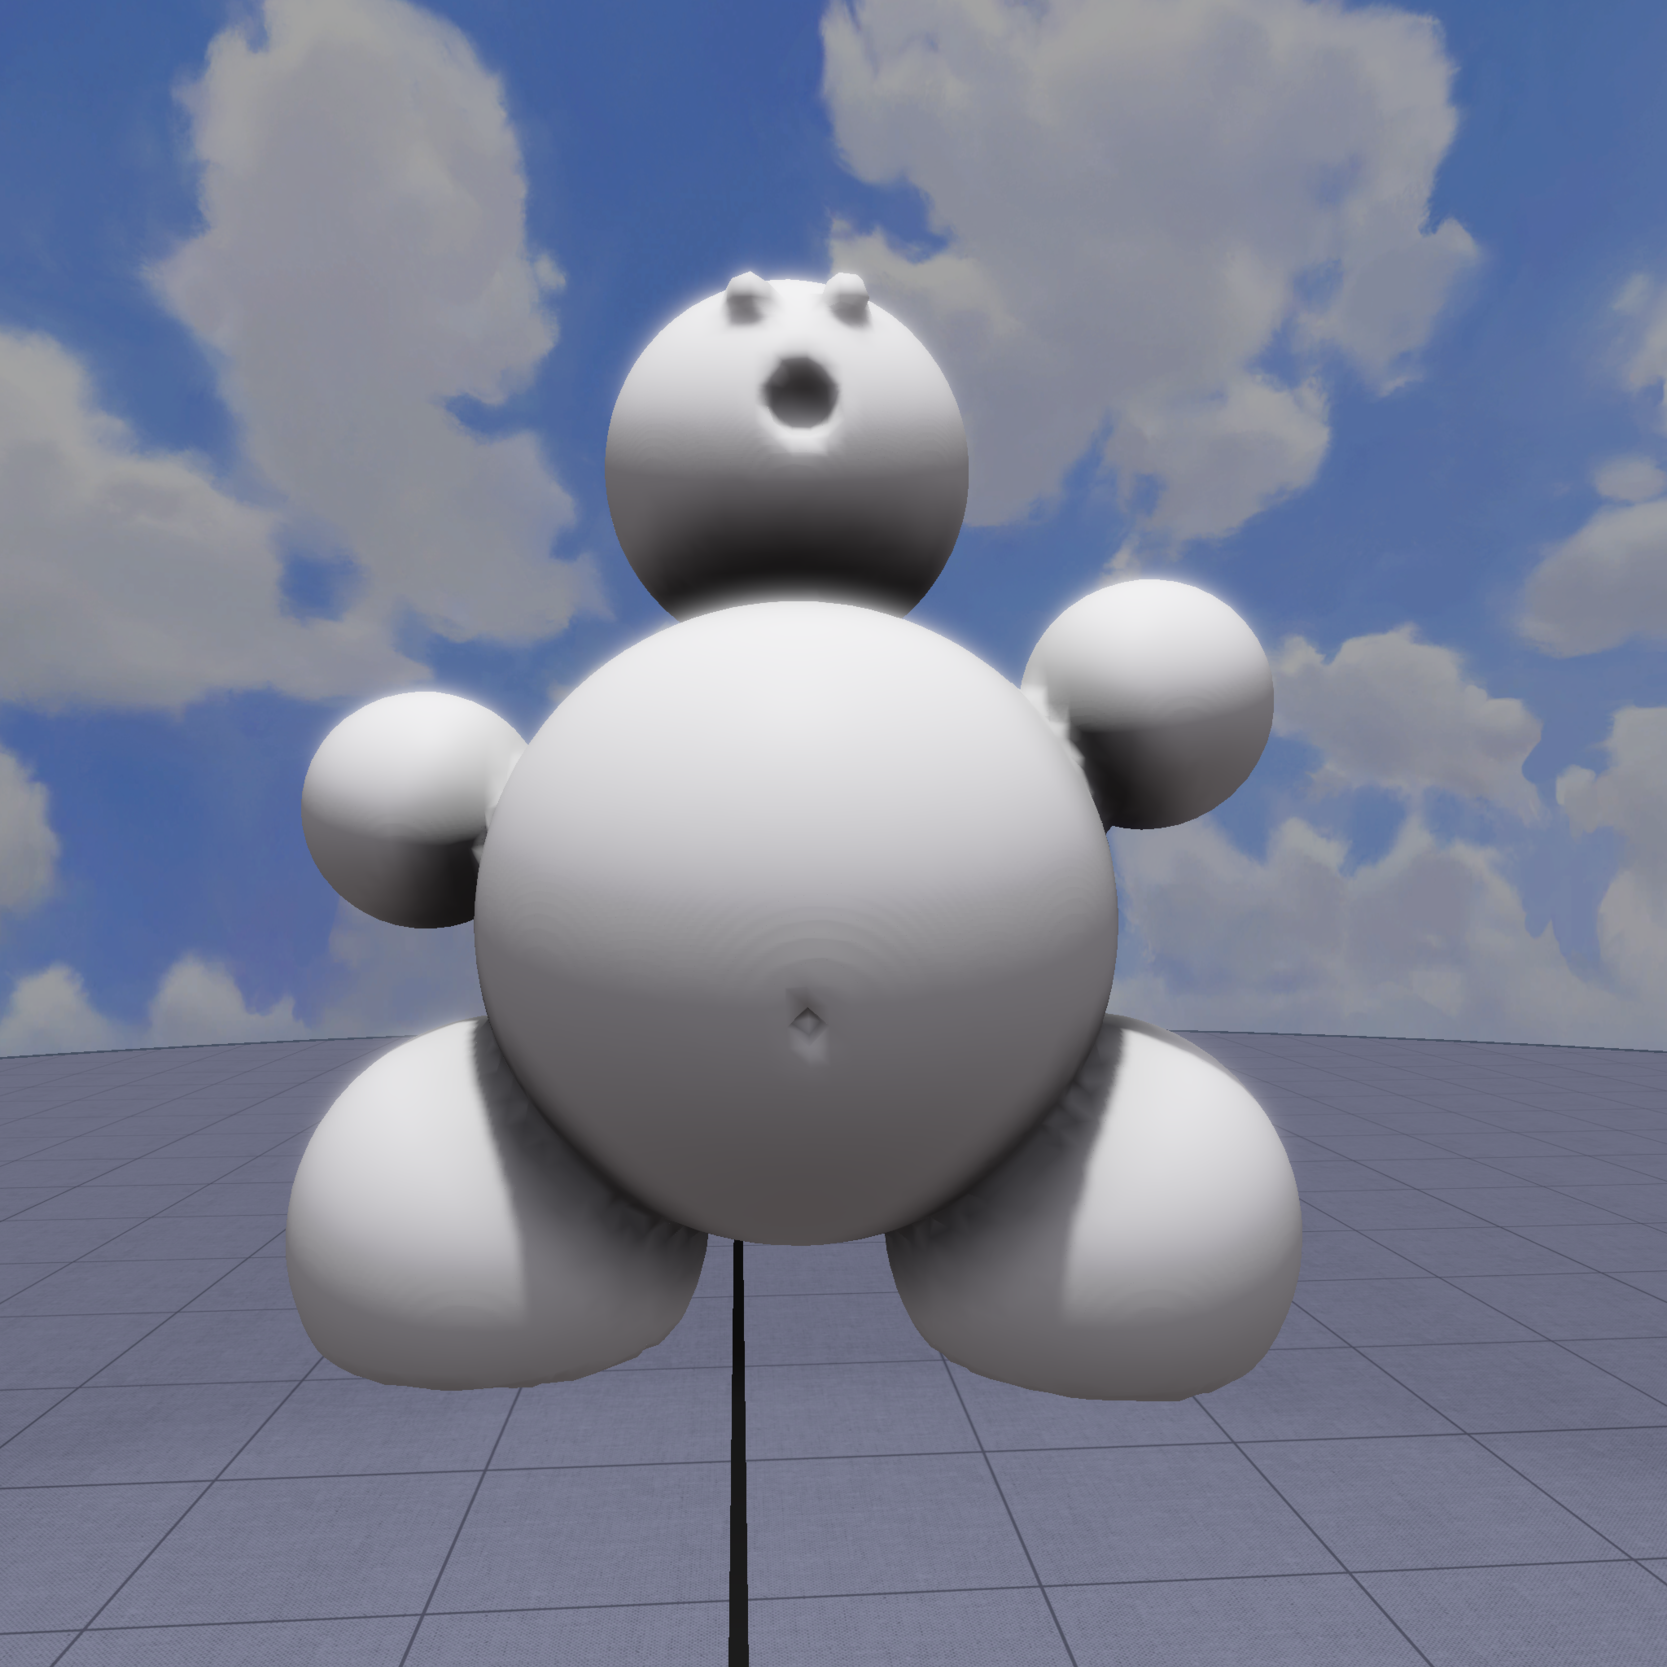
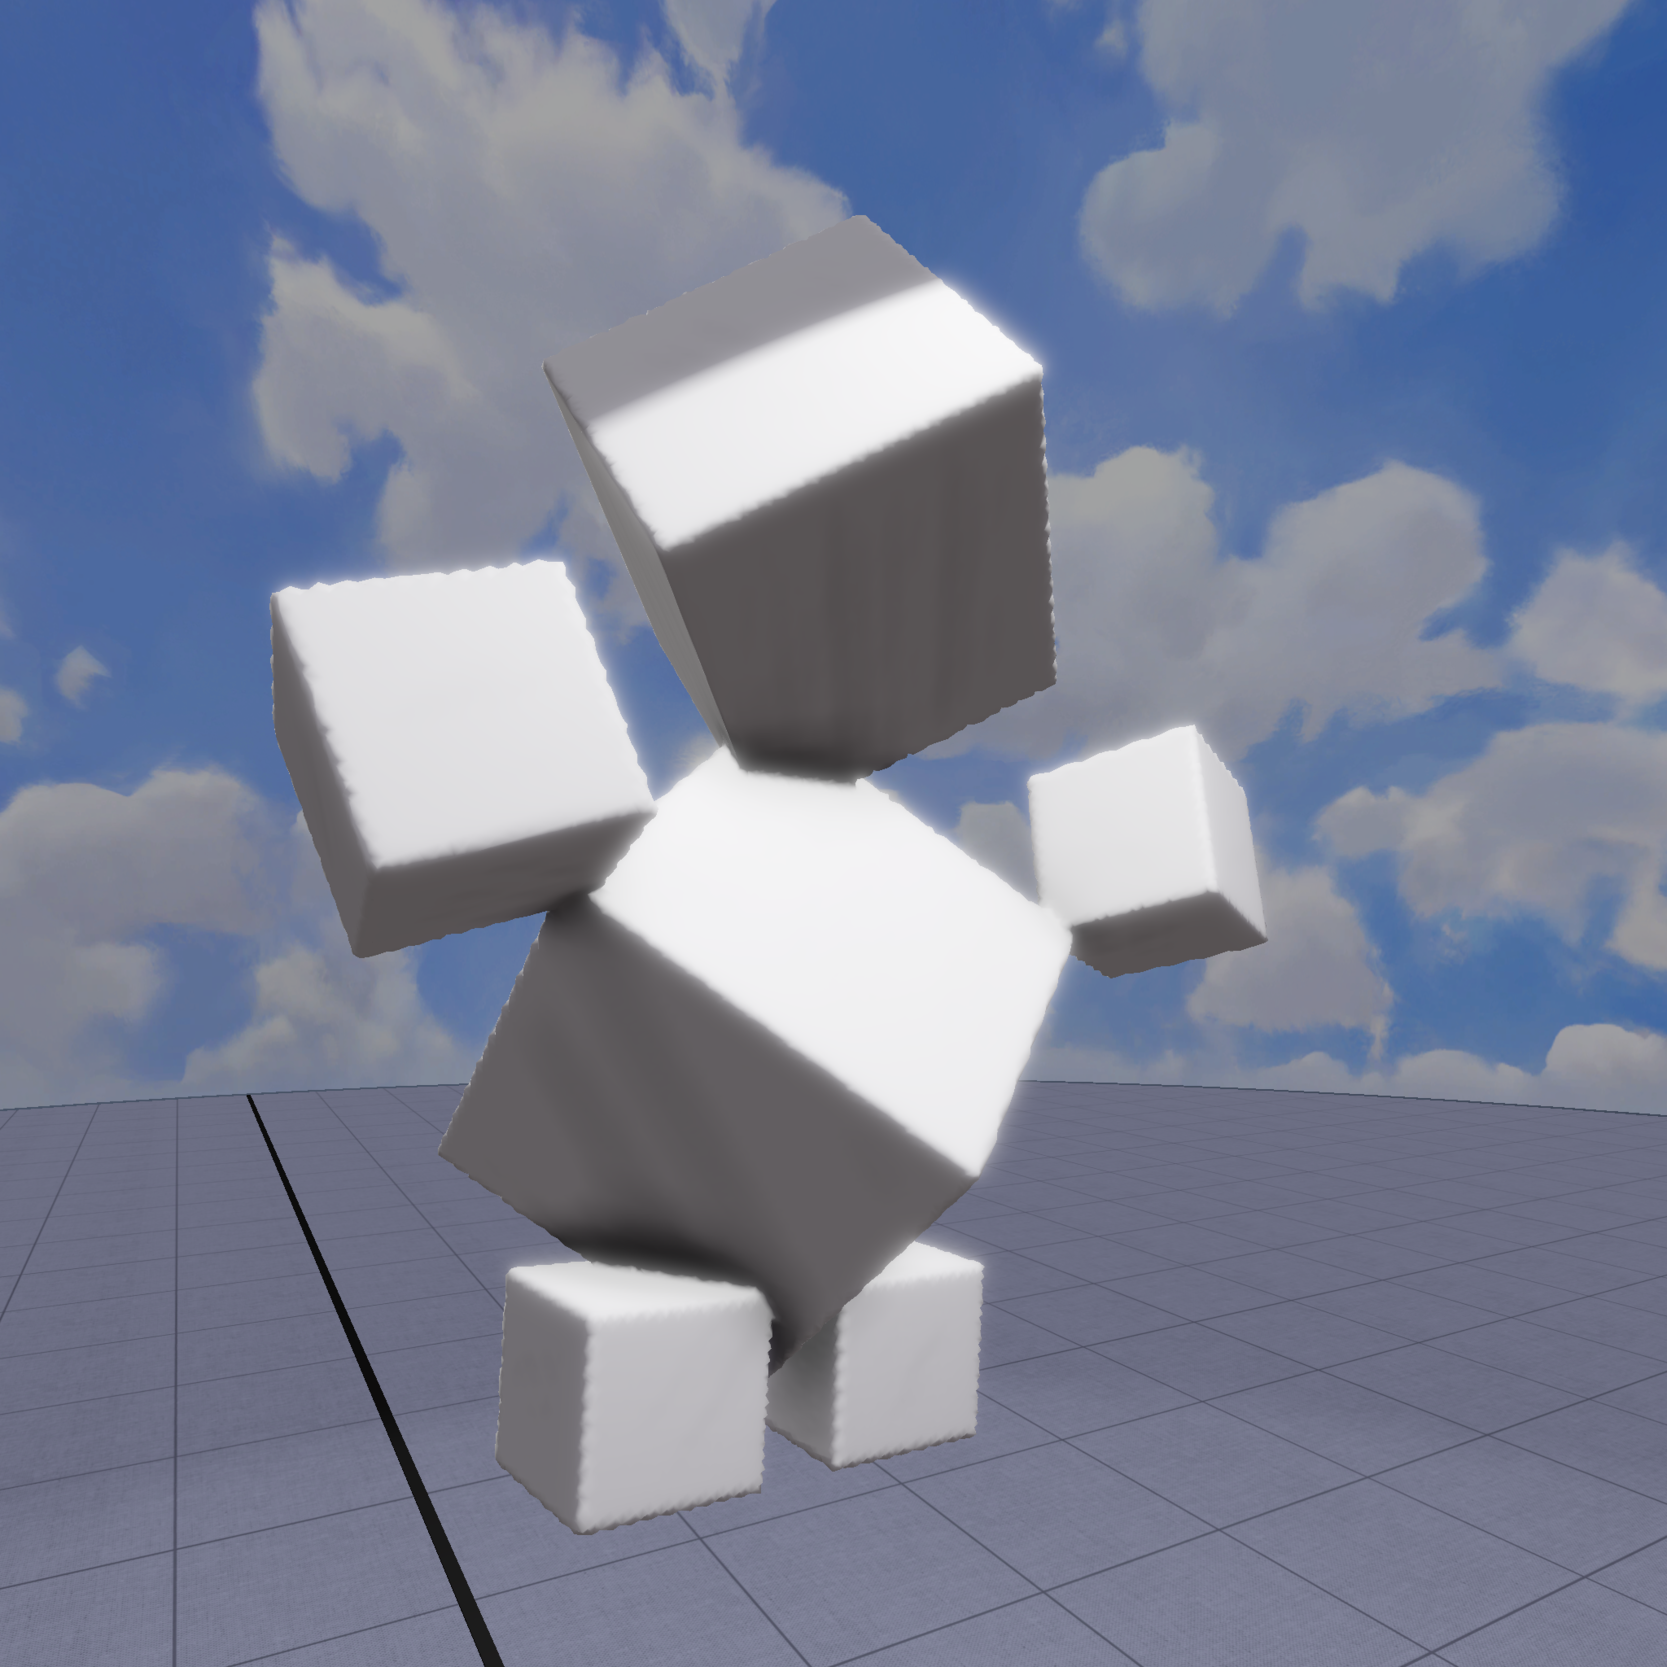
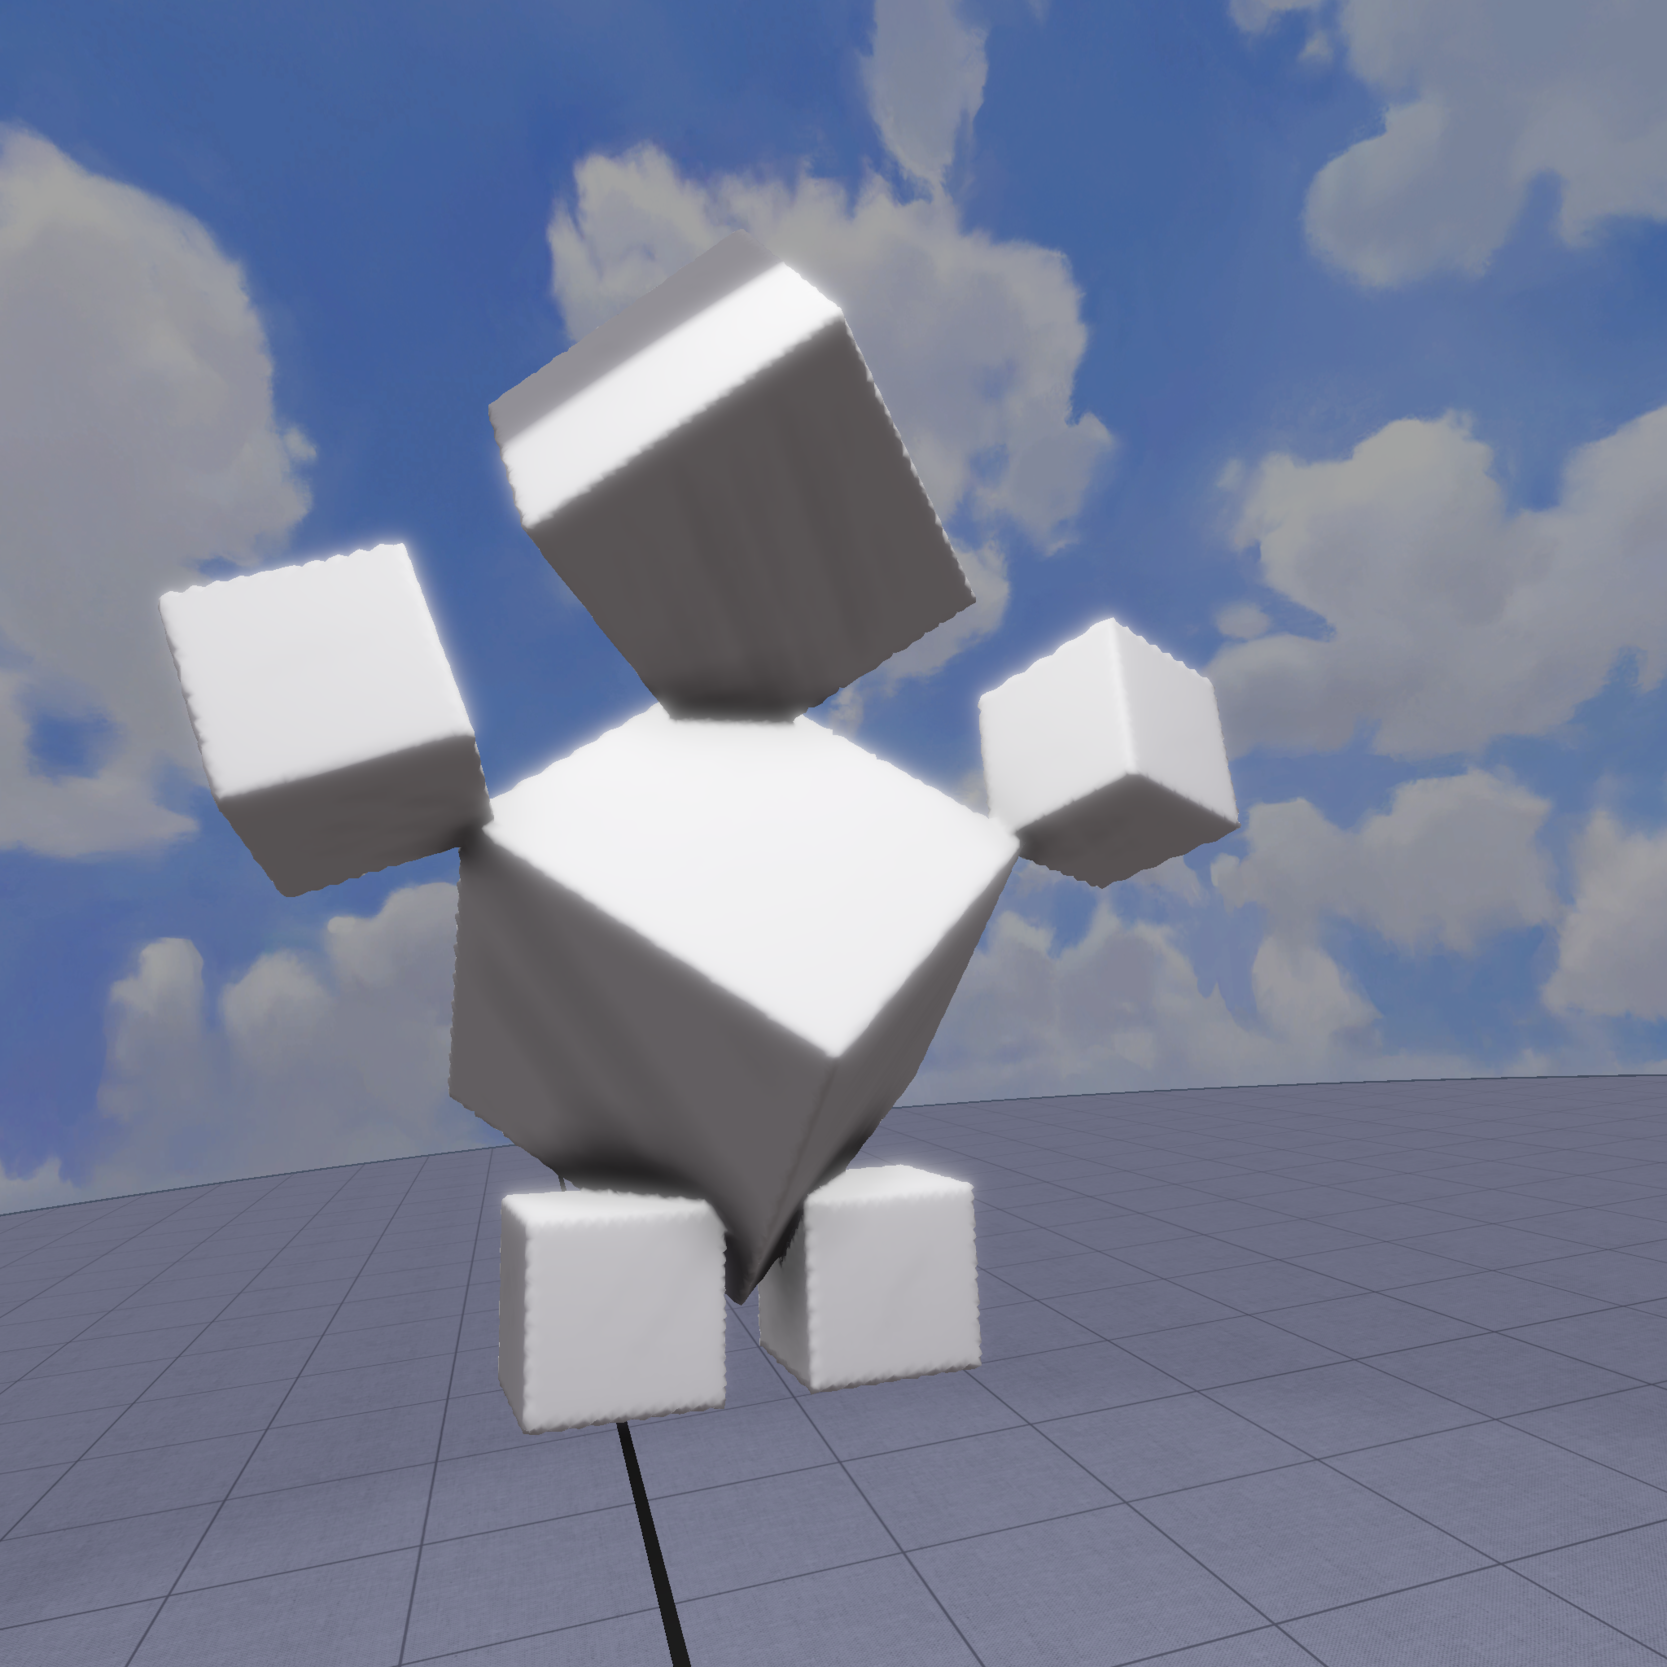
I used Oculus’ Medium, a VR sculpting tool, to create different forms and play around with different aspects of character design. In particular, I wanted to see if the key parameters I identified in previous weeks, namely scale and posture, are enough to create a relatable figure even before any features are painted and textures are applied.

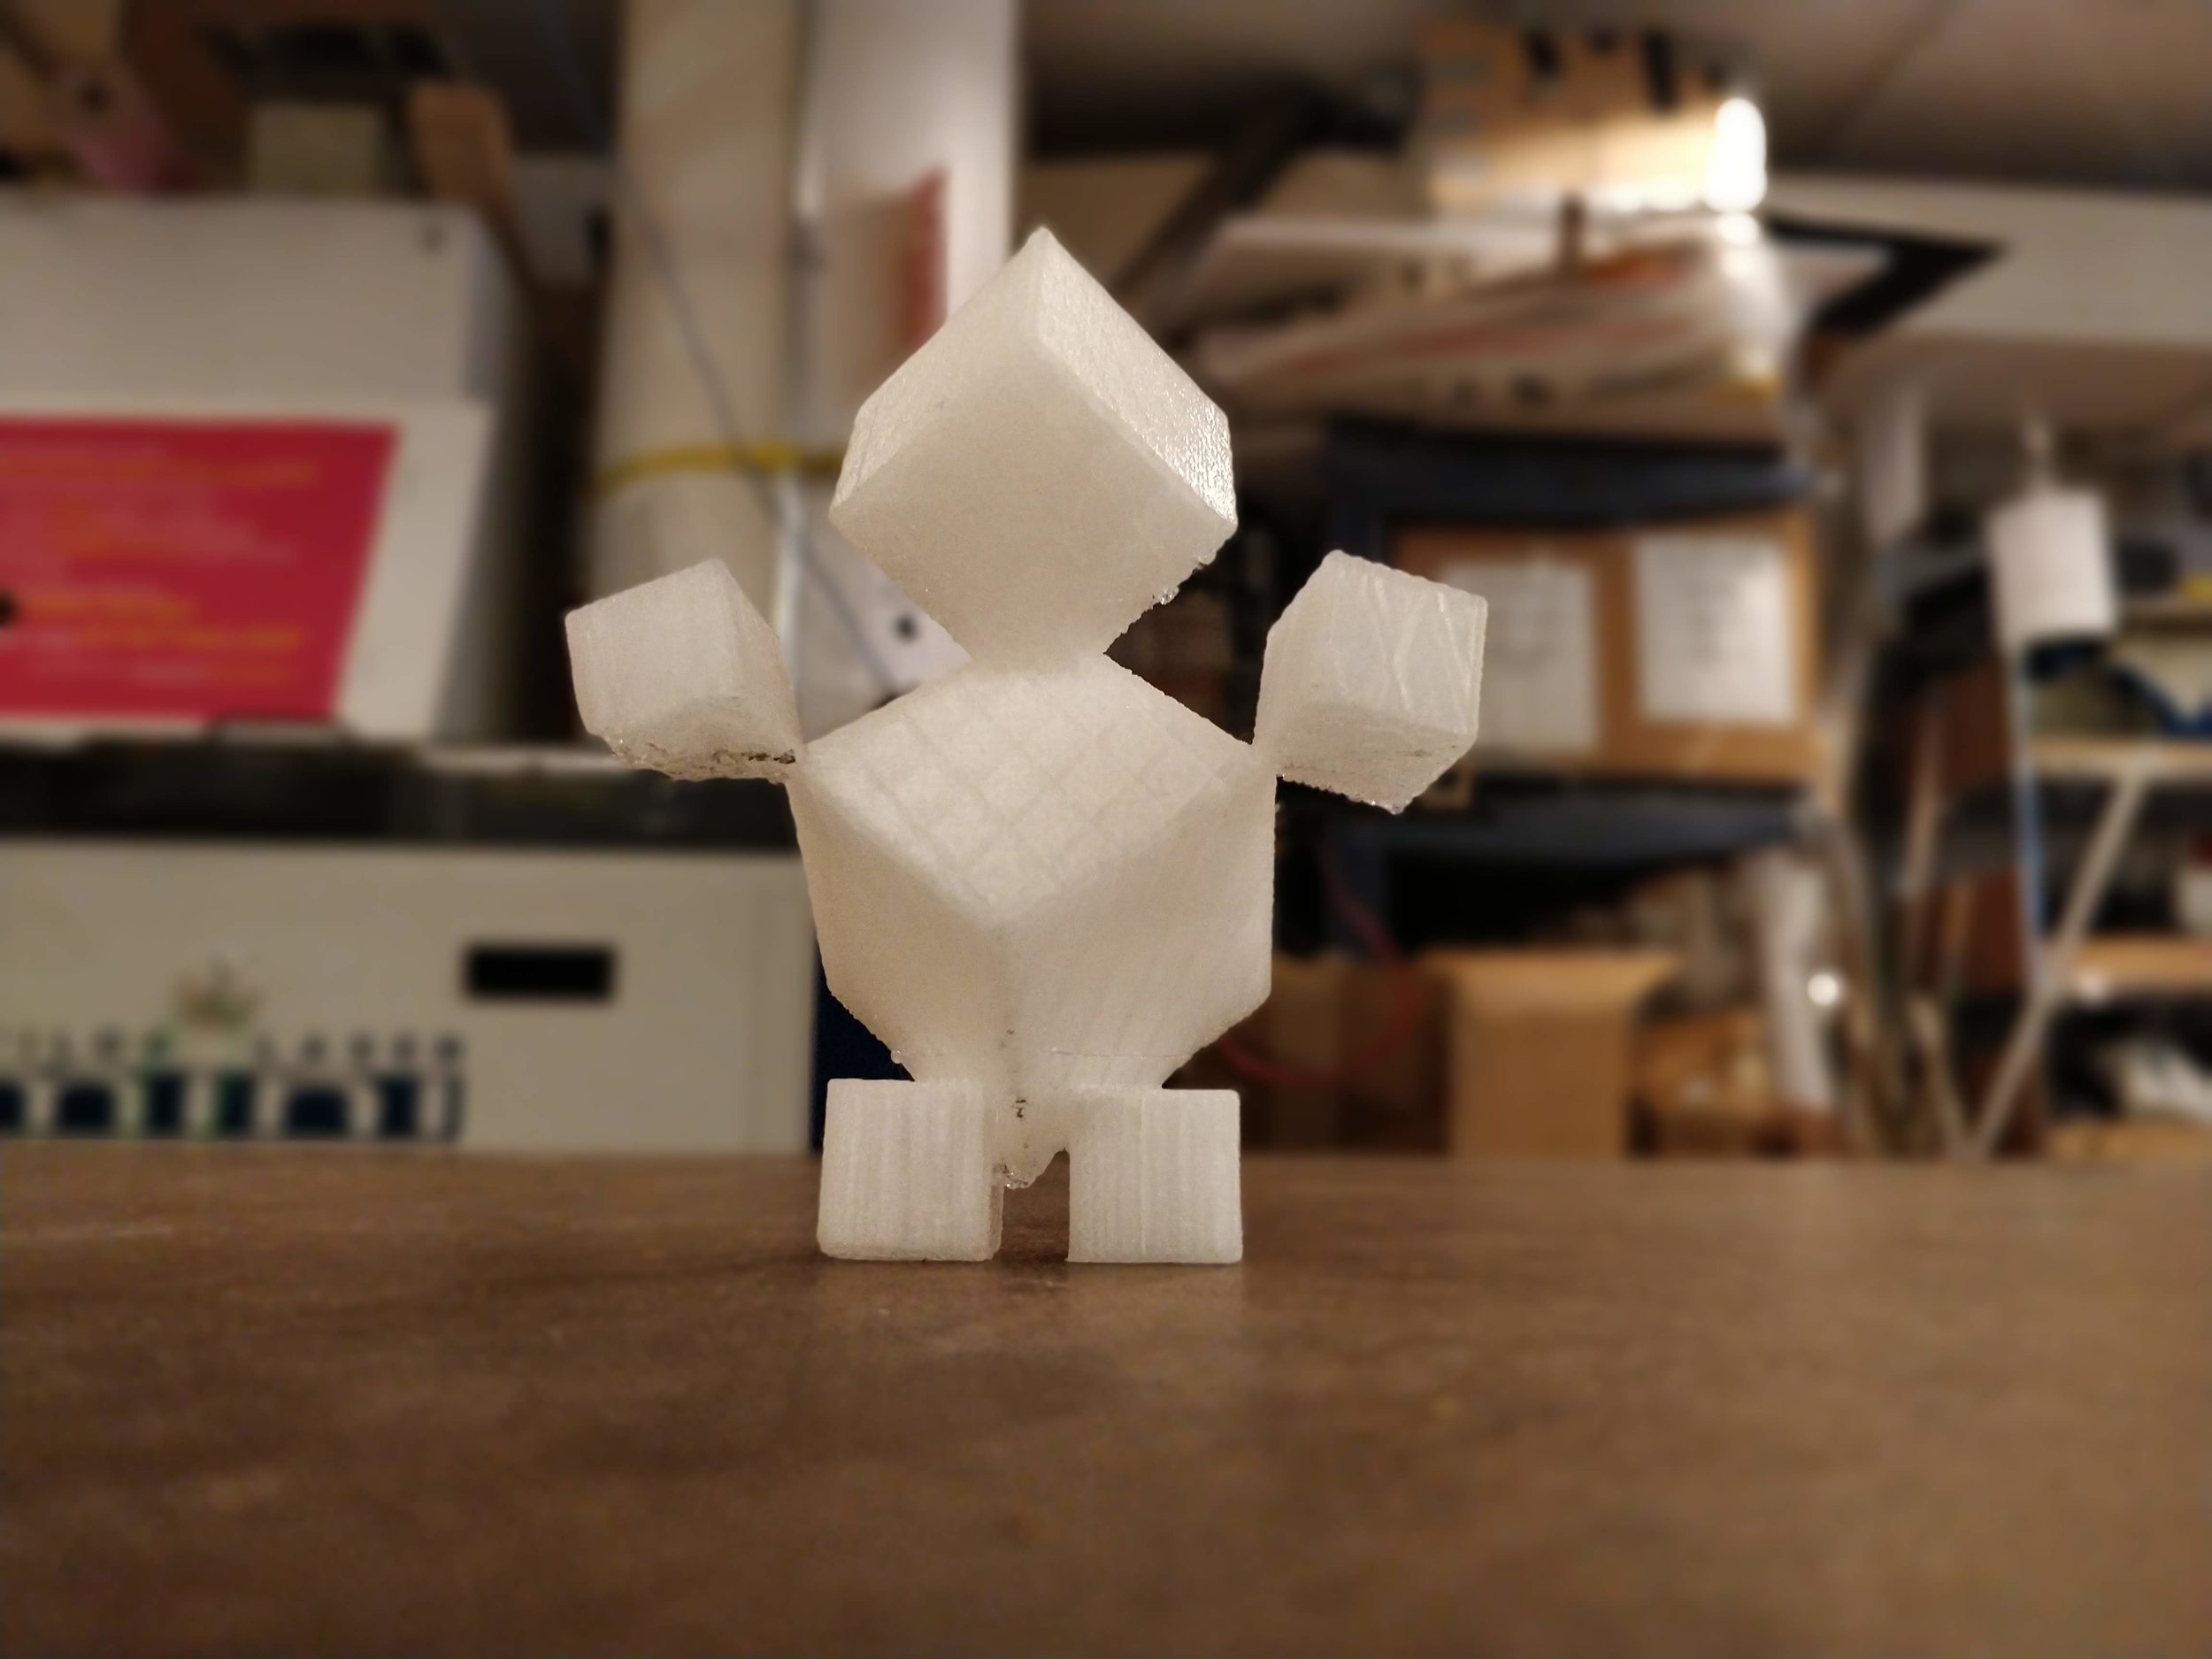
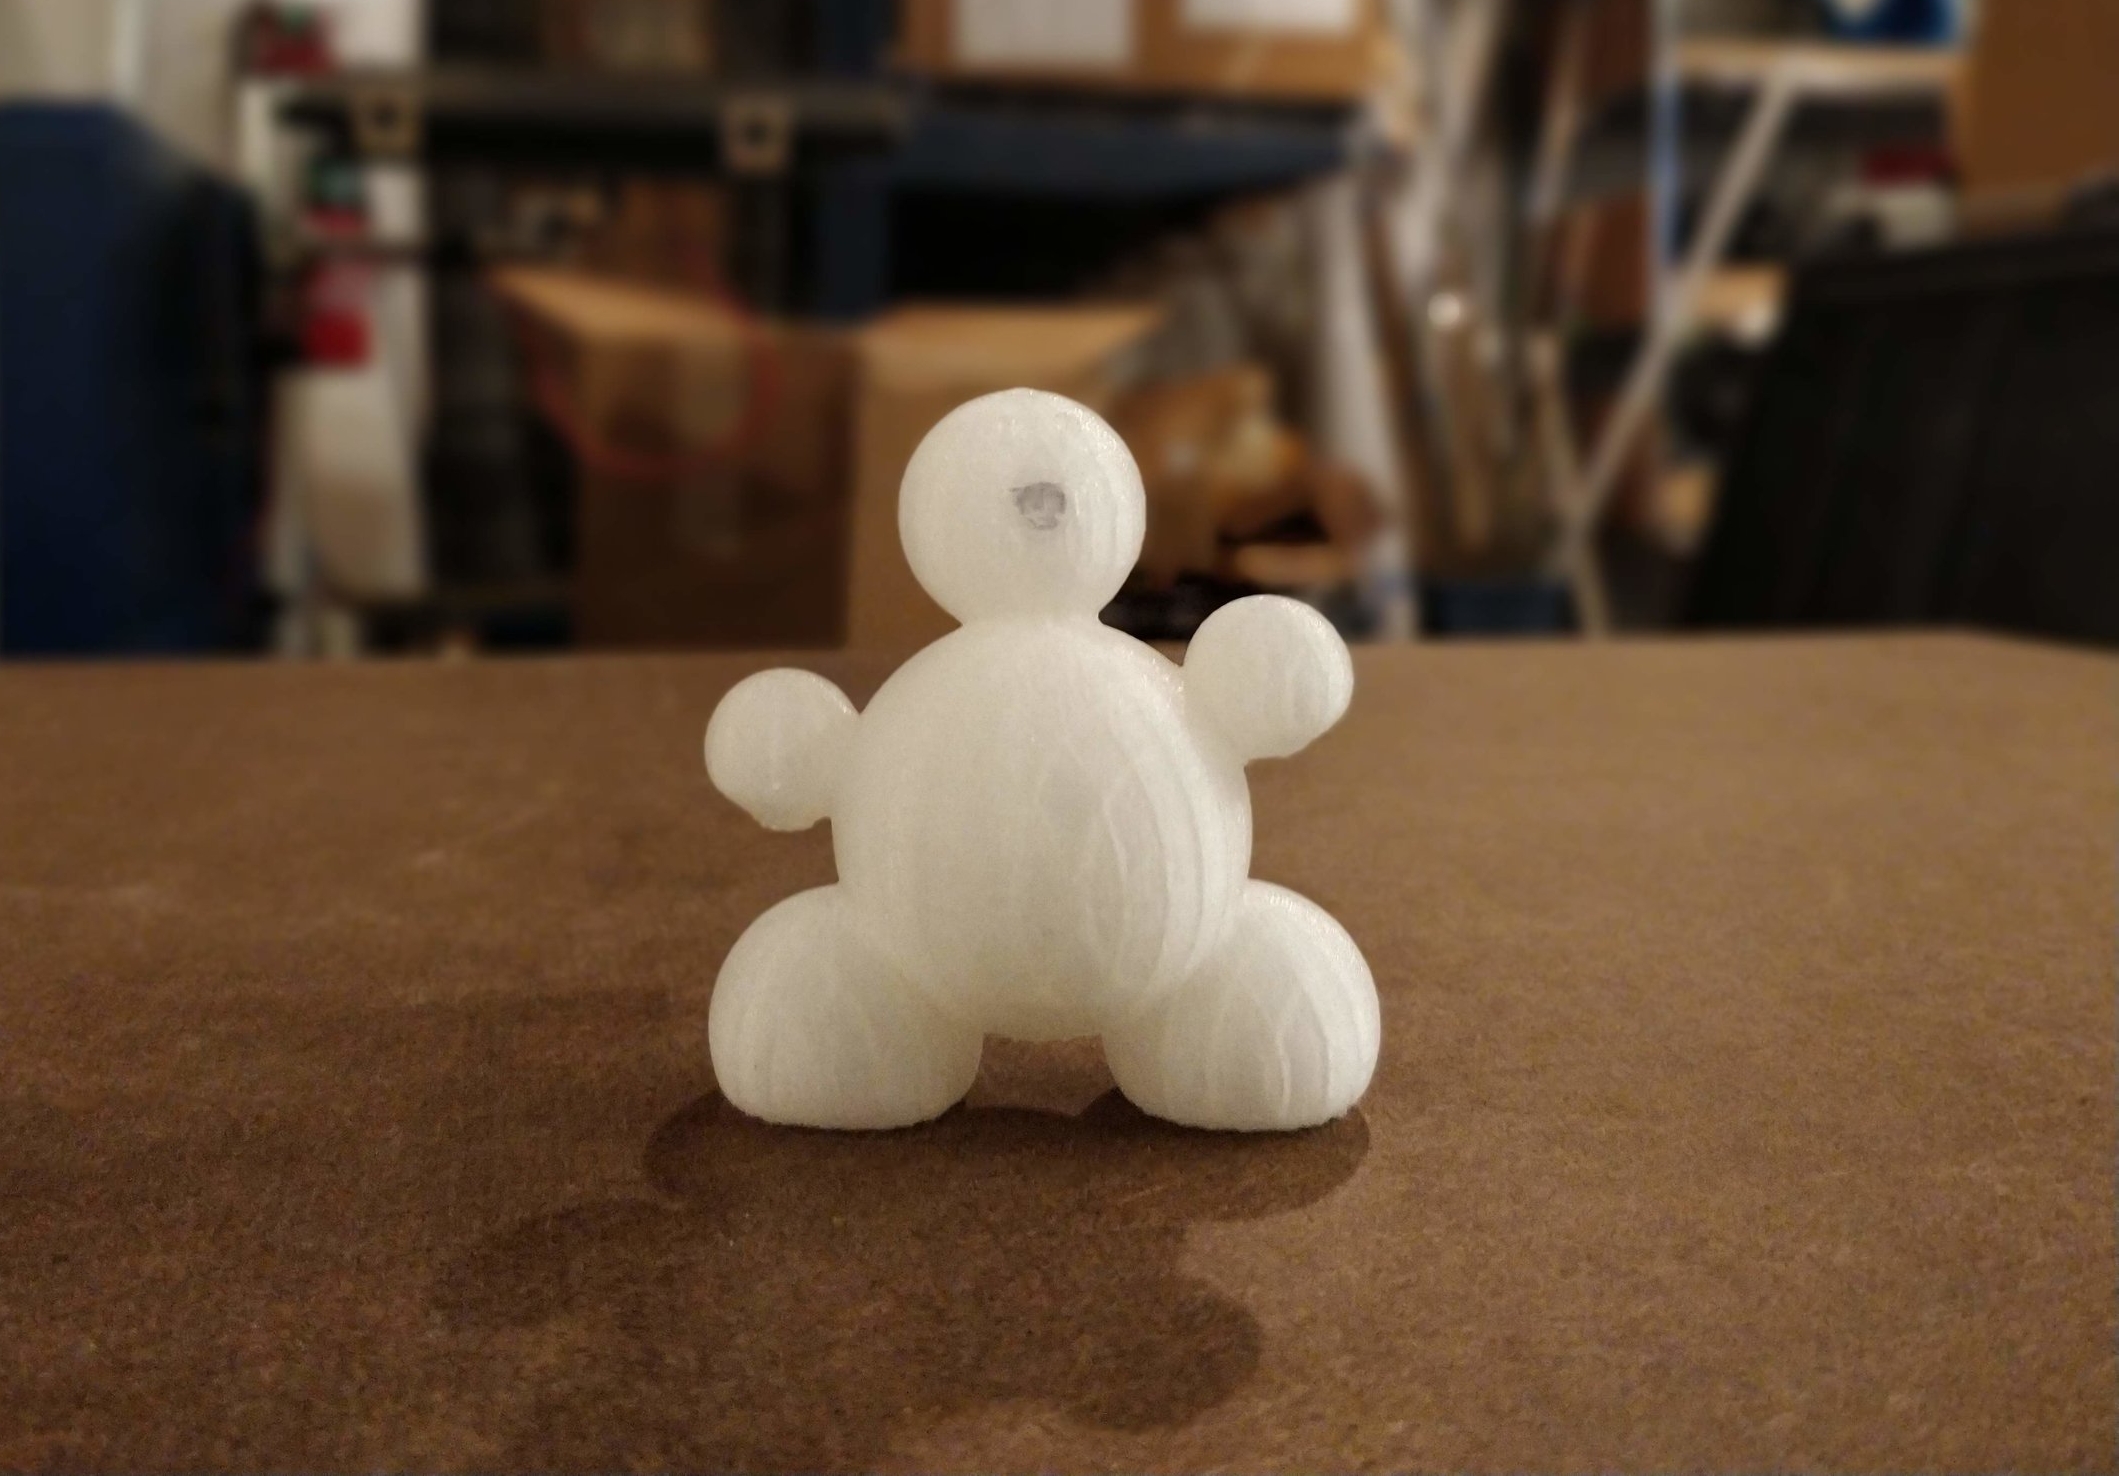
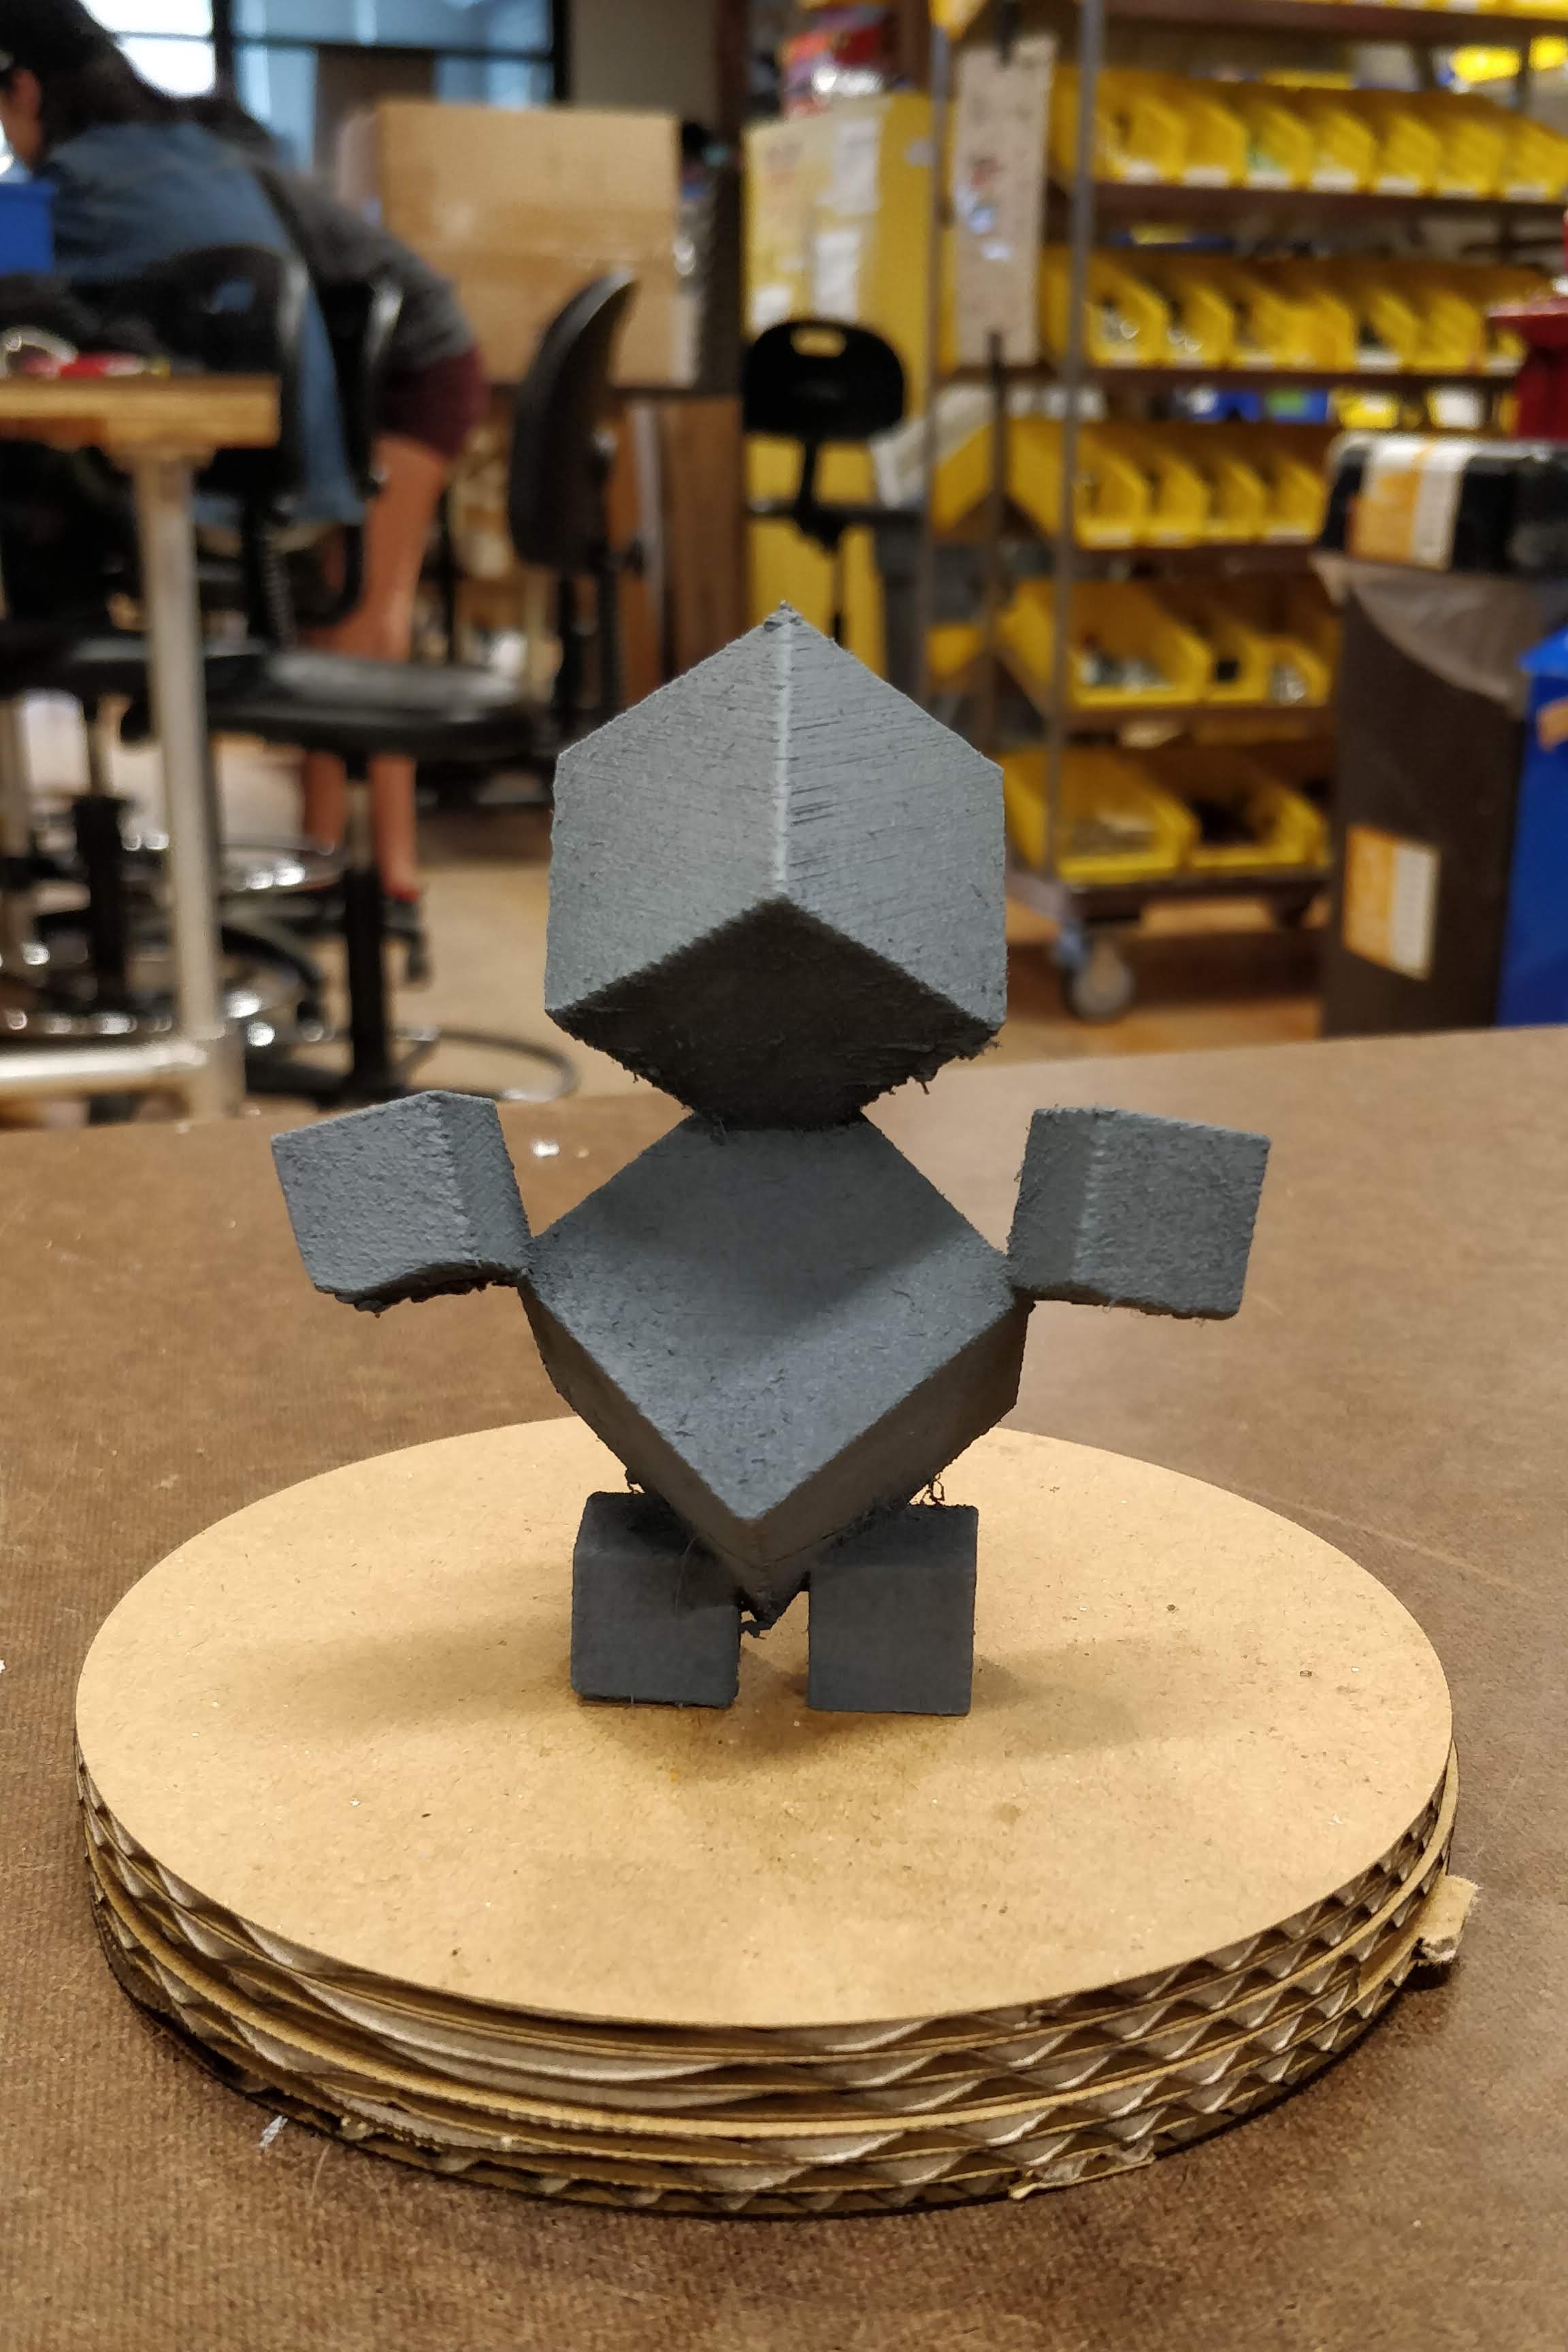
I started with simple cubes and spheres and attempted to make a “cute” character, the result was “Block” and “Blob”, two characters made of cubes and spheres. What was interesting to me was how, even though the different parts are fixed, the figures seemed to convey different emotions when observed from different angles. “Blob” seemed both shocked and asking for a hug and “Block” wanted a hug as well, but also looked a bit down, depending on where you thought the head is pointing.

This reminded me of something I red in “Understanding Comics”, on how the more a character is stylized and simplified, the more it relates to a broad audience as they can see themselves in it. The trick, I suppose, is in conveying particular emotions with a limited degree of motion in the design.

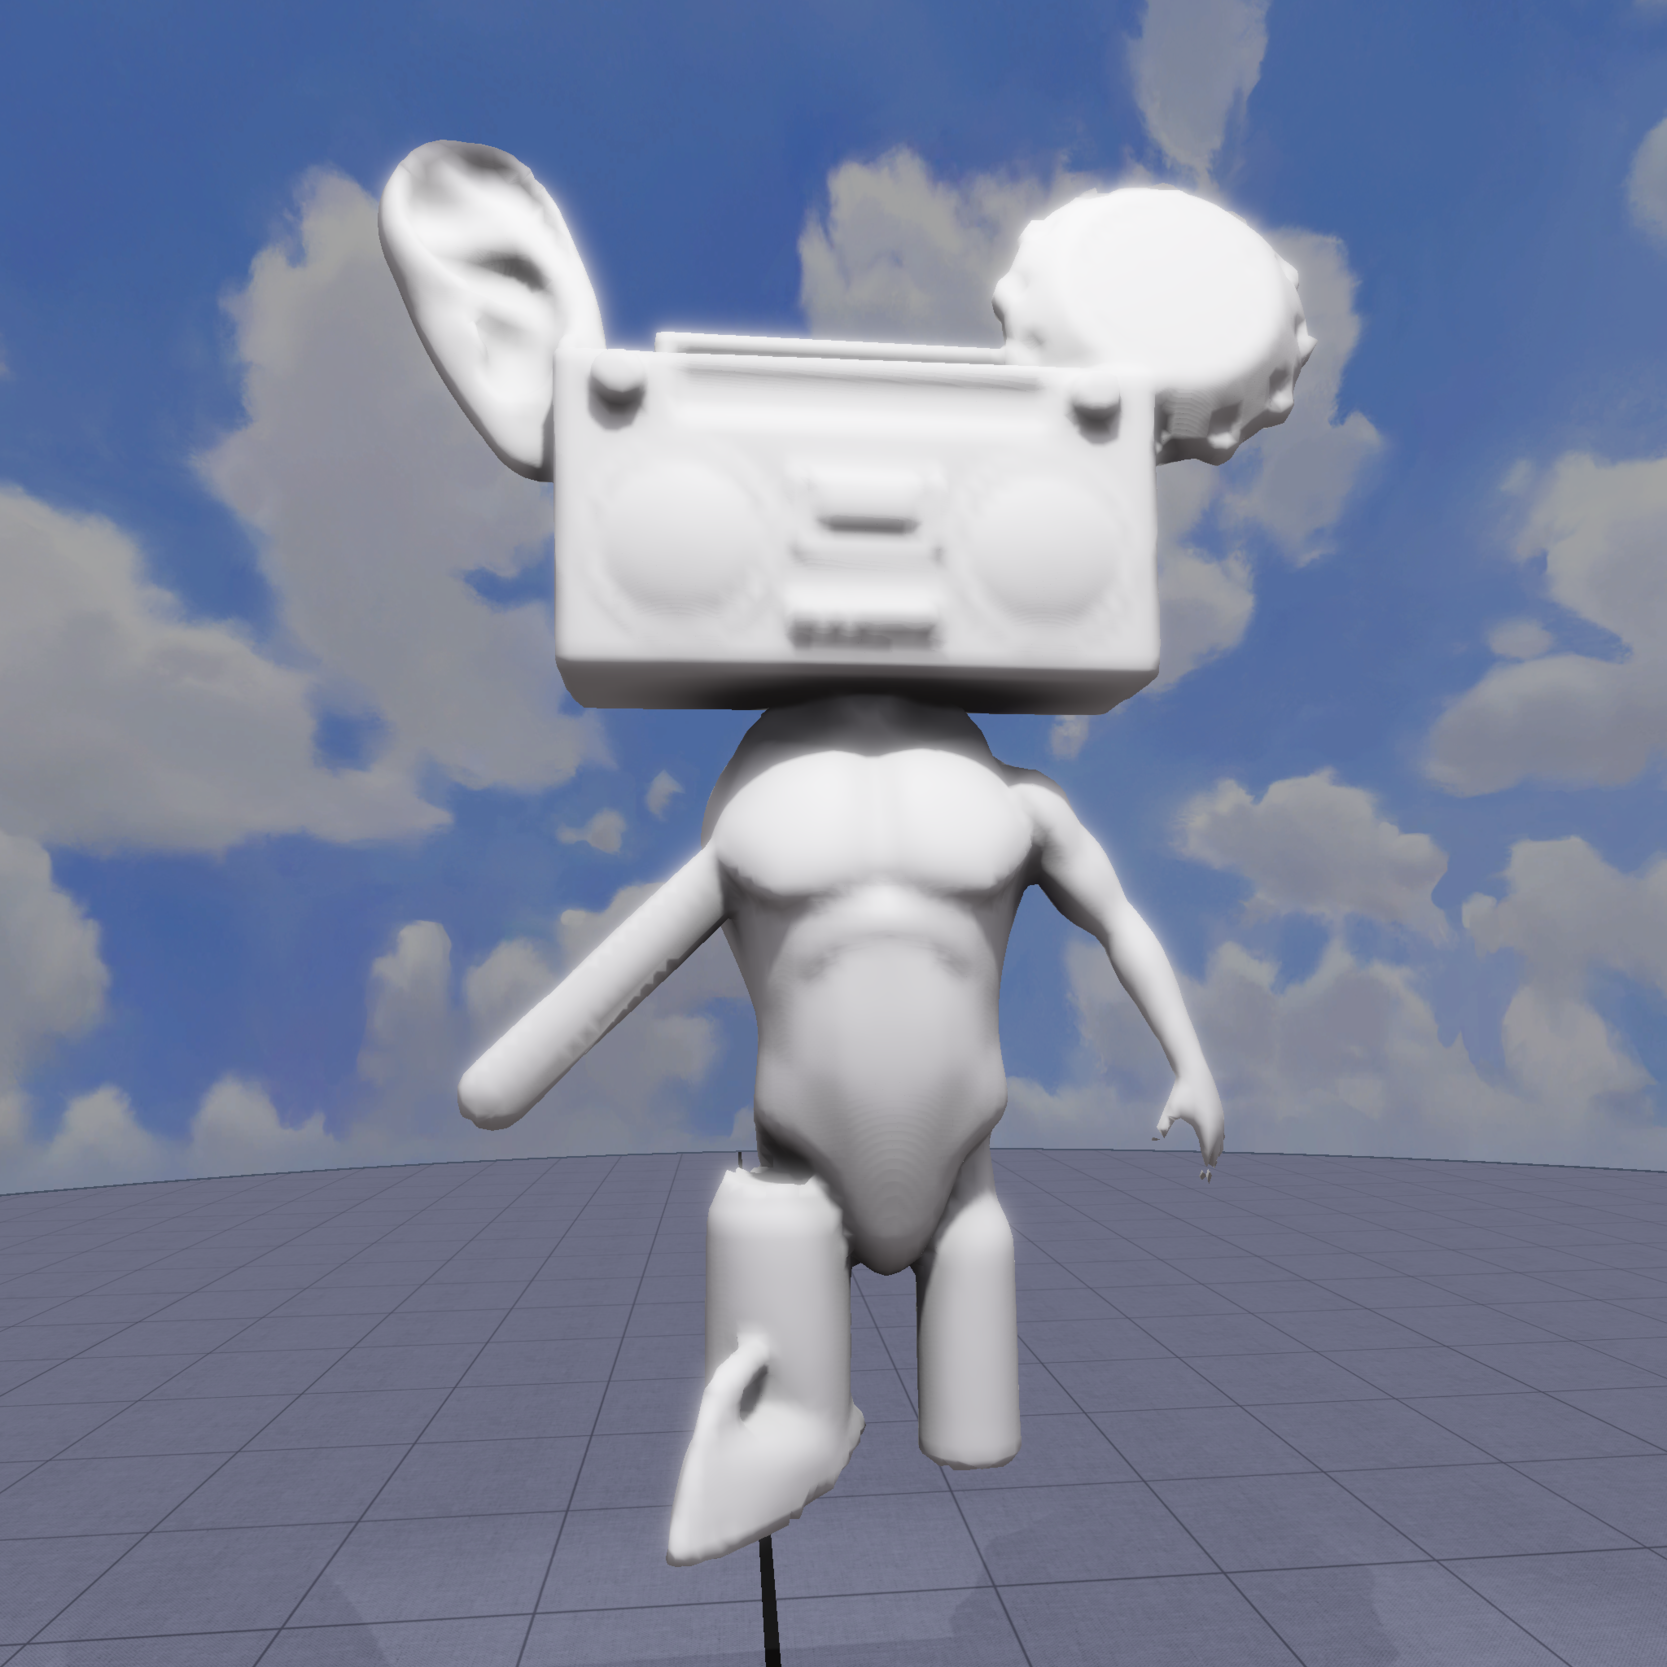
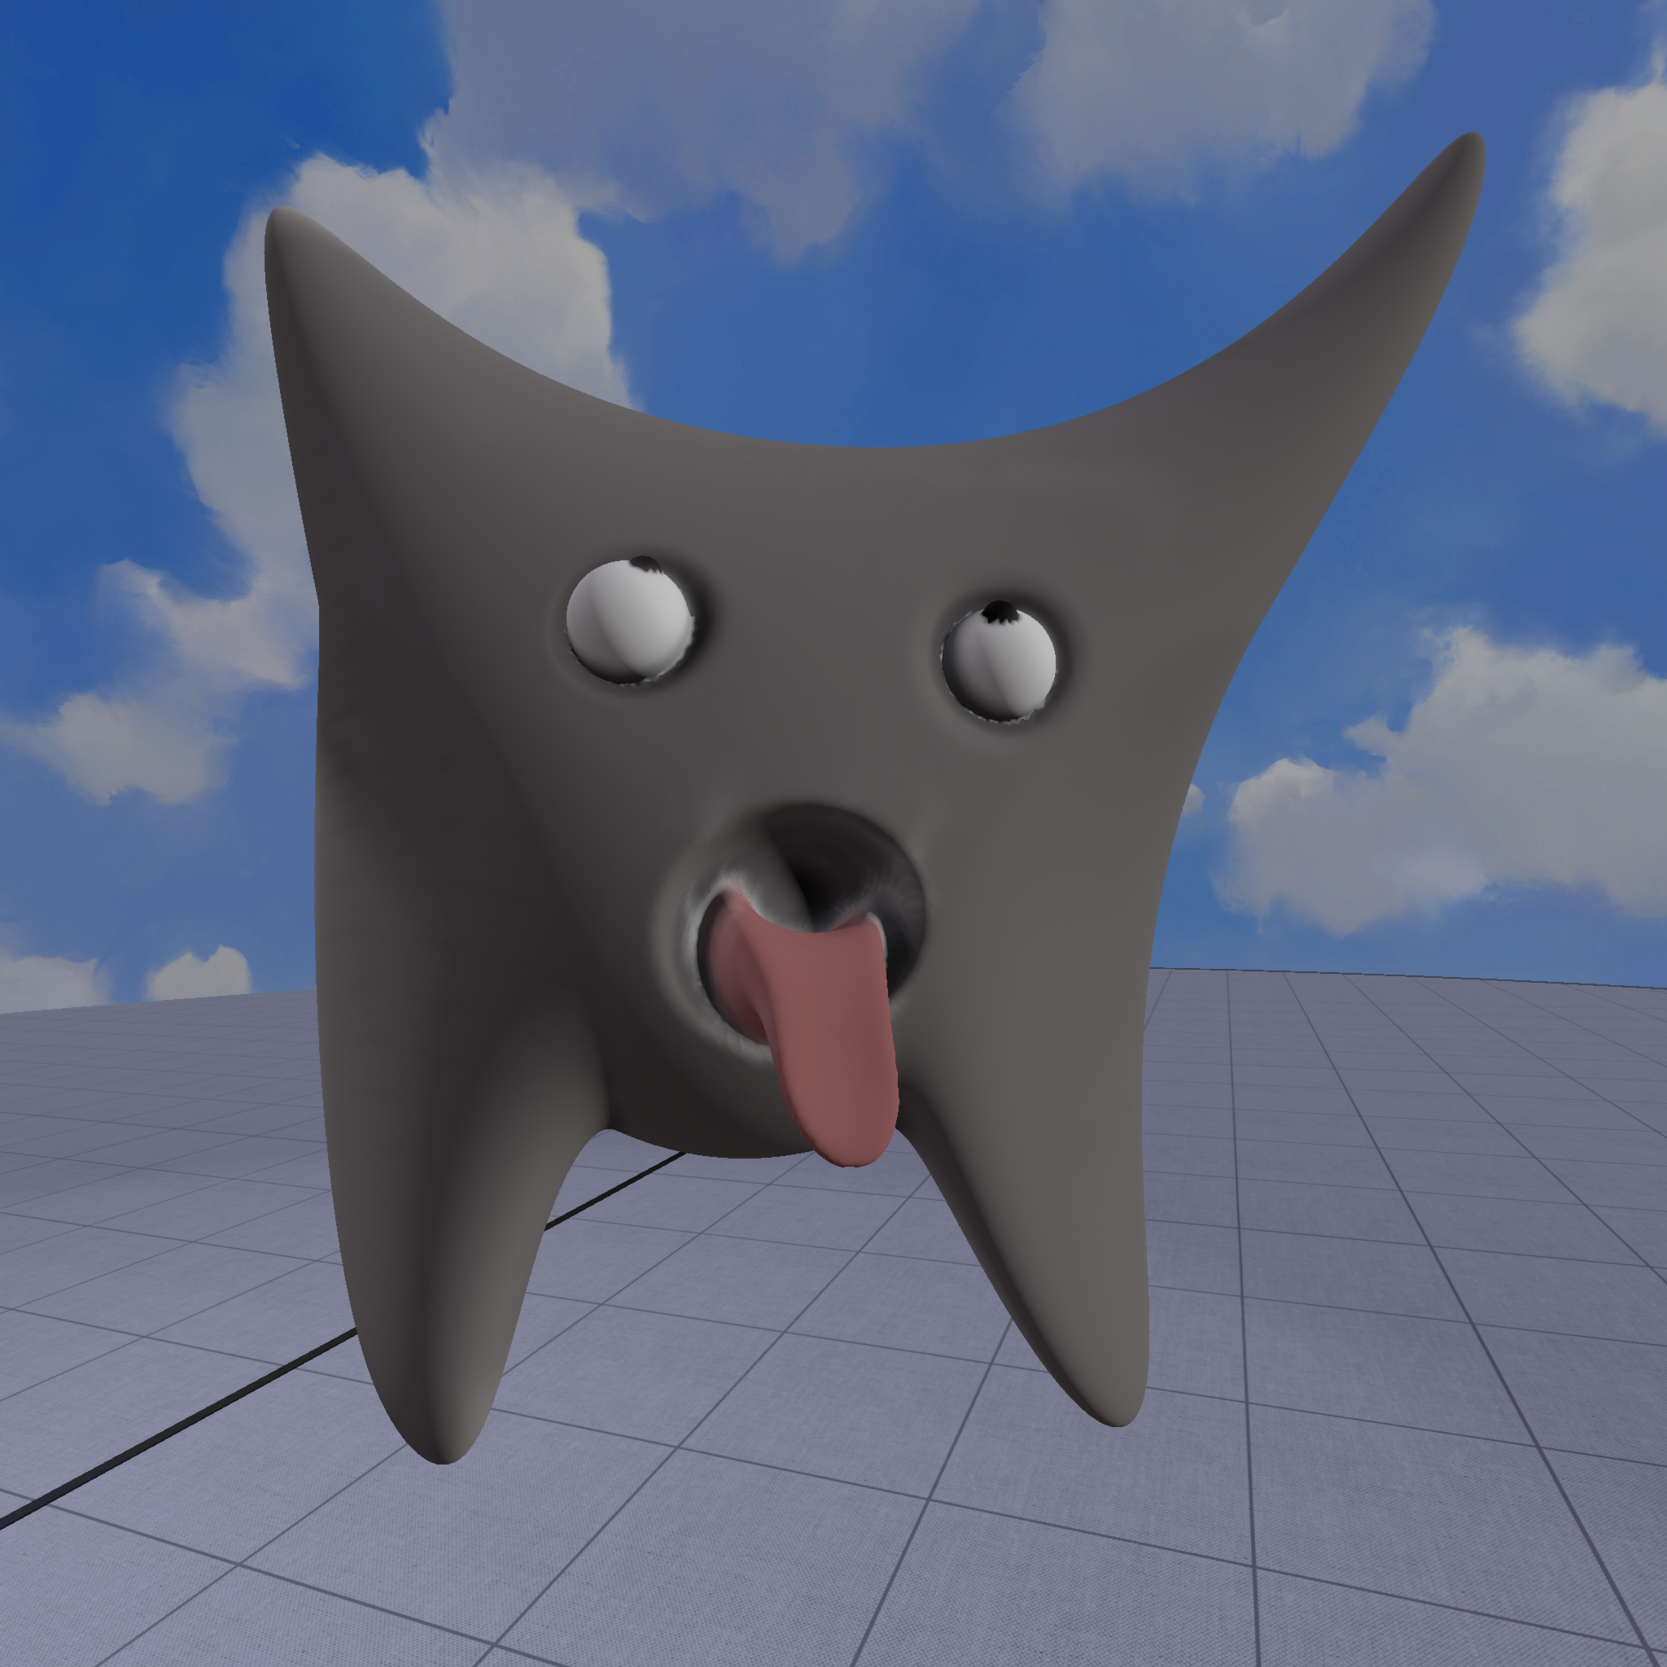
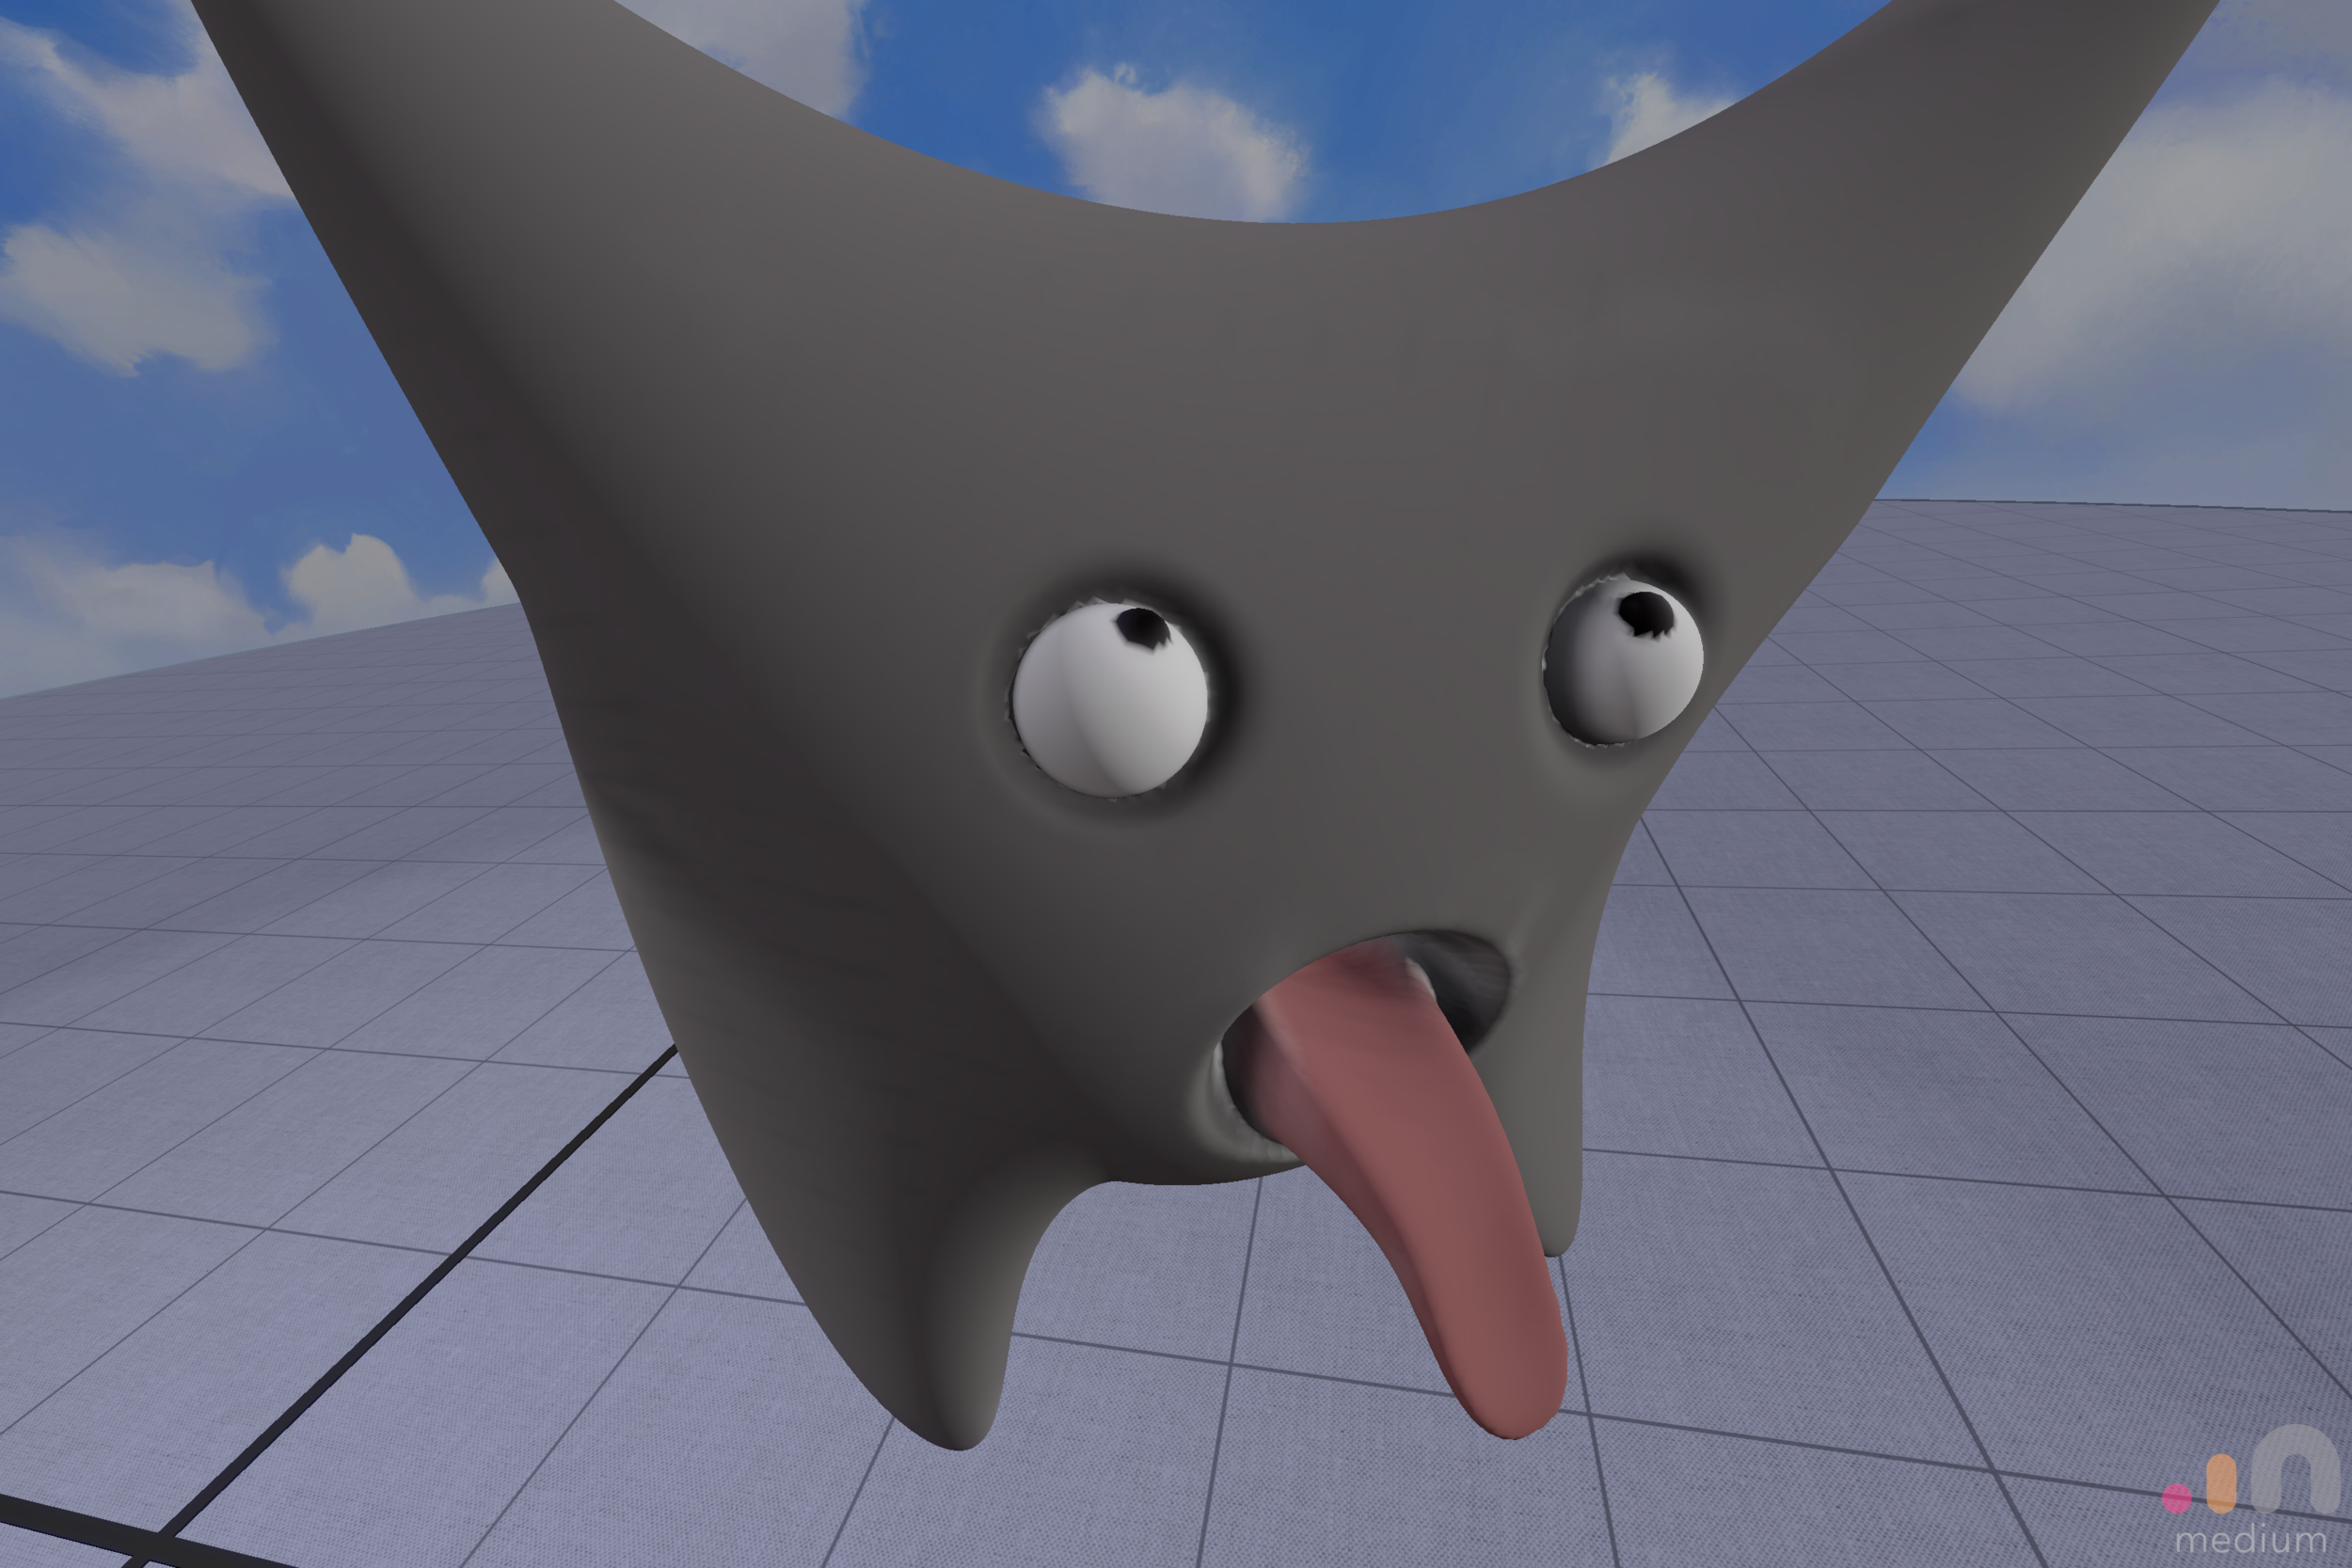
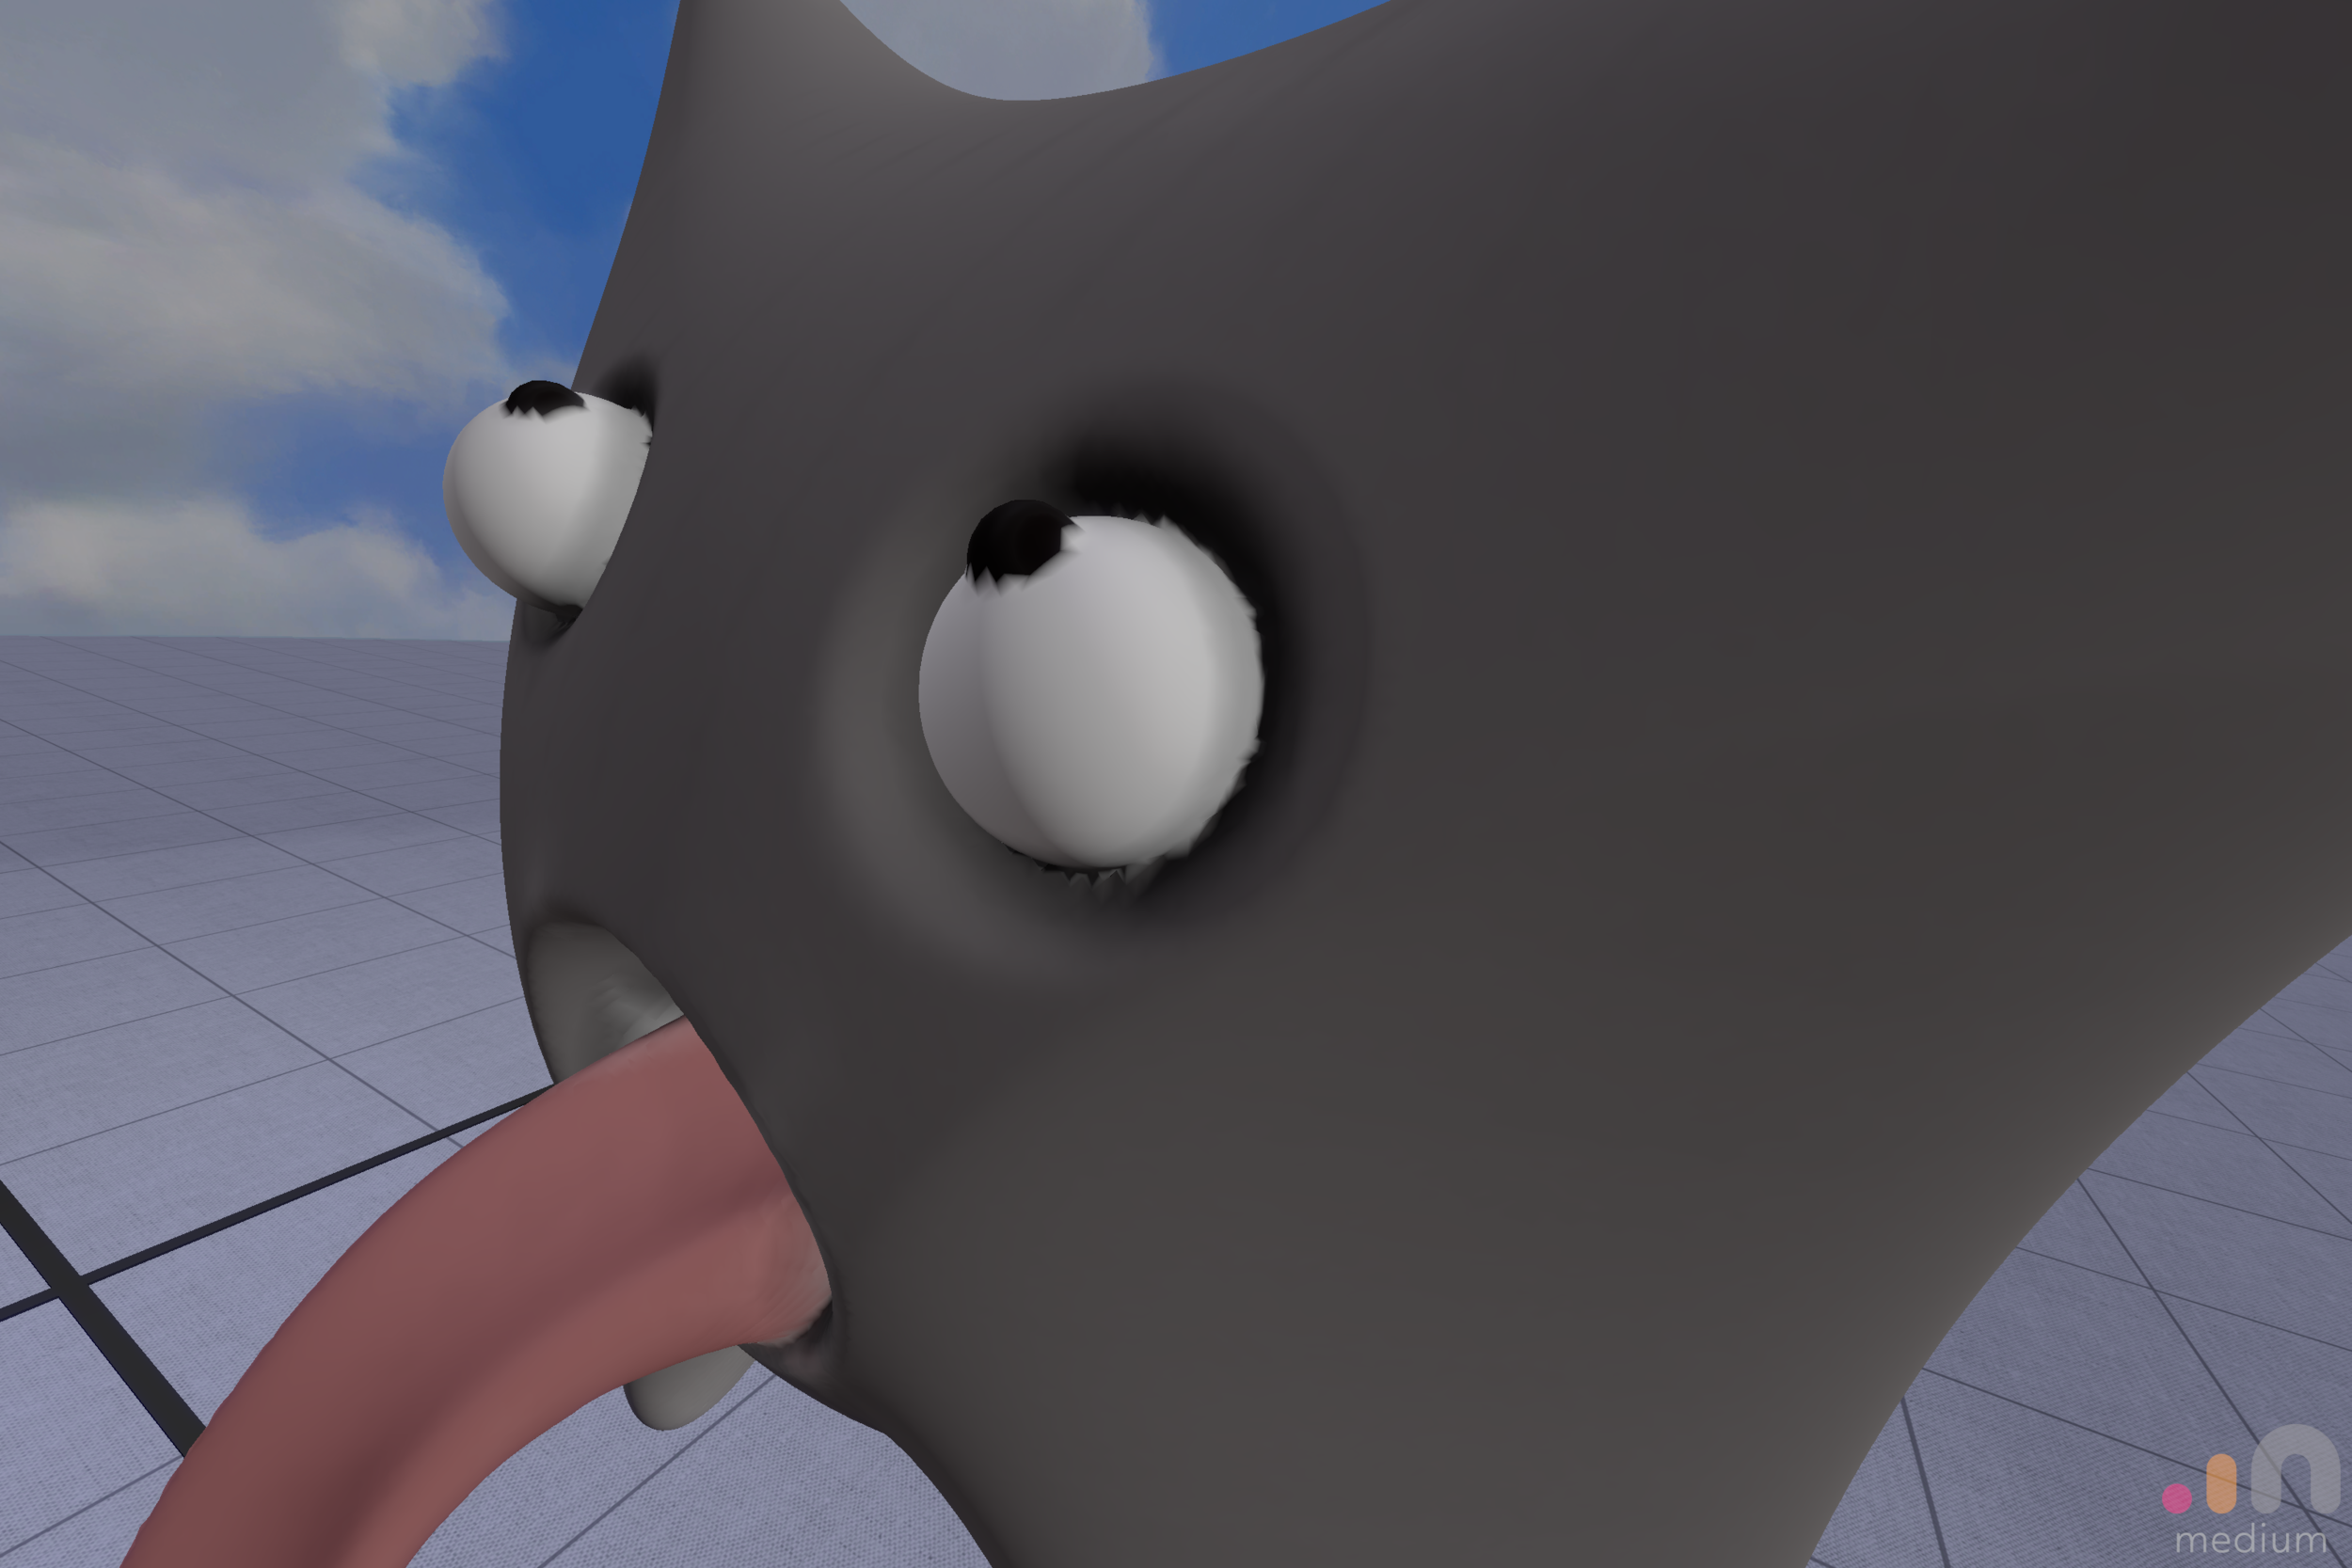
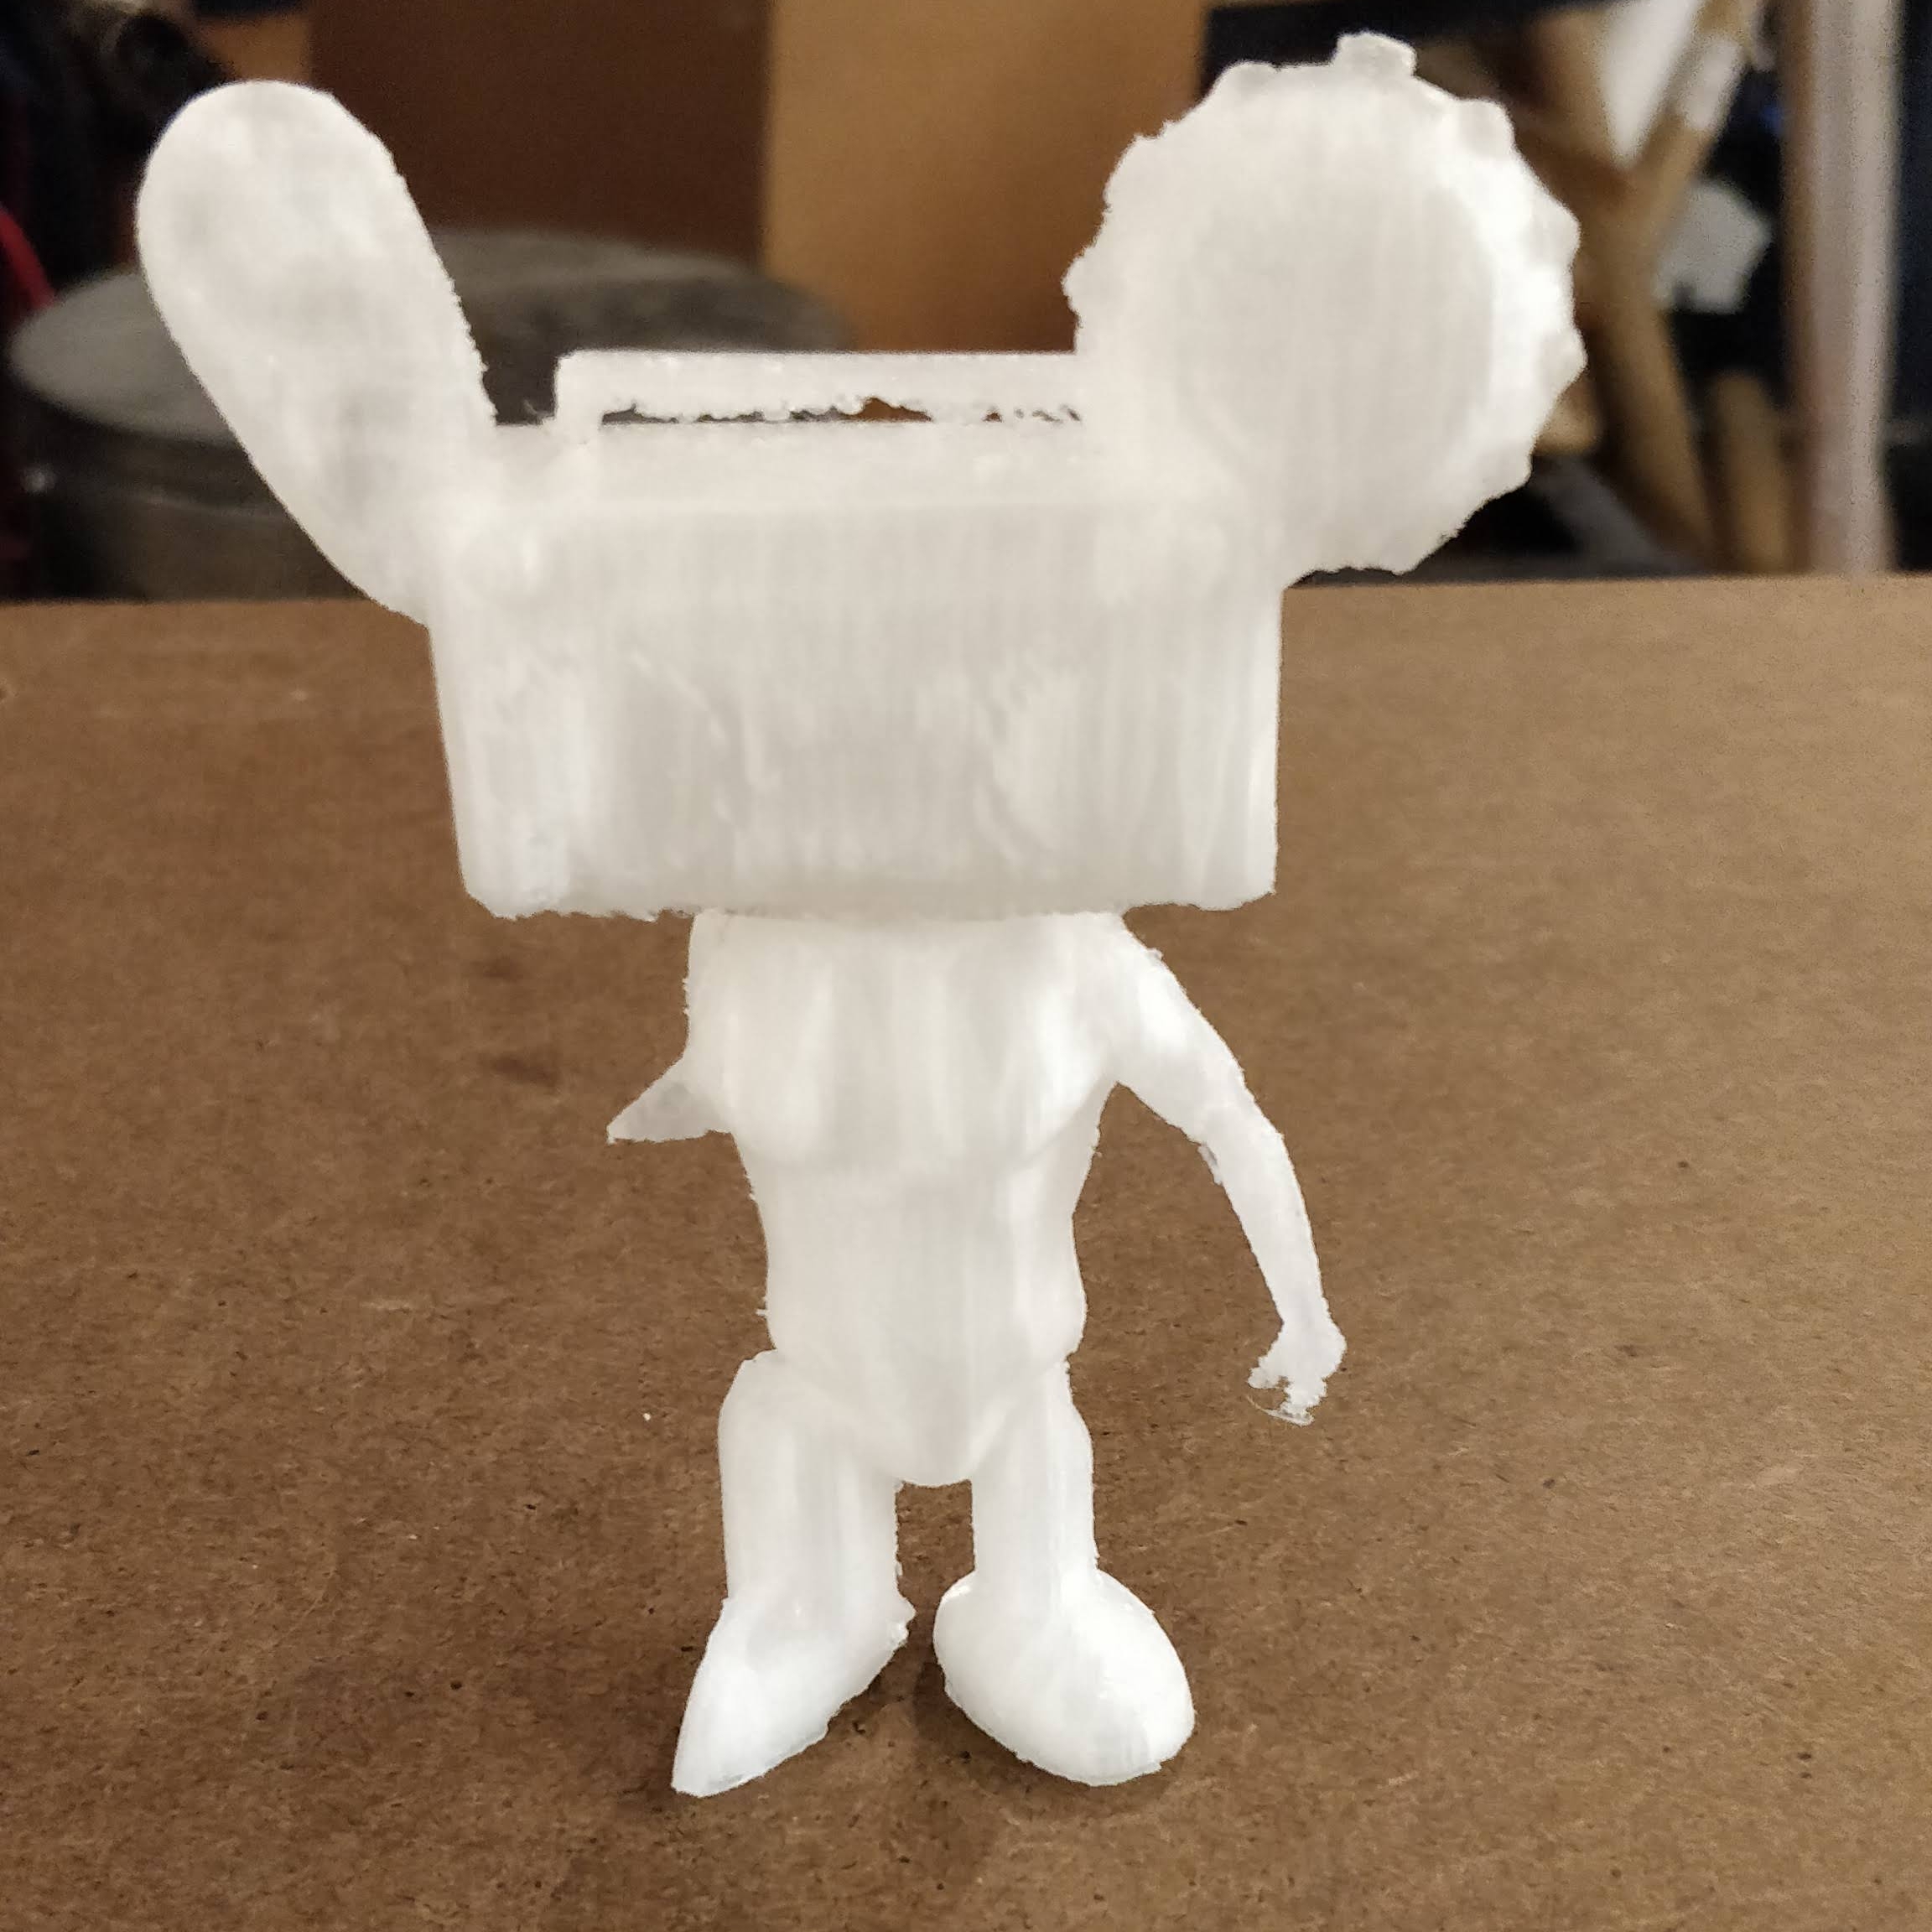
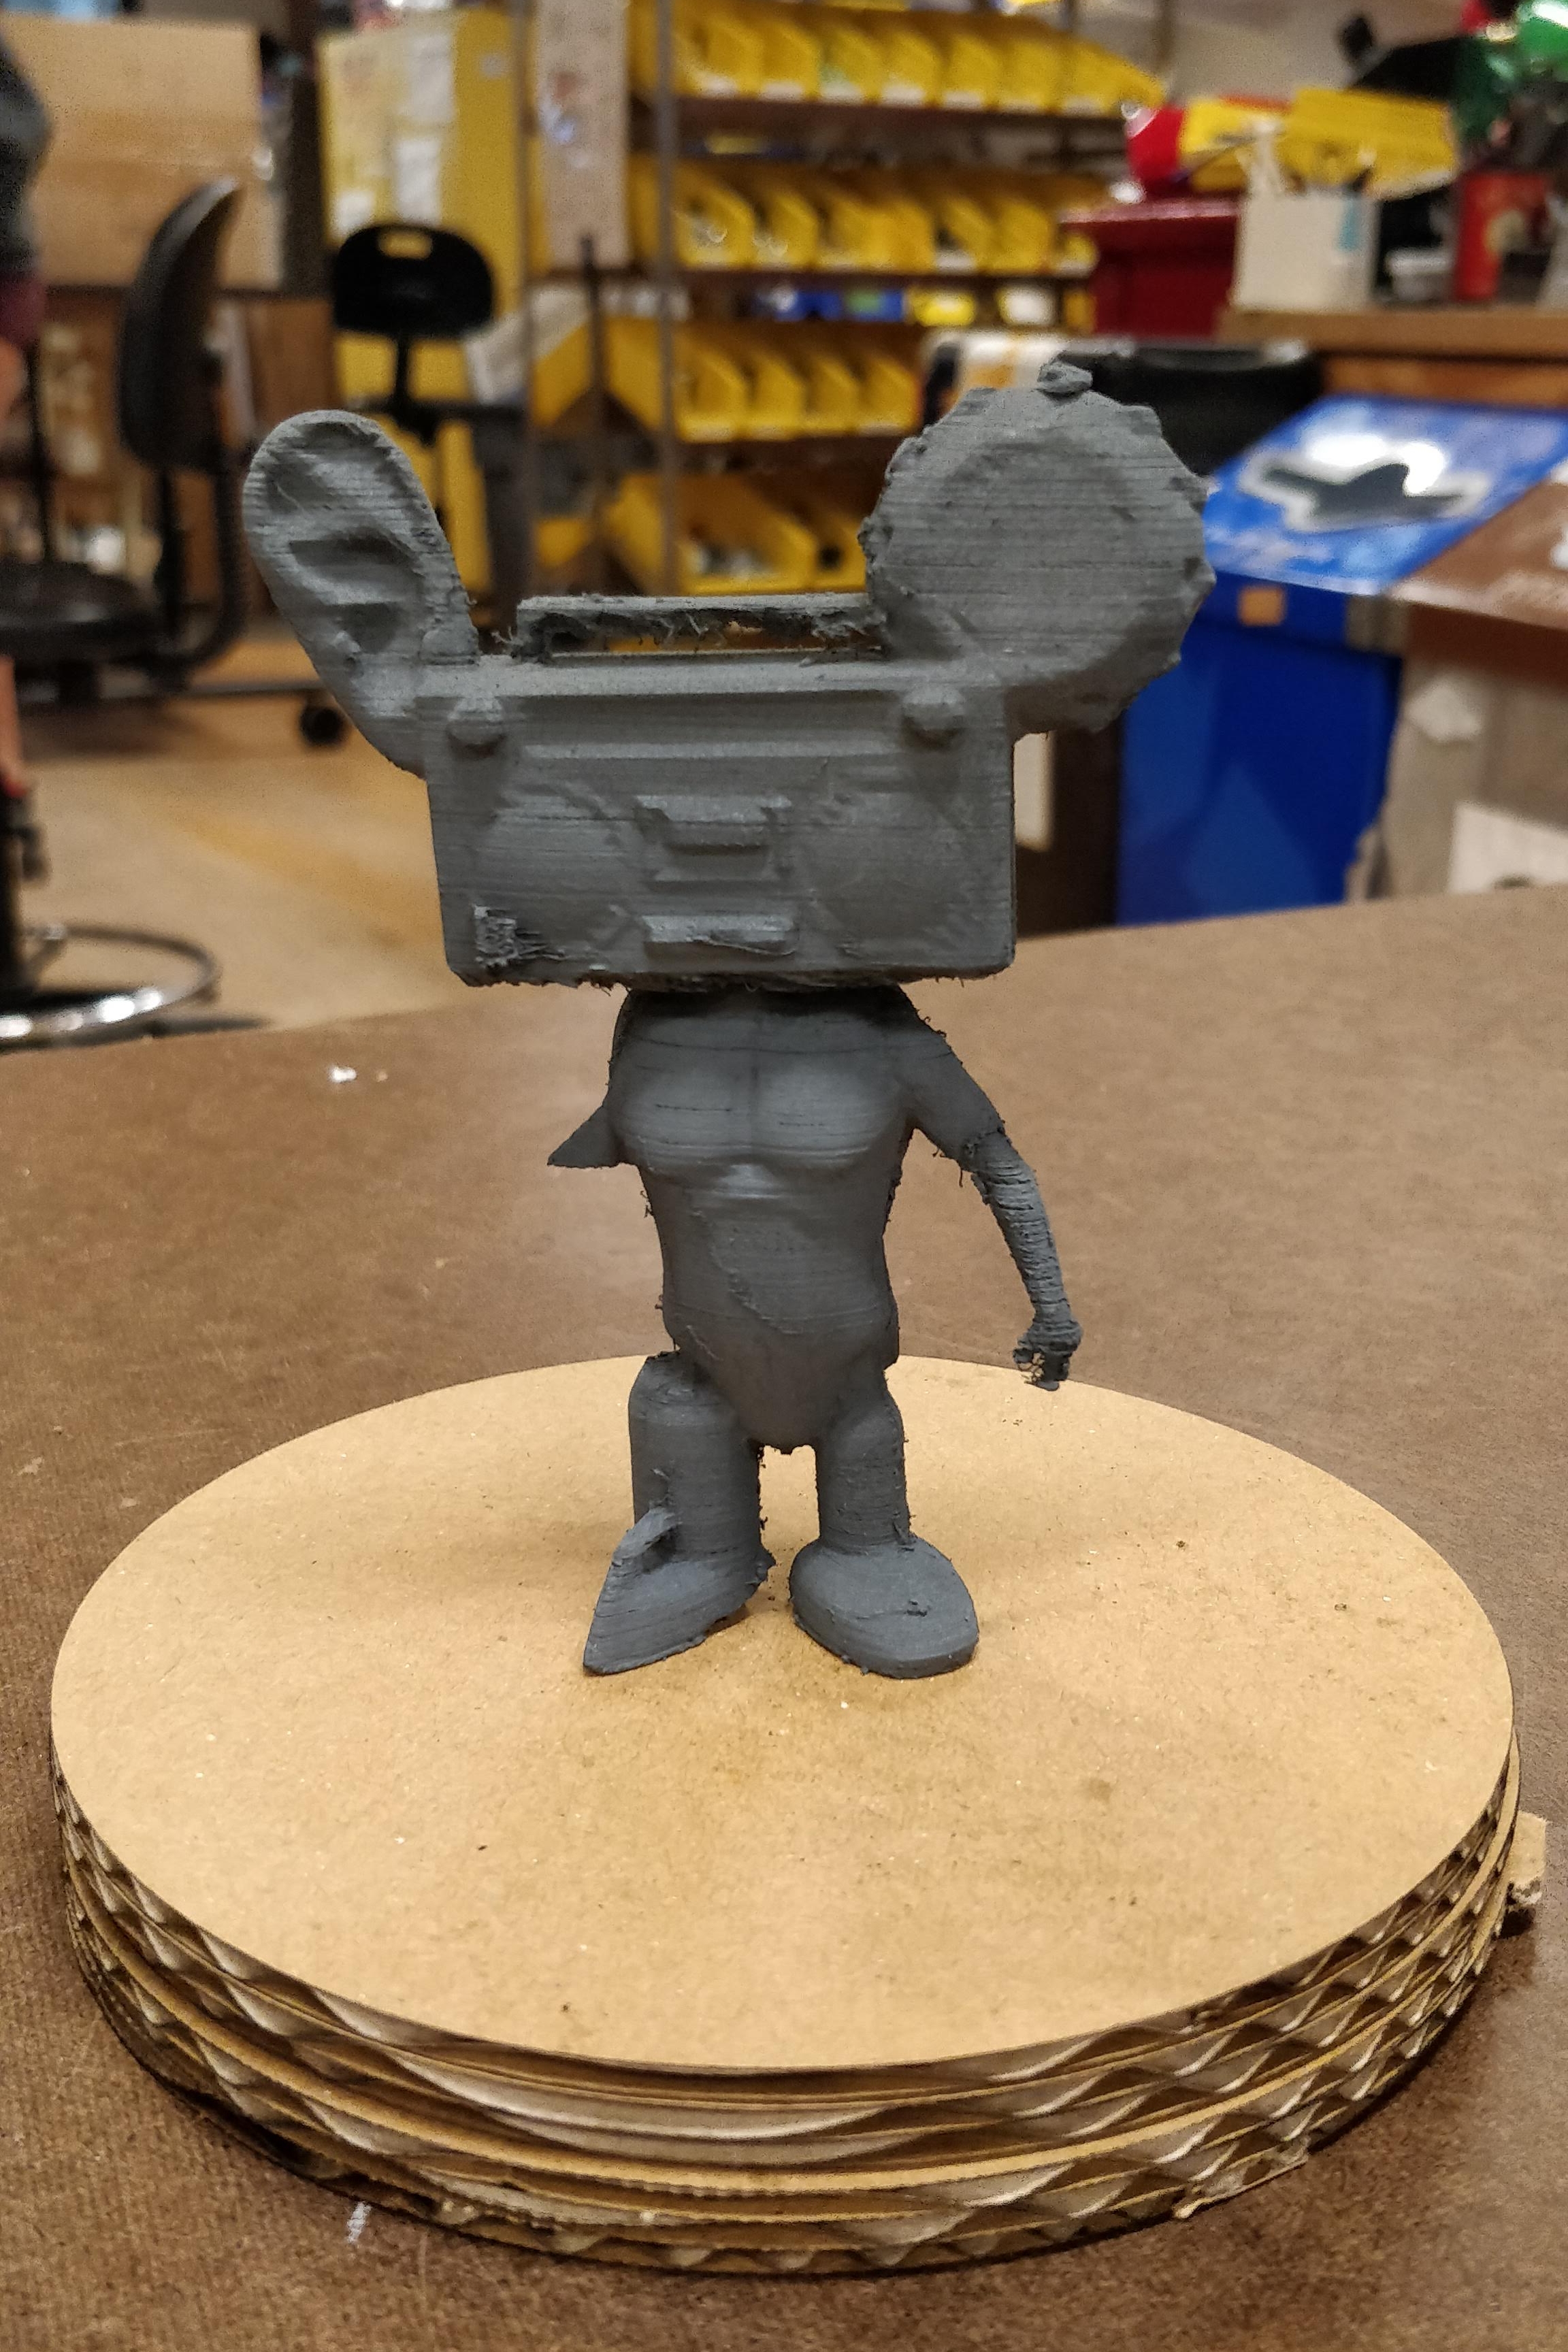
Next I tried a few more modeling tools Medium had to offer, like stamps and clay-like modeling. Using stamps I created a “kit-bashed” character that somewhat reminds me of the “Bike Mice from Mars”, one of my favorite shows as a kid, or just a mecha-steam-punk-mickey-mouse. The second character was a sort of devil figure with his tongue out and eyes rolling, I tried Medium’s painting tools with this one too.

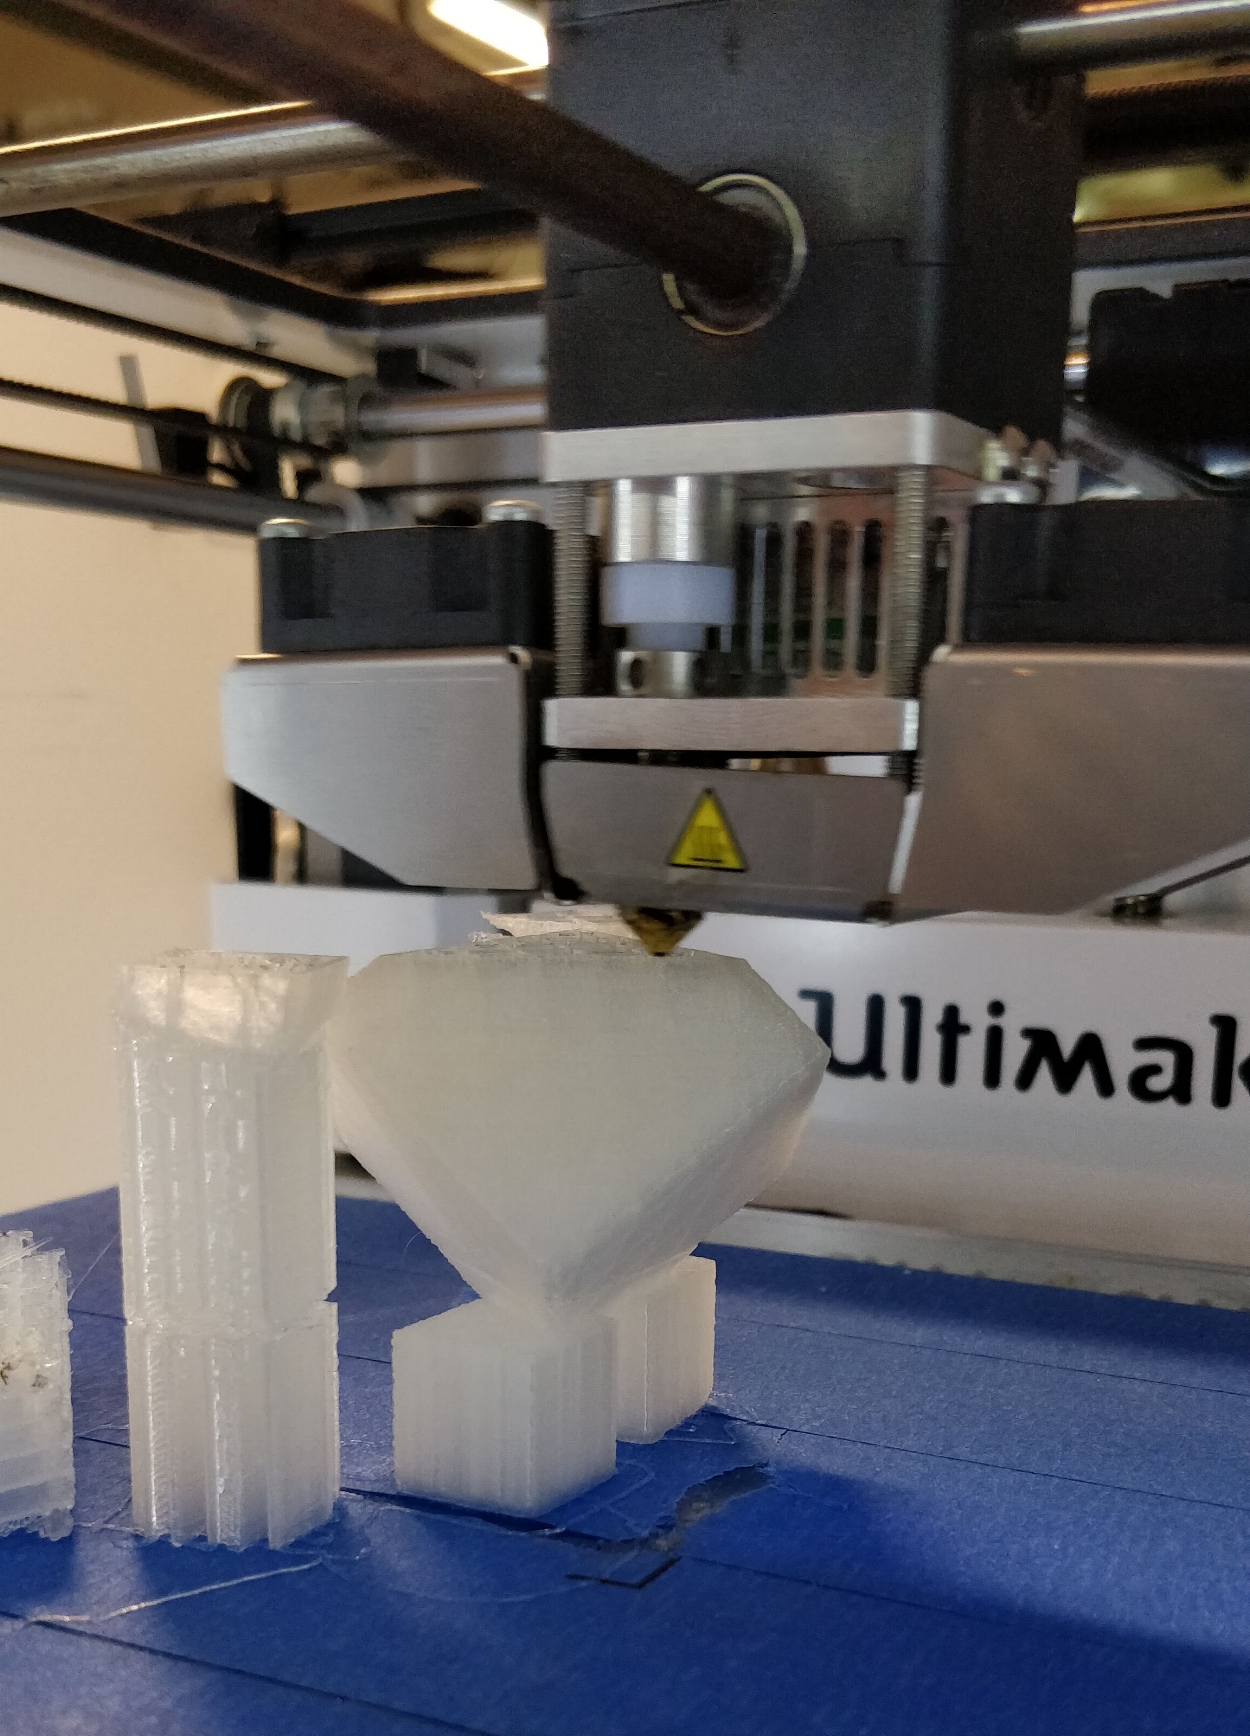
Medium has very handy export features so I was able to go from Medium to Cura and straight to the 3d printer in minutes. I tried different settings for printing and learned a lot about how to improve designs for a 3d-printing manufacturing pipeline. While Cura provides automated supports calculation for free-hanging parts, the filament still drips in places and the supports leave rough edges and require careful removal and cleaning. Still, pretty decent for a first attempt.

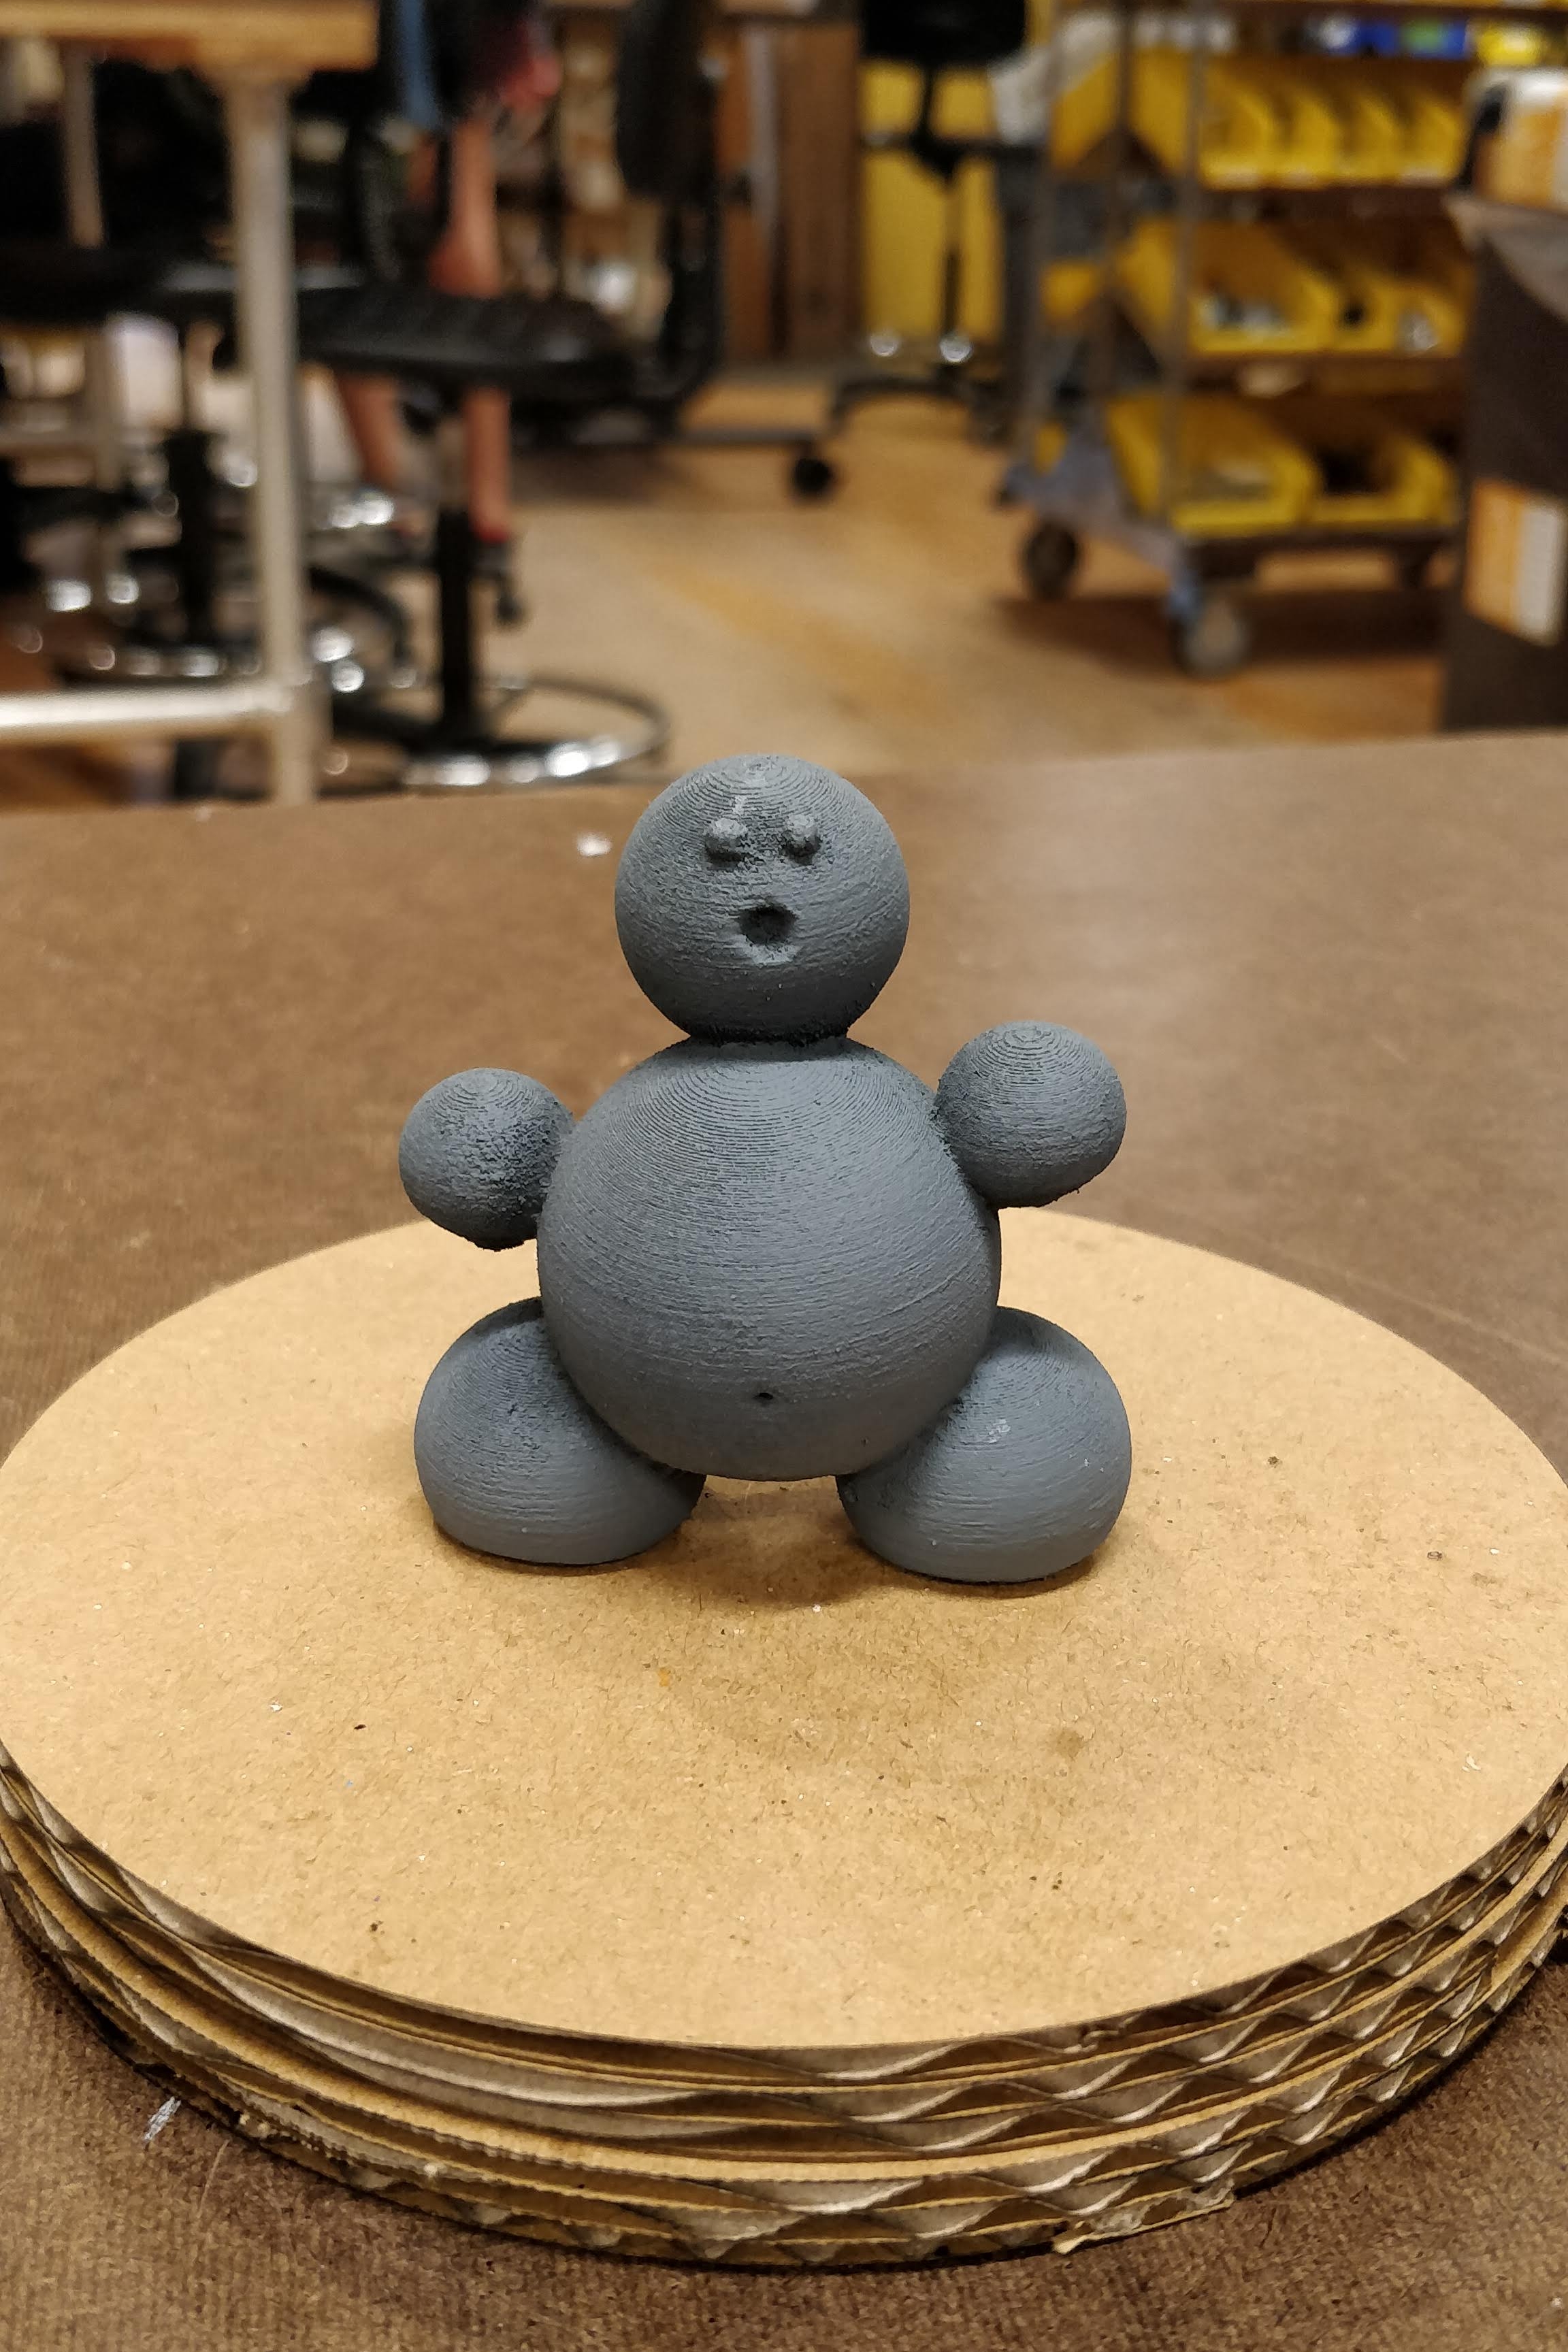
The final step was to give all the prints a coat of matte grey primer, this really brought out the features as lights and shadows became much more visible (I used clear filament which was very tricky to see through). Priming 3d-printed filament was tricky but with patience, a steady hand and several layers I think I managed a fairly clean coat. Unfortunately, the primer also brought out all the small imperfections of 3d printing.

All in all, I like this quick prototyping pipeline. I’m now working on refined designs in Houdini and Cinema4D and will try to print them on higher quality printers and give them some more finishing love.

Art Toy Concept & Turnaround

This week I explored different forms of art toys, and how figure and posture is used to imply mood and emotion.

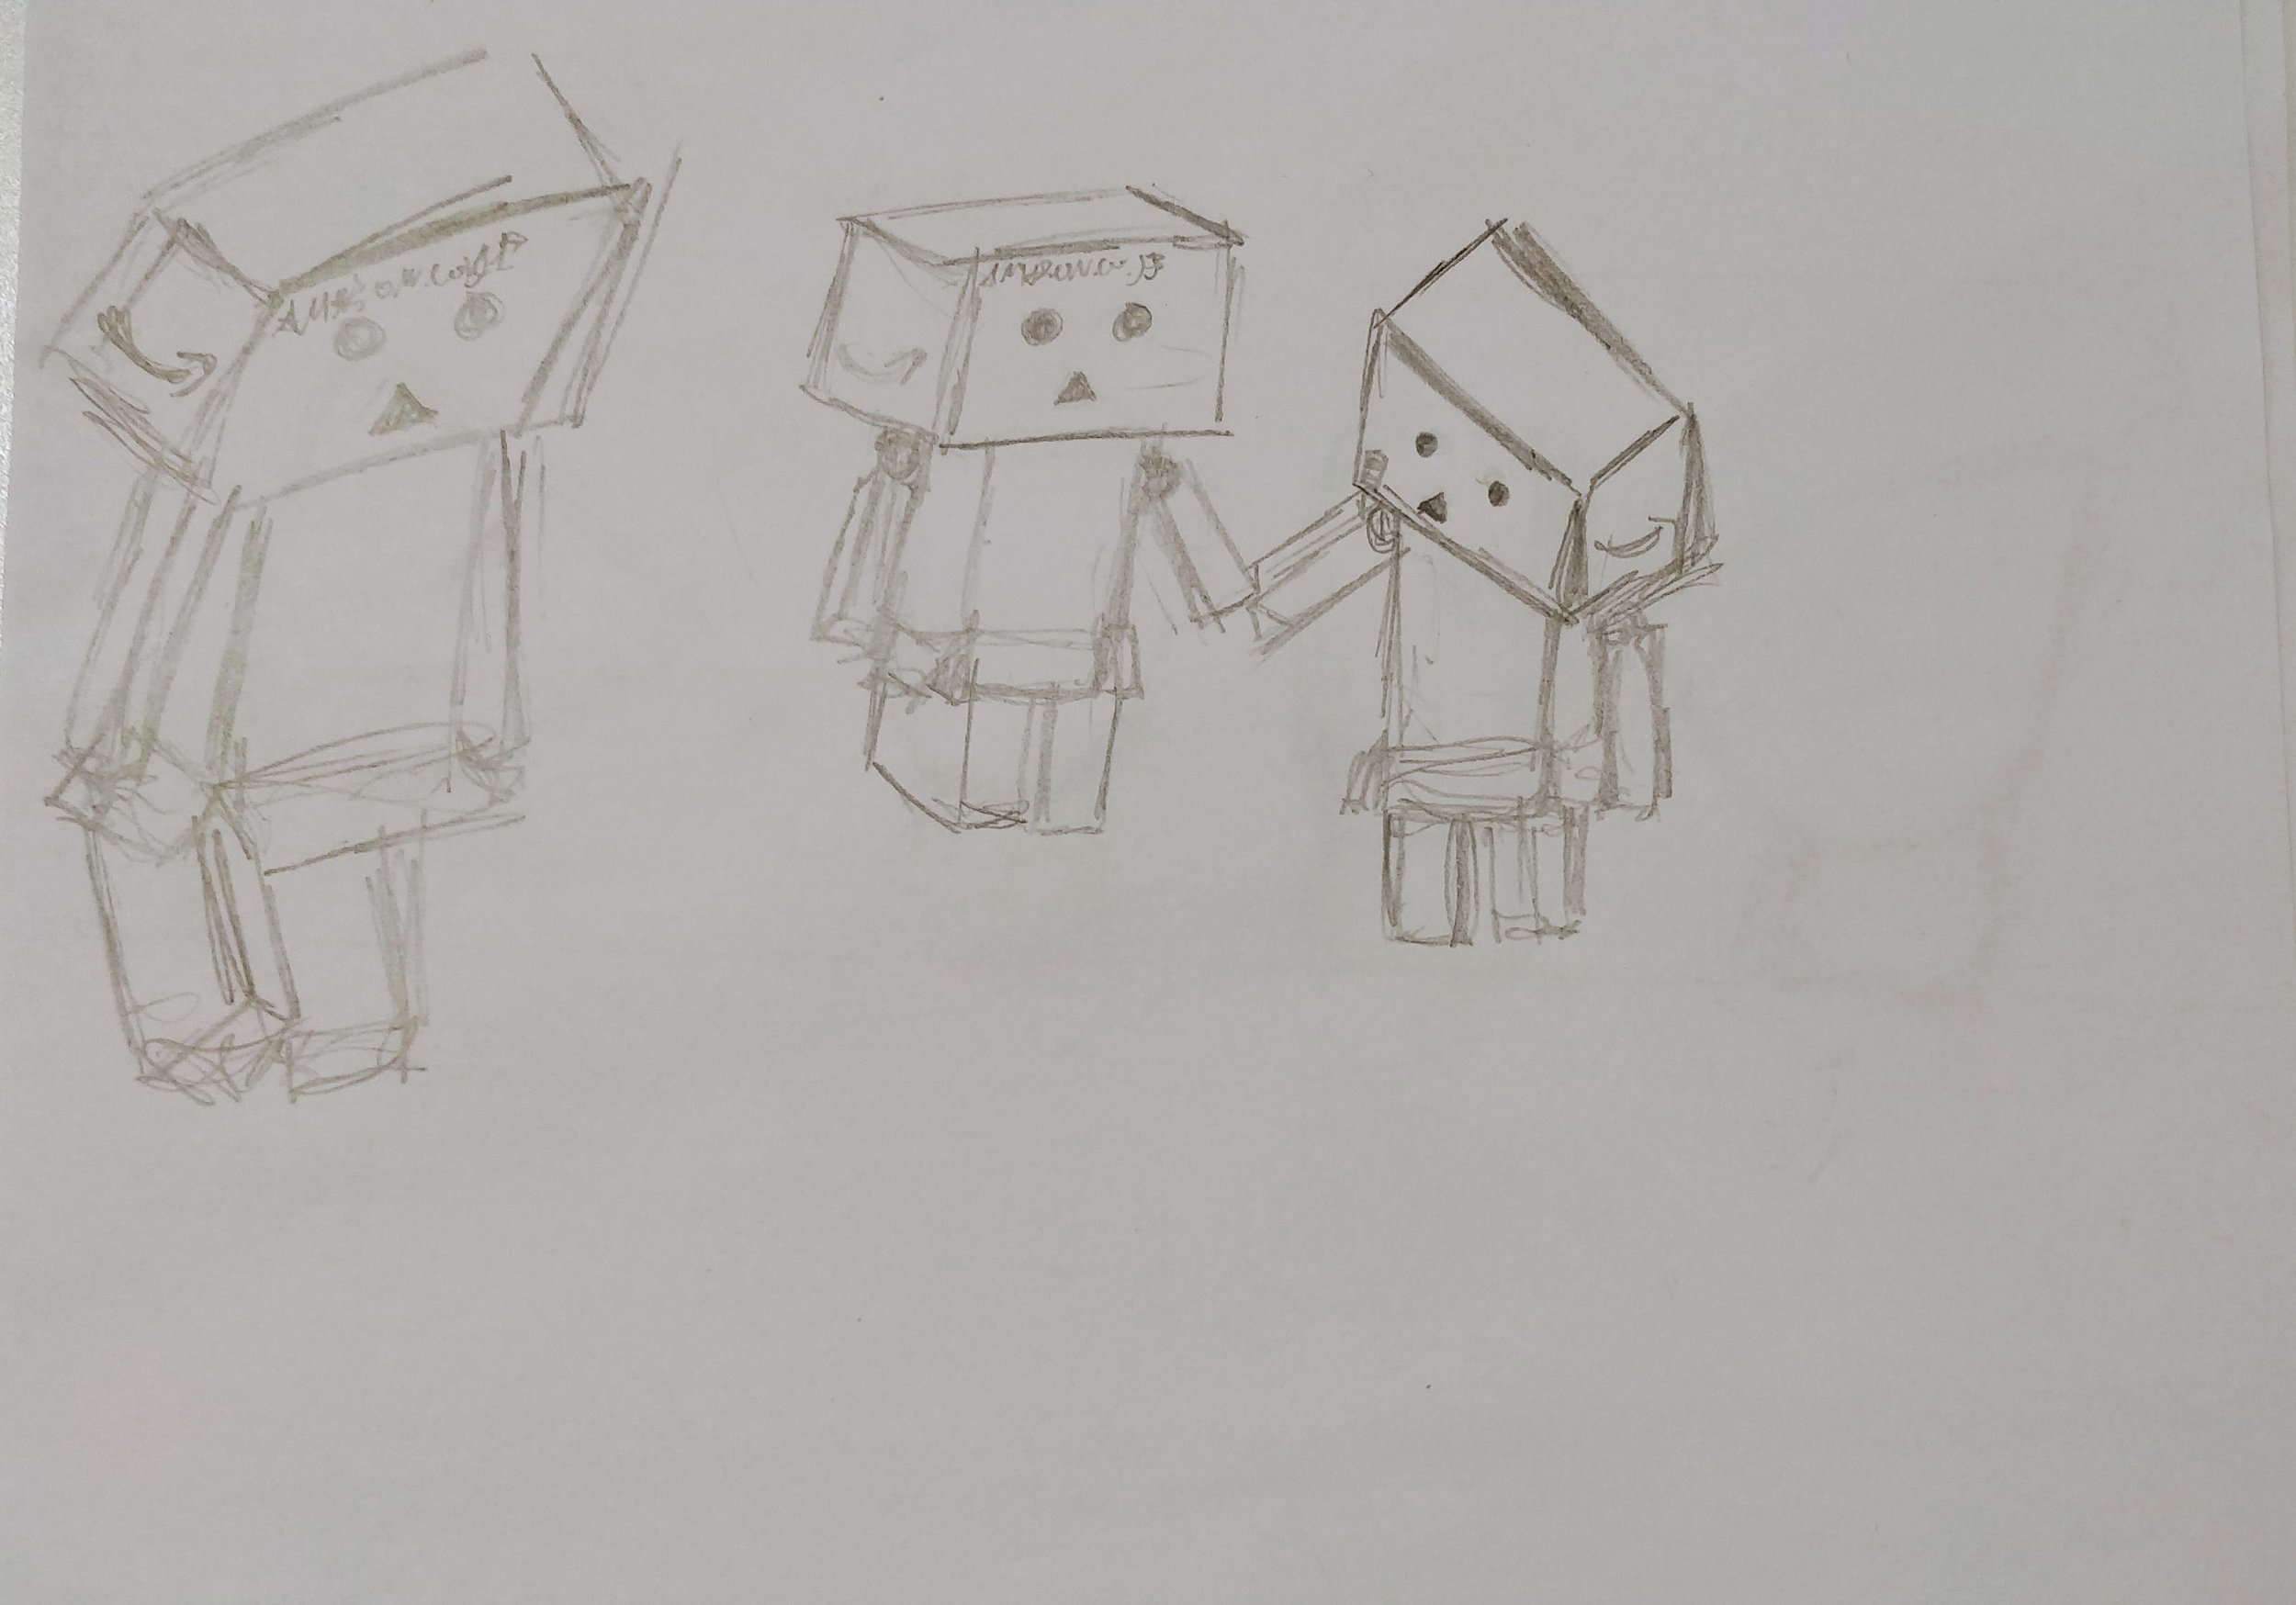
I started by sketching familiar characters I like, like Marvin, the robot from “The Hitchhiker’s Guide to the Galaxy”, Danbo the cardboard boy, Uamou & Boo and others. All these characters share similar traits of styled and exaggerated physical features and postures that capture their mood and convey an emotion, even though the painted detail is very minimal.

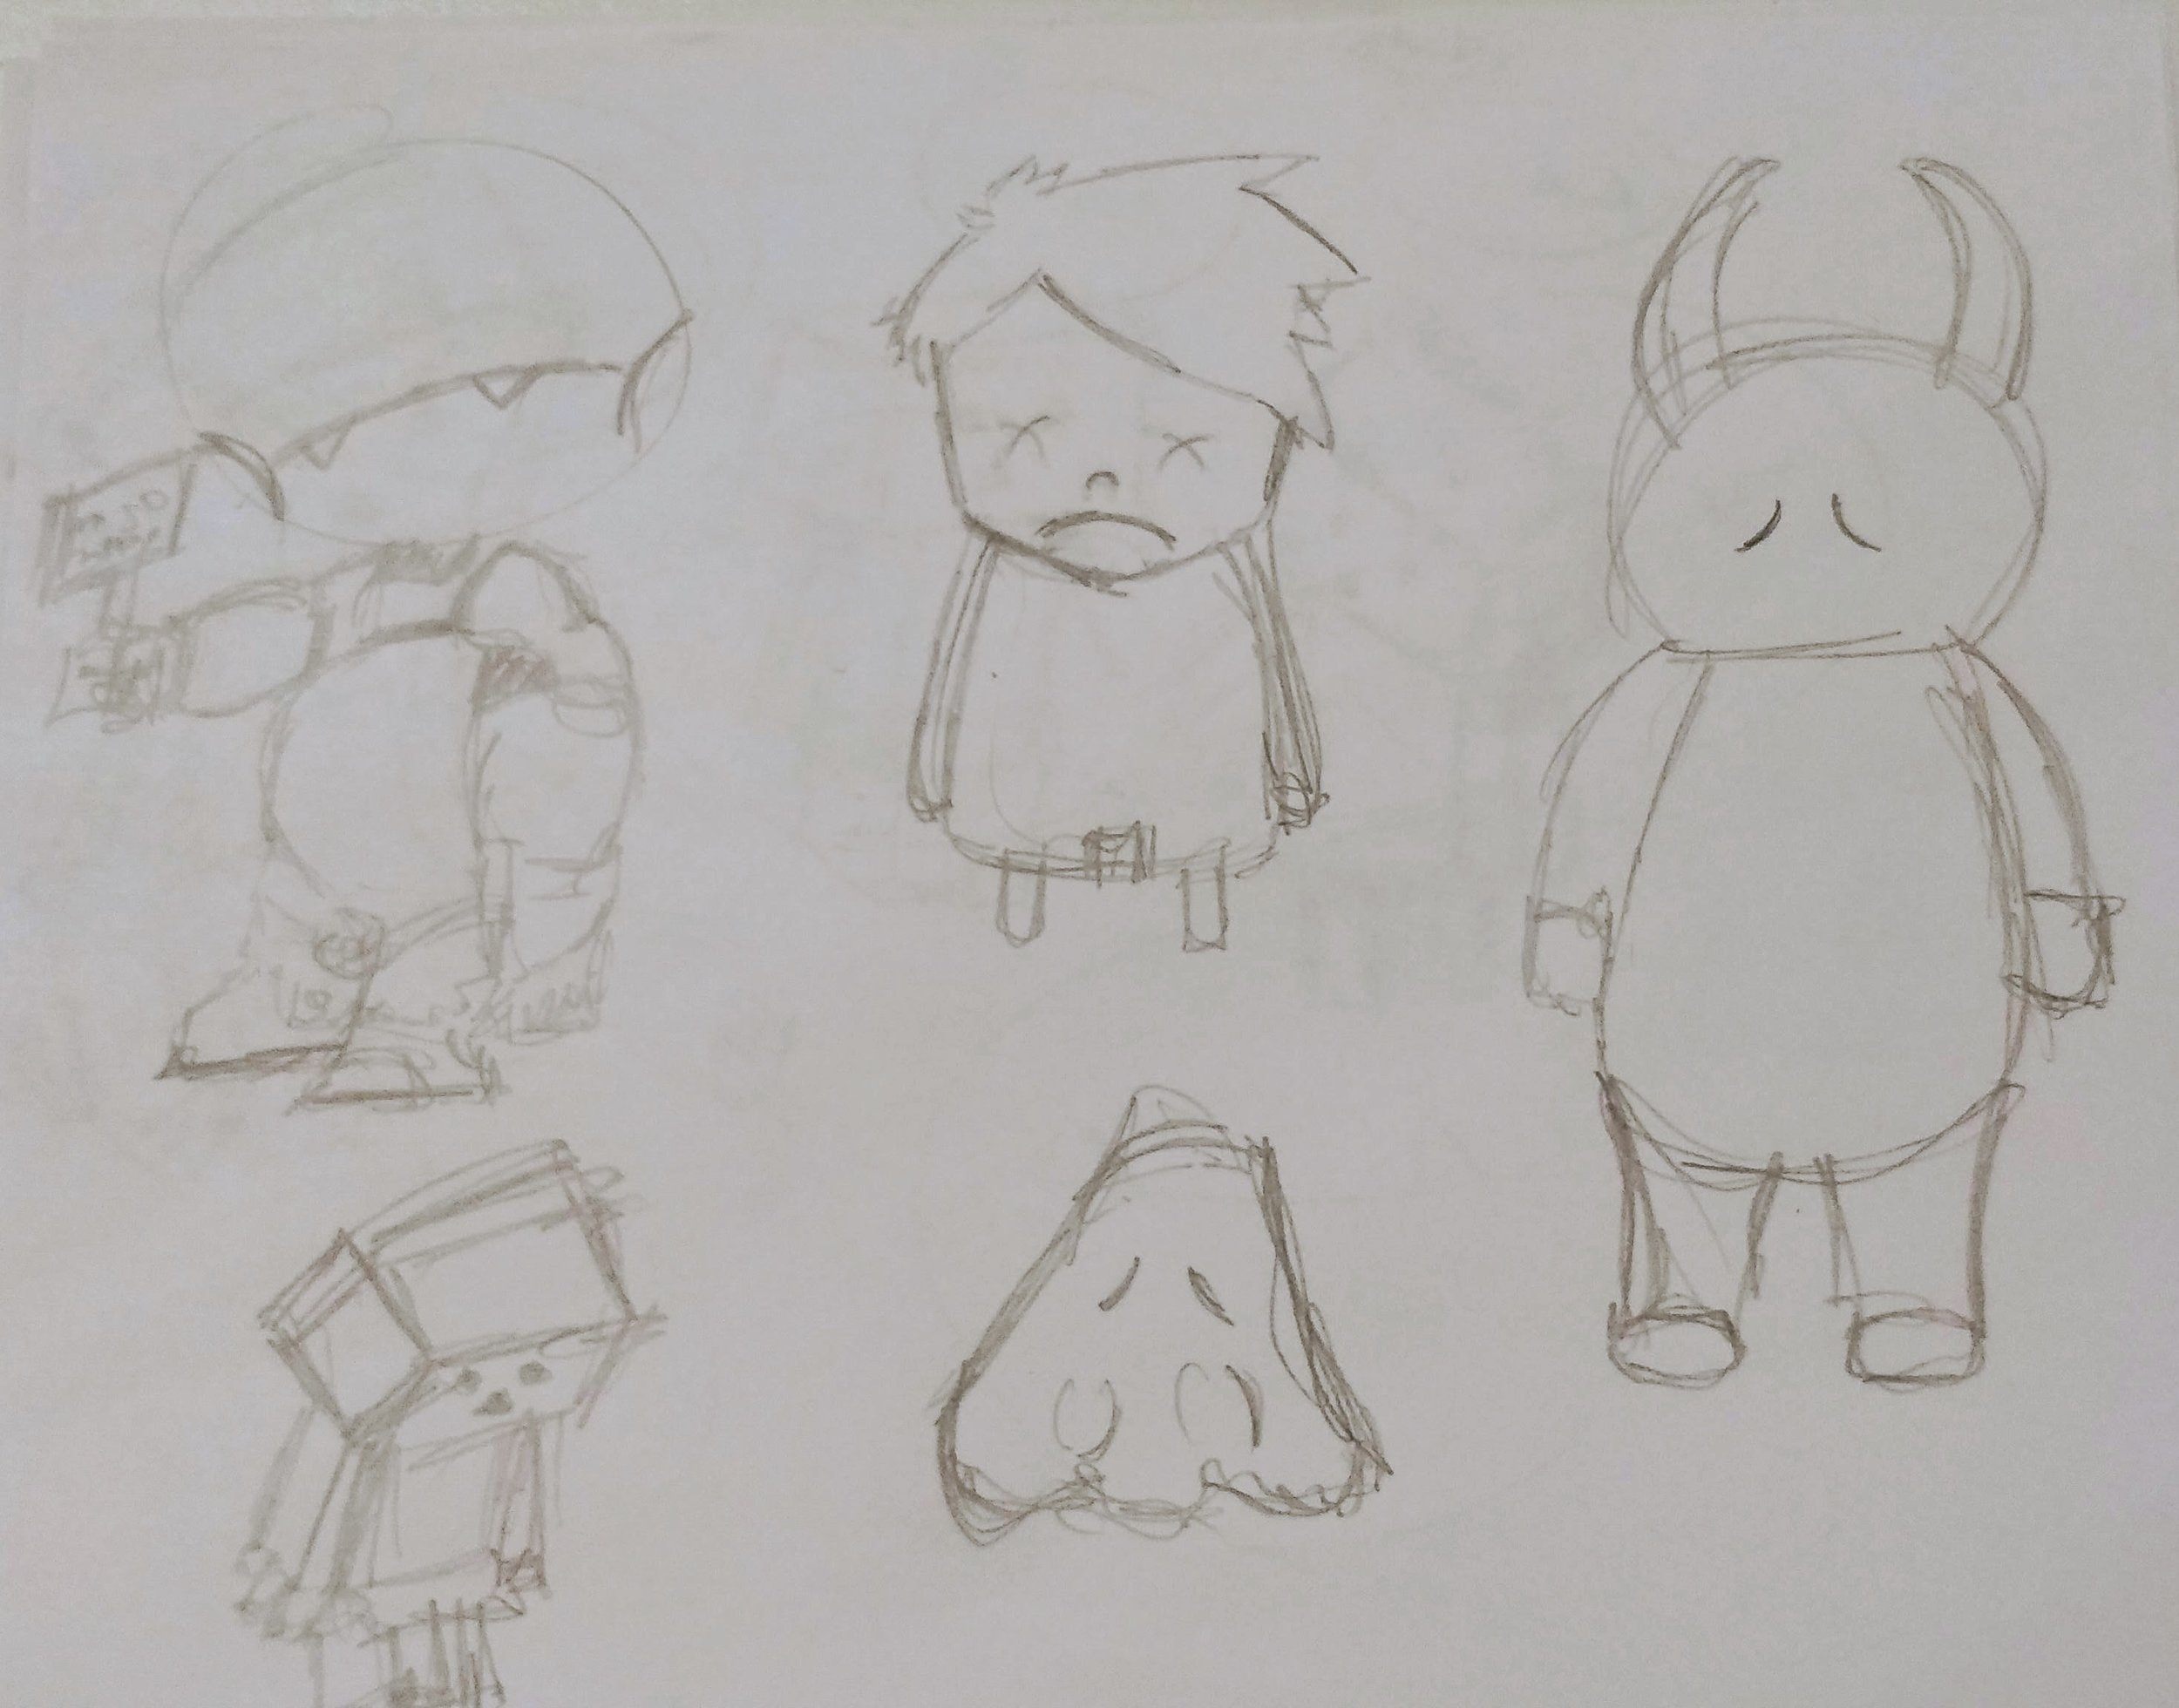
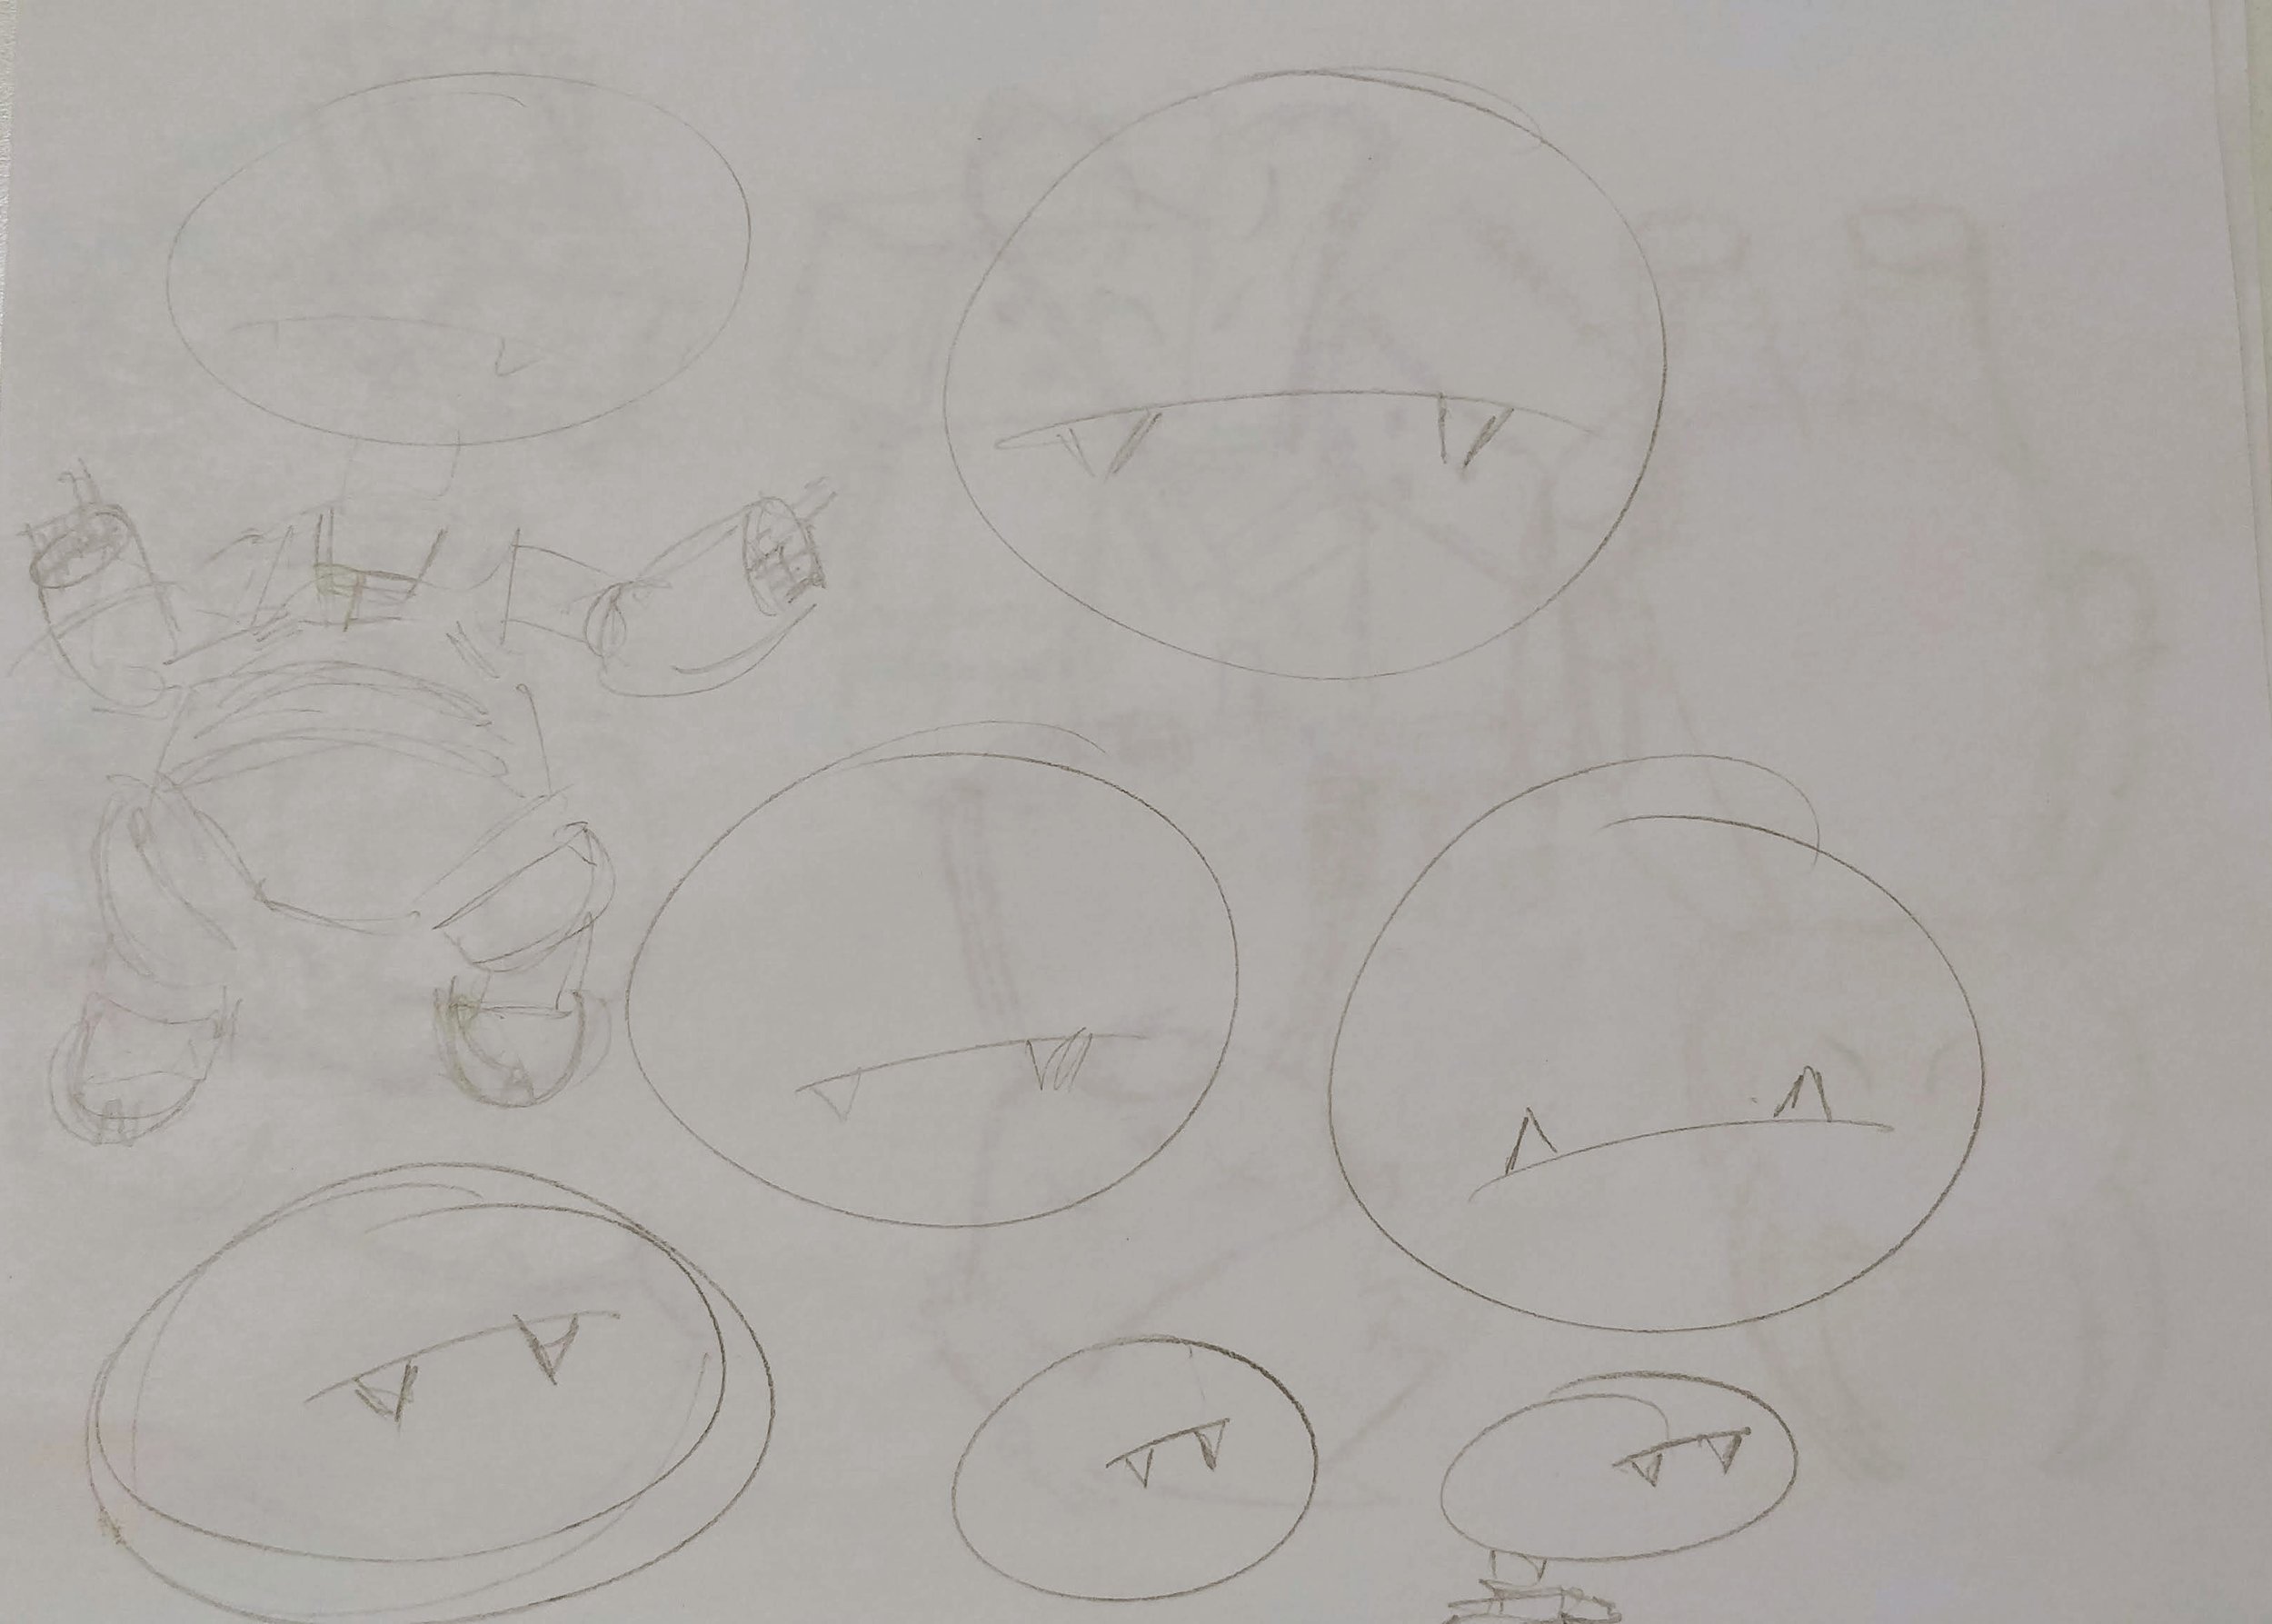
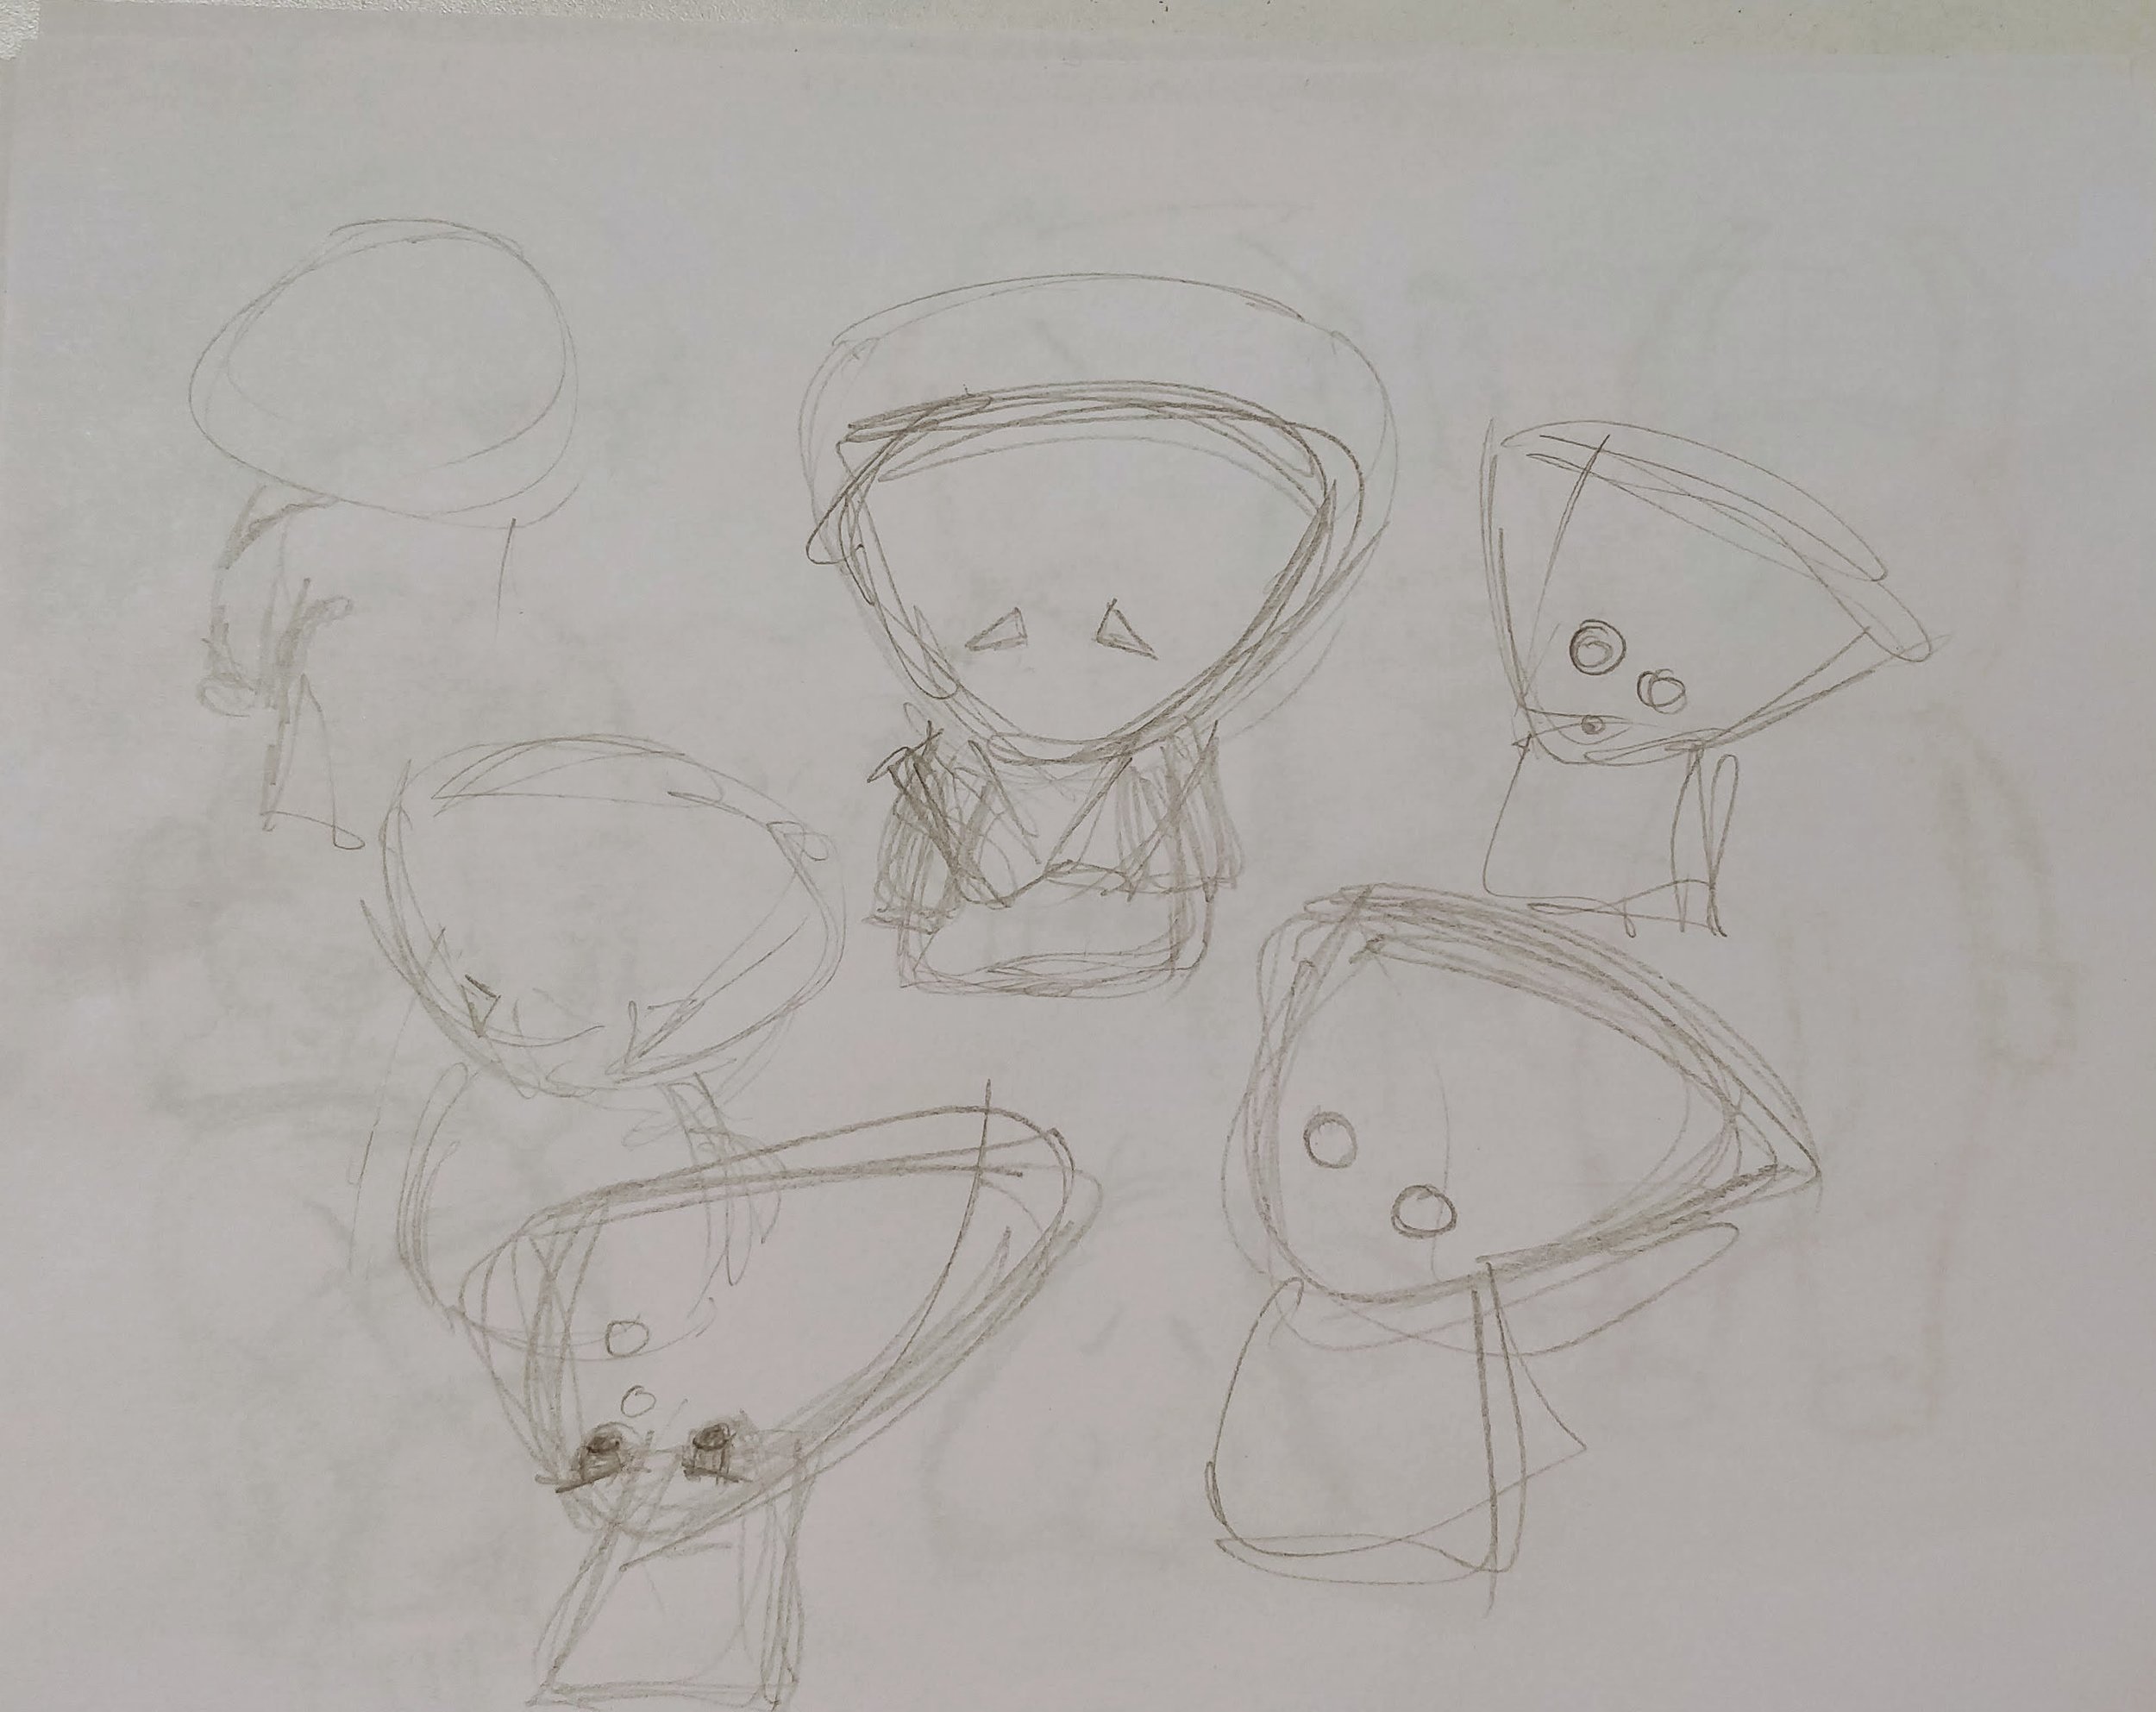
I then started sketching my character. I knew I wanted to feature the oversized head also found in Dunnys and Munnys but in a posture that is not menacing, rather curious and melancholic - a lot like Marvin the robot, one of my favorite motion picture characters.

IMG_20180911_201441.jpg

Finally, I placed the character in a turnaround sheet. It’s very basic and mainly used to get a sense for the scale of the head compared to the small body and the tilt of the head.

With this character I’m planning to focus on the shape, phisique and posture as I think it’ll be a cool blank candidate.

IMG_20180911_201520.jpg